Advertisement
Quick Links
Tools you'll need
Phillips screwdriver
Adjustable spanner
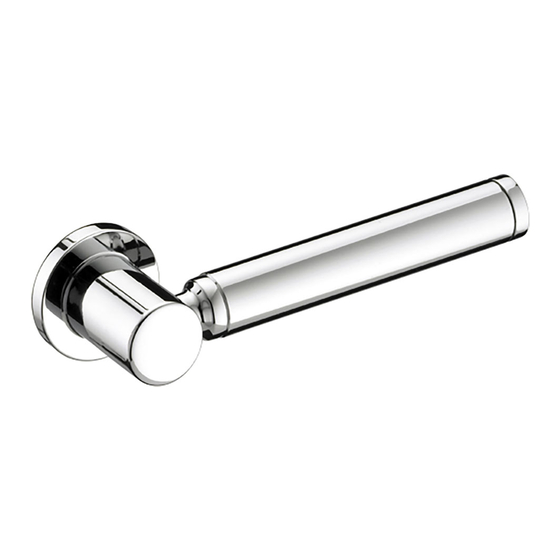
Pack Contents
x1
Installation
Instructions &
User Guide
Please leave this instruction
with the end user
Product Codes:
W CL1 C, W CL1 G, W CL3 C WHT, W CL3 G WHT,
W CL6 C WHT, W CL6 G WHT, W CL8 C
Why not visit our
Youtube channel
To see our latest how-to videos,
simply scan the QR code with your
smart phone or tablet.
Alternatively visit www.youtube.com/bristantv
x1
x1
x1
Installation
1
Slide the threaded barrel into
the hole in the cistern. Fit the
rubber washer and nut on
the thread and tighten firmly.
D2
3
Hook the clip from the flush mechanism
on to the adjacent hole of the arm. The
handle should approximately sit between
2-3 O Clock.
2
1
Attach the cistern lever arm and tighten
with the locking nut.
4
Check the toilet flush by operating
the handle downwards and
checking the toilet flushes correctly.
C L
Advertisement

Related Manuals for Bristan W CL1 C


Summary of Contents for Bristan W CL1 C
- Page 1 Please leave this instruction with the end user Product Codes: W CL1 C, W CL1 G, W CL3 C WHT, W CL3 G WHT, W CL6 C WHT, W CL6 G WHT, W CL8 C Tools you’ll need Why not visit our...
- Page 2 Do not use any abrasive cleaning agents or materials. These will change the surface condition from the standard finish. At Bristan, we want to make things as easy as possible for our customers. That’s why we offer solid guarantees on all our products, effective from the date of purchase, to give you peace of mind.
Need help?
Do you have a question about the W CL1 C and is the answer not in the manual?
Questions and answers