Table of Contents
Advertisement
Advertisement
Table of Contents

Subscribe to Our Youtube Channel
Related Manuals for Hernik IPAI-NXT


Summary of Contents for Hernik IPAI-NXT
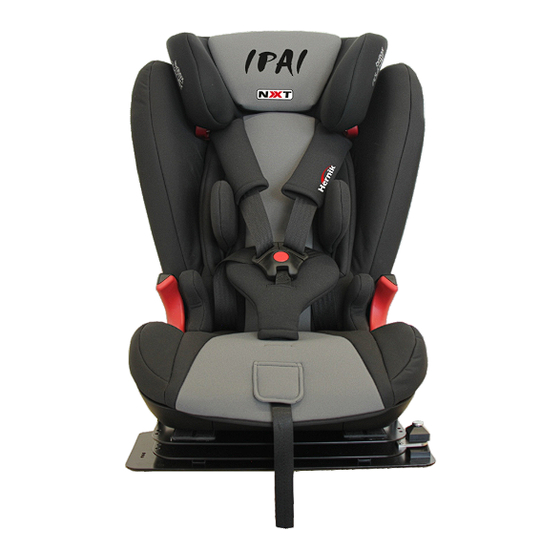
- Page 1 Herni USER MANUAL version: 01-2019...
-
Page 2: Table Of Contents
Herni TABLE OF CONTENTS I. General information Seite Introduction Purpose and indication Relevant information Declaration of conformity Warranty Service and repair Practical instructions Installation in the car Adjusting the head rest 1.10 Using the 3-point-harness II. Safety instructions Safety instructions III. -
Page 3: General Information Seite
I. General information 1.1 Introduction You have chosen the car seat "IPAI-NXT" and get hereby a high quality product from our house. We would like to thank you for your trust in us. To make sure you find joy with this product and to ensure it helps you to make everyday life easier, we present you this manual. -
Page 4: Relevant Information
1.6 Service and repair Service and repairs on the IPAI-NXT may only be carried out by specialized dealers. If you have any problems, contact your local dealer. For repairs, you will only receive original spare parts. -
Page 5: Installation In The Car
Herni I. General information 1.8 Installation in the car Place the child seat on the vehicle seat. Make sure that the backrest (07) lies flat against the backrest of the vehicle seat. Tip! If the headrest of the vehicle seat disturbs, remove it. -
Page 6: Using The 3-Point-Harness
I. General information 1.10 Using the 3-point-harness (Gr. III) To be able to absorb the enormous forces during an accident, the IPAI-NXT must be secured with the vehicle's three-point belt according to ECE 44, R14 and R16. An ISOFIX connection alone is not enough. - Page 7 Herni I. General information 6. Insert the diagonal belt (18) into the dark red belt holder (02) of the headrest (05) until it is completely and untwisted in the belt holder (02). Tip! If the backrest (07) hides the belt holder (02), you can adjust the headrest (14) upwards.
-
Page 8: Safety Instructions
Herni II. Safety instructions · Before use, the components must be checked for perfect function and condition. · The instructions for use must always be carried on the child car seat. · The safety of your child is only guaranteed if the seat is installed correctly and if the child is fixed exactly. -
Page 9: Handling And Functions Of The Basic Seat
Herni III. Handling and functions of the basic seat 3.1 Adjusting the internal 5-point-belt First select one of the two available positions for the belt buckle ! For this purpose, the seat cover must be loosened on one side to get to the location underneath. -
Page 10: Adusting The Height Of The Back Rest
Herni III. Handling and functions of the basic seat 3.3 Adusting the height of the back rest Press the release latch in the handle to move the headrest up or down. Make sure that the child's head never looks over the headrest! Adjust the belt crossbeam of the 5-point belt so ... -
Page 11: Using The Optional Accessories
Herni IV. Using the optional accessories 4.1 ISOFIX-adapter Installation: 1. Let the installation of the seat and its adjustment been demonstrated to you by the technician. 2. Open the setscrews on the left and right and pull the bracket out to the rear. 3. -
Page 12: Clamp Bow
Herni IV. Using the optional accessories 4.2 Clamp bow Installation: 1. Let the installation of the seat and adjustment of it be shown to you during the delivery. 2. Open the setscrews on the left and right and pull the bracket to the rear. 3. -
Page 13: Security Tray
Afterwards, the pad can be arranged freely. IMPORTANT: For a stable fit, the pad should be pressed with high pressure while turning back and forth on the back of the IPAI-NXT. This creates a firmer hold of the Velcro elements! -
Page 14: Abduction Block
Herni IV. Using the optional accessories 4.5 Abduction block 1. The abduction wedge helps your child to reach a predetermined distance between the knees. In order to loosen or tightening the 5- point belt, the wedge must be removed. ... -
Page 15: Foot Rest / Foot Roll
B-pillar. Pay attention when rotating your child's legs! 3. After the transfer, simply turn the IPAI-NXT back to the starting position and pay attention to the ... -
Page 16: Protection Mat
4.9 Protection mat 1. Position the mat on the car seat without blocking the ISOFIX connectors. 2. Place the IPAI-NXT in the center of the protective mat and secure it as described in chapter 3.1. 4.10 Belts to connect the chest straps 1. -
Page 17: Guarantee
• 24 months warranty on all solid parts, from date of delivery. • 12 months warranty on all moving parts, from date of delivery. For parts that were not manufactured by Hernik GMBH, please refer to the warranty policy of the respective manufacturer (Römer-Britax Kindersicherheit GmbH). -
Page 18: Maintenance & Product Care
VII. Maintenance & product care 7.1 Pull off the cover Please ensure that you only use original BRITAX- RÖMER or HERNIK replacement seat covers, as the seat cover is an integral part of the child safety seat and fulfills important functions to ensure the perfect functioning of the seat. -
Page 19: Technical Characteristics
Herni VIII. Technical characteristics Standard equipment: • 5-point harness with padded buckle pad (height adjustable!) and belt protectors • Headrest height adjustable • comfortable back and headrest padding with removable cover (modelable foam!) • three-part basic cover removable and washable at 30 ° C •... - Page 20 Herni HERNIK GmbH Bodenseestrasse 25 83059 Kolbermoor • Germany +49 8031-2068044 • +49 8031-2069215 info@hernik.de • www.hernik.de • Seite 13 •...
Need help?
Do you have a question about the IPAI-NXT and is the answer not in the manual?
Questions and answers