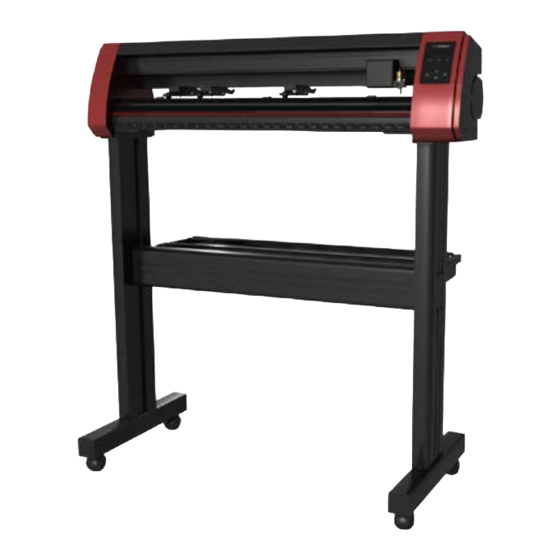
Summary of Contents for USCutter Laserpoint II
- Page 1 Notes: This is not the full manual, the assembly instructions have been removed. The 17" wide double pages have been spit to a screen readable 8.5 x 11". User Manual & Assembly Instructions...
-
Page 2: Connecting The Cutter To A Computer
You can download and install the VinylMaster Cut software at www.uscutter.com/download, and you will need the key code packaged with this cutter to activate the software. You may need to download drivers to support your operating system. -
Page 3: Setting Up Media
If you are going to cut from a scrap or single sheet instead of a roll, then skip the next step on placing a vinyl roll. All other steps will be the same. Place the roll on top of the stand rollers. For heat press vinyl, please flip the roll. Release the pinch rollers release levers. 425.481.3555 www.uscutter.com... - Page 4 Adjust the pinch rollers so there is one roller located on each side of the vinyl (and, on models with 3 or more rollers, one roller near the center). Avoid lowering a pinch roller to the gap between the two feed rollers. 425.481.3555 www.uscutter.com...
- Page 5 ” from the edge of the roller and the edge of the vinyl on both sides. Engage the Pinch Rollers by pushing down on the Pinch Roller Release Levers. If the cutter is not already on, turn it on now. 425.481.3555 www.uscutter.com...
- Page 6 Cap. This will help keep inch. the cap in place during operation. 6 months Blades should be replaced every . Your blade may need to be replaced more often if you are cutting thicker material such as flock, glitter, or reflectives. 425.481.3555 www.uscutter.com...
-
Page 7: Home Screen
Screen, to move the cursor to “Current” then press “Enter” and the origin is set. Home Screen Local Screen SPD: 0mm/s PRS: 10g SPD: 0mm/s PRS: 10g LOCAL TEST COPY ORIGIN CURRENT ON Reset Select Enter Reset Select Enter 425.481.3555 www.uscutter.com... -
Page 8: Load Material
For thicker materials, such as Siser StripFlock, Siser Glitter, and Hexis CutFlex 600 Reflective, MEDIA MEDIA CARRIER CARRIER a 60 blade is needed. MEDIA CARRIER MEDIA CARRIER MEDIA CARRIER LOAD MATERIAL Most vinyl products loaded from over the top. 425.481.3555 www.uscutter.com... -
Page 9: Cut Speed
FORCE/PRESSURE This setting determines how hard the blade comes down onto the material. outer square INCREASE won’t weed FORCE blade digging too far DECREASE FORCE into carrier weeds easily with a light- PERFECT! ly scored carrier Test Cut 425.481.3555 www.uscutter.com... -
Page 10: Contour Cutting
Use the arrows to center the laser directly over the pen mark and press the “Enter” button. Re-test the laser offset by repeating step 2. Once you have finished calibrating your laser it’s time to print your image. 425.481.3555 www.uscutter.com... - Page 11 “2”. Again, center the laser over the dot using your computer’s keyboard and click “Next”. Repeat this process for registration mark number “3”. Click the “Cut” button and the cutter will briefly return to it’s home position and complete the cut. 425.481.3555 www.uscutter.com...
-
Page 12: Troubleshooting
(not in front) of the track. If the inconsistent. wheels are not on the track, gently lift the carriage arm and press back until both wheels are resting on the track. 425.481.3555 www.uscutter.com... - Page 13 Clean the inside of the blade holder by Change the offset setting. coating the blade with WD40 and moving it in and out of the blade holder. Clean off any debris that comes out. Replacement blade holder may be needed. RAISE OFFSET LOWER OFFSET 425.481.3555 www.uscutter.com...
-
Page 14: Cutting Blades
• USCutter stocks replacement wise experience problems with cut quality. cutting strips. Go to USCUTTER.com and search using Refer to the manual section on Blade the keyword: Cutting Strip. Set-up for instructions on how to install re- placement blades and remember to dispose of •...


Need help?
Do you have a question about the Laserpoint II and is the answer not in the manual?
Questions and answers