
Related Manuals for welldana WMV


Summary of Contents for welldana WMV
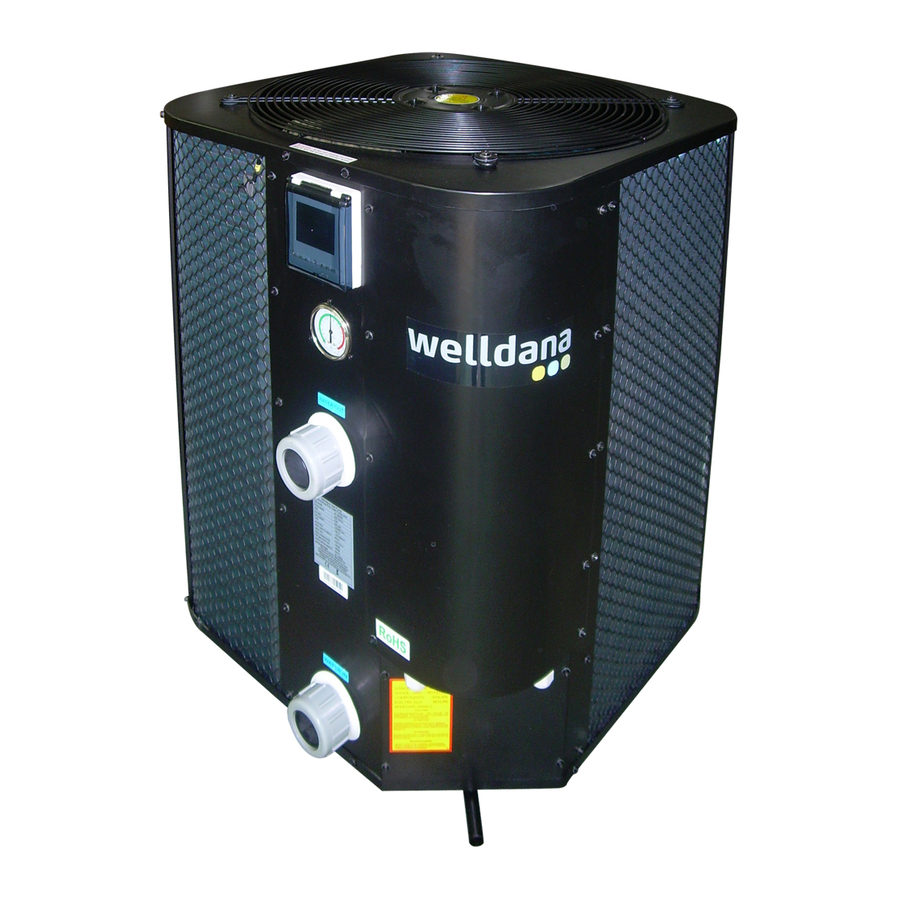
- Page 1 SWIMMING POOL HEAT PUMP UNIT Installation & Instruction Manual Rev. WF PHP 20.10.2016 1.27.1000115...
- Page 2 Advice to customers 1. Please read this manual carefully before installing the product, otherwise you could damage the heat pump, injure users or incur financial losses. 2. As advances in science and technology are made, the product will also improve. We would therefore urge you to keep up to date with the latest products.
-
Page 3: Table Of Contents
Contents 1. Performance and installation Performance and features .......................1 Working principles ........................1 Location of heat pump installation ..................2 Distance from the pool ......................3 Installation of the check-valve ....................3 Pool system set up ........................4 Connecting the by-pass ......................4 Warning ..........................5 First time start-up ........................6 1.10 Condensation... -
Page 4: Performance And Installation
1. Performance and installation 1.1 Performance and features √High efficiency With a COP value up to 5.0 our heat pumps are very efficient when transferring heat from the air to the swimming pool water. You can save as much as 80% of cost compared to an electrical heater. -
Page 5: Location Of Heat Pump Installation
1.3 Location of heat pump installation The unit will perform well on any location provided three factors are present: 1. Fresh air - 2. Electricity - 3. Pool filter piping The unit may be installed virtually anywhere outdoors providing minimum distance requirements are met with respect to other objects (see diagram below).For indoor pools please consult your installer. -
Page 6: Distance From The Pool
1.4 Distance from the pool Normally, the pool heat pump is installed within a 7.5 meter radius of the pool. The greater the distance from the pool, the greater the heat loss from the piping. Since the piping is buried for the most part, heat loss is minimal for distances of up to 30 meters (15 meters to and from the pump= 30 meters total), unless the soil is wet or the water level is high. -
Page 7: Pool System Set Up
1.6 Pool system set up Heat Pump Water processor Side connection valve Outlet Inlet Power cable inlet Condensed water draining pipe Water pump Filter Pool water inlet Draining nozzle Discharge water to pool 1.7 Connecting the by pass BY-PASS Valve 1 Valve 2 Valve 3 HEATPUMP... -
Page 8: Warning
1.8 Warning: - Do not place your hand or any other objects into the air outlet and fan. It could damage the heat pump and cause injuries; - In case of any abnormality with the heat pump, cut off the power immediately and contact a professional technician;... -
Page 9: First Time Start-Up
1.9 First time start-up Note- In order for the unit to heat the pool (or spa), the filter pump must be running so that the water can circulate through the heat pump. Without this circulation, the heat pump will not start. -
Page 10: Operation Of Heat Pump
2. Operation of heat pump 2.1 Operation of control display 2.1.1 Control display illustration: When heat pump is supplied with power, controller will display with full screen, shows that it is already connected. If connection fails in 10 seconds, please check connections between communication cable and control display, or replace with another control display. -
Page 11: Power On/Off Heat Pump
2.1.2Power ON/OFF heat pump Press button 5s to switch on heat pump. Once the heat pump is powered on all related running component icons will be lightened as well as POWER displayed in the middle of display to show system is in running status. Figure 2-2 shows heat pump in standby status and figure 2-3 shows heat pump in running status. -
Page 12: Adjust Desired Water Temperature
2.1.4 Adjust desired water temperature 1.First select desired mode, auto, heating or cooling. 2.No matter the heat pump is under standby status or running status, press “+” or “-” , display will show the desired water temp. of selected mode with a flashing value, then change the water temp. by moving “+”... -
Page 13: Setting Timer On/ Timer Off
2.1.7 Setting Timer on/ Timer off Press TIMER TIMER button to enter timer setting for TIMER 1 TIMER 1 Hour data will be flashing with ON, move “+” or “-” to set it. Confirm timer on hour setting by pressing TIMER TIMER button. - Page 14 Parameter table overview (1) Control Display APP Description Range Default Parameter Remark 8~ ℃ Temp. Setting Cooling Temp. Setting Cooling 27℃ F0/00 Adjustable ~ ℃ F1/01 8 40 27℃ Temp. Setting Heating Temp. Setting Heating Adjustable ~ Time b/w Defrosting Cycles F2/02 Time between defrosting cycles 10 90Min...
- Page 15 Parameter table overview (2) Control Display APP Description Range Default Remark Parameter Setting of heat exchange ~ ℃ By technician 3 20 F19/19 5℃ Set W. Out Over-Cooling Prot. overheat protection Tout-Tin(to low water flow) Protection setting of out-in ~ ℃ 5 20 F20/20 Protection In-Out Cooling...
-
Page 16: Operation Of App Controller
2.2. Operation of APP controller 2 2 1 working principle of APP control Requirements for Android System: server 1. System version above 2.3.7 (2.3.7 not included). 2. Resolution 480*800 and above. 3. APK 40M and above, TF card or build-in storage. 3G/4G router 4. - Page 17 "-" " " 3) Start the heat pump and press button and button TIMER on the control display together for 3 seconds to activate the control display WIFI WIFI icon starts blinking and search the WIFI nearby. wifi symbol on control display 4).Click the “POOL COMFORT”...
-
Page 18: App Operation
6) Insert default password of the device “123456", and click “Bar code” to scan the serial number of heat pump which is below the data plate on the side panel of the heat pump. Put the serial number inside the scanning area and make sure the red scanning line stay on the serial number. - Page 19 2).How to switch on/off the heat pump. Click Button to turn on/off the unit. 3). How to change mode Press to select auto(smart), heating, or cooling mode. 4).How to set desired water temperature Click to modify the water temperature. 5) How to set timer a.Click the to enter the timer page;...
- Page 20 6).How to check details of running status In running or standby status, click to check system measured value and working details. 7).How to change parameter setting (Password is required to change the factory default setting , only available for technician.) Insert technical password to enter technical setting page.
- Page 21 8).How to rename the device. POOL COMFORT POOL COMFORT 9).How to change user’s password...
-
Page 22: Protection Systems
3. Protection systems 3.1 Water flow switch Equipped with flow switch the heat pump will not work when the filter pump is not working (and the water is not circulating). This system prevents the heat pump from heating only the water present in the heat pump itself. The protection also stops the heat pump if water circulation is cut off or stopped. -
Page 23: Direction
4. Direction 4.1 Swimming pool water chemistry Special attention should be paid to the chemical balance of the pool water. The pool water values should always stay within the following limits: Free chlorine(mg/1) TAC(mg/1) Salt(g/1) Important: failure to comply with these limits will invalidate the warranty. Note: exceeding one or several limits can damage the heat pump beyond repair. -
Page 24: Check-Up
4.4 Check-up Our heat pumps have been built and developed to last long if they have been installed correctly and can operate in normal conditions. Regular check-ups are important if you want your heat pump to function efficiently for many years. Below are some recommendations to ensure optimal working conditions for your heat pump. -
Page 25: Trouble Shooting Guide
5.2 Trouble shooting guide 5.2 Trouble shooting guide Incorrect installation may result in an electrical charge that could lead to death or serious injury of Incorrect installation may result in an electrical charge that could lead to death or serious injury of users, installers or others by electrical shock and it may also cause damage to heat pump. - Page 26 The heat pump works normally but the water is cooling down instead of heating up Problem: The screen displays the temperature but no error codes Observation: Possible cause Solution 1.The wrong mode has been selected 1.Verify the parameters, select the correct mode 2.
-
Page 27: Failure Code Table Overview
5.3 Failure code table overview Control Check Solution Protection Failure Display 1. Check the connection of inlet water 1. Reconnect the sensor. Inlet water temp. sensor failure sensor. 2. Replace the sensor. 2. Check if the sensor is broken. 1. Check the connection of outlet water 1. -
Page 28: Name Plate & Wiring Diagram Name Plate
6.Name plate & wiring diagram 6.1Name plate... -
Page 29: Wiring Diagram
6.2 Wiring diagram...
Need help?
Do you have a question about the WMV and is the answer not in the manual?
Questions and answers