Haier AC35S2SG1FA Operation Manual And Installation Manual
Convertible type air conditioner
Hide thumbs
Also See for AC35S2SG1FA:
- Operation manual and installation manual (26 pages) ,
- Operation manual and installation manual (66 pages)

Subscribe to Our Youtube Channel
Related Manuals for Haier AC35S2SG1FA


Summary of Contents for Haier AC35S2SG1FA
- Page 1 CONVERTIBLE TYPE AIR CONDITIONER OPERATION MANUAL AND INSTALLATION MANUAL AC35S2SG1FA AC50S2SG1FA Move and scrap the air conditioning AC71S2SG1FA AC90S2SH1FA AC105S2SH1FA AC125S2SK1FA AC140S2SK1FA No.0150532721...
- Page 3 Service indicator; Read technical Read the operator's manual manual The installation and service of this product shall be carried out by professional personnel, who have been trainedand certified by national training organizations that areaccredited to teach the relevant national competency standards that may be set in legislation. Mechanical connectors used indoors shall comply with ISO 14903.
- Page 4 •A brazed, welded, or mechanical connection shall be made before opening the valves to permit refrigerant to flow between the refrigerating system parts. A vacuum valve shall be provided to evacuate the interconnecting pipe and/or any uncharged refrigerating system part. •The maximum working pressure is 4.3 MPa.
-
Page 5: Disposal Requirements
Haier Industrial Park, No.1 Haier road, Qingdao,P.R.China EUROPEAN REGULATIONS IMPORTANT INFORMATION REGA- CONFORMITY FOR THE MODELS RDING THE REFRIGERANT USED Contains fluorinated greenhouse gases covered by the Kyoto Protocol All the products are in conformity with the following European provision:... - Page 7 - The installation of pipe-work shall be kept to a minimum. - Pipe-work shall be protected from physical damage and shall not be installed in an unventilated space, if that space is smaller than Amin(2m2). - Compliance with national gas regulations shall be observed. - Mechanical connections shall be accessible for maintenance purposes.
- Page 8 Checks to electrical devices - Repair and maintenance to electrical components shall include initial safety checks and component inspection procedures. If a fault exists that could compromise safety, then no electrical supply shall be connected to the circuit until it is satisfactorily dealt with.
- Page 9 - Become familiar with the equipment and its operation. - Isolate system electrically. - Before attempting the procedure, ensure that: • mechanical handling equipment is available, if required, for handling refrigerant cylinders; • all personal protective equipment is available and being used correctly; •...
-
Page 10: Move And Scrap The Air Conditioning
max. DB/WB 32/23 C Indoor temperature min. DB/WB 18/14 C Cooling max. DB/WB 46/26 C Outdoor temperature min. DB/WB 10/6 C max. DB/WB 27 C Indoor temperature min. DB/WB 15 C Heating max. DB/WB 24/18 C Outdoor temperature min. DB/WB -15 C Move and scrap the air conditioning When moving, to disassemble and re-install the air conditioning, please contact your dealer for technical support. -
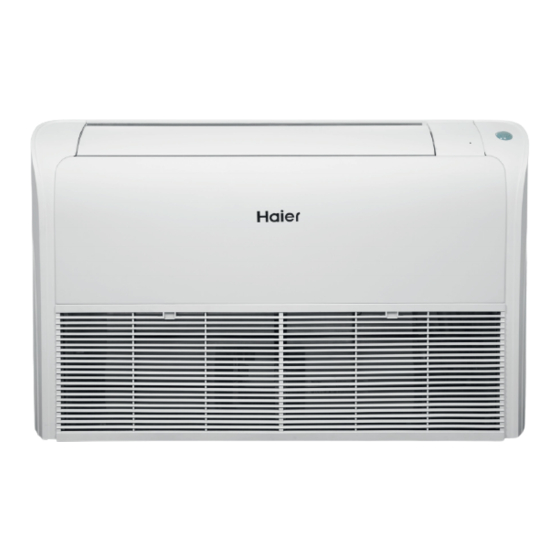
Page 15: Parts And Functions
Parts and Functions Indoor Unit Operating Control Panel 1 Operating Control Panel 1 (1) Operation Control Panel (2) Cover Plate (3) Front Panel (4) Inlet Grill(Filter inside) (5) Human Sensor (6) RUNNING Indicator Lamp (7) TIMER Indicator Lamp (8) POWER Indicator Lamp (9) Emergency Switch (10) Remote Receiver Operating Control Panel 2... - Page 16 Parts and Functions...
- Page 23 AC35S2SG1FA 9.52mm 6.35mm 12.7mm AC50S2SG1FA 6.35mm AC71S2SG1FA 15.88mm 9.52mm AC90S2SH1FA 15.88mm AC105S2SH1FA 9.52mm AC125S2SK1FA AC140S2SK1FA 9.52mm 15.88mm (1) Open the intake grill (2) Remove the Side cover(Right and left side) Open the intake grill (1) Push the embeding switch according to the direction of the arrowhead.(Refer to Fig.1) (2)Turn into the intake grill according to the direction of the arrowhead.(Refer to Fig.2)
- Page 24 Cut intake grill for drain pipe (1) Tools:Knife or Pliers. (2) Cut the intake grill before installing the drain pipe,Then,pass the drain pipe through the hole.As the following schematic. After removal Location of the cut Installing the drain pipe and the connecting pipe (1) When the unit is installed in the ceiling,Installing them as below.
- Page 25 MODEL 1204 1530 Bolt strength: 980 to 1470 N (100 TO 150 kgf) Anchor-bolt strength: 980 to 1470 N (100 TO 150 kgf)
- Page 27 Install insunlation for the drain pipe A.Connect wiring to the terminals (2) Remove the cover (1) Remove the screw Remove the screw (3) Connect the wiring...
- Page 28 B.For solid core wiring (or F-cable) C.For strand wiring...
- Page 29 1 2 3 Indoor unit Indoor unit terminal block terminal block Outdoor unit Outdoor unit R S T N 1 2 3 terminal block terminal block Power supply Power supply 1PH,220-240V~,50/60Hz 380-400V, 3N~,50/60Hz The specification of cable between indoor unit to outdoor unit is HO5RN-F4G 2.5mm²...
- Page 32 Address:Haier Industrial Park,Qianwangang Road,Eco-Tech Development Zone,Qingdao 266555,Shandong,P.R.C. Contacts: TEL +86-532-88936943; FAX +86-532-8893-6999 Website: www.haier.com...
Need help?
Do you have a question about the AC35S2SG1FA and is the answer not in the manual?
Questions and answers