Advertisement
Quick Links
Advertisement

Related Manuals for Wolf ICBOG30


Summary of Contents for Wolf ICBOG30
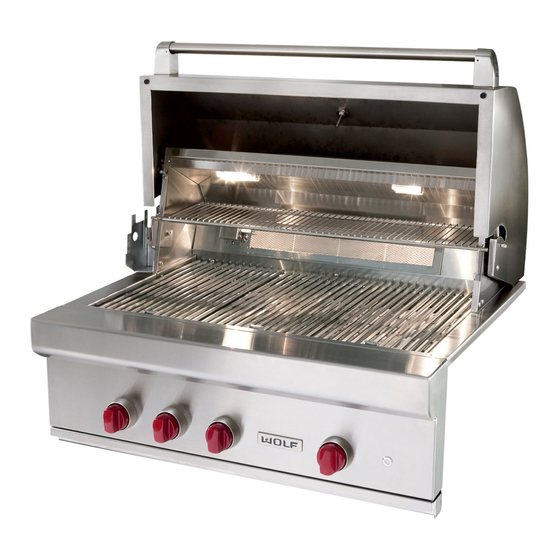
- Page 1 O U T D O O R G A S G R I L L INSTALLATION GUIDE...
- Page 2 If service is necessary, contact your authorized Wolf dealer. WARNING states a hazard that may cause serious injury or death if precautions are not followed.
- Page 3 SAFETY PRECAUTIONS IMPORTANT SAFEGUARDS • Wolf outdoor gas grills and modules are for outdoor use only. BEFORE LIGHTING: Do not install or operate in an enclosed area. • Read instructions before lighting. • Installation must be performed by a qualified installer, service •...
- Page 4 Installation must comply with all applicable electrical codes Installation must conform with local codes. complies with national and local safety regulations. The on/ cifically to fit grill models ICBOG30, ICBOG36 and ICBOG42 and be properly grounded (earthed). off switch should be easily accessible after the appli-ance Locate the gas supply within the shaded area shown in the and the side burner.
- Page 5 C ATEGO RY (mba r ) COU NTRY OF DE S TIN ATION supply. The supply line must be equipped with an approved ICBOG30 18.8 G20 at 20 AT, BG, CR, CZ, DK, EE, FI, GR, HR, HU, IS, IE, IT, LV,...
- Page 6 An insulating liner is not required. NON - C OM BUSTIBLE ENC LOSURE C OM BU STIBL E ENC L OSU RE WI D T H ( W) W ID T H (W ) ICBOG30 724 mm ICBOG30 851 mm 1003 mm...
- Page 7 Tighten any loose joint or replace any faulty part with a structures: Wolf replacement part to stop the leak. Do not attempt to One side of the enclosure shall be completely Ensure the gas valve on top of the cylinder is closed.
- Page 8 Side Burner Installation P REPA RAT I O N CART INS TALL ATIO N The Wolf side burner can be installed on the right side of Remove the rear screws and bracket, then remove the any Wolf grill cart. cart plug from the access hole by pushing out from Two mounting screws are provided at the bottom right Remove and recycle packing materials.
- Page 9 I NSTAL L AT IO N Side Burner Installation I NSTAL L SID E B U R N E R SHRO UD To align back of shroud, place alignment tool at rear of For natural gas installations, the gas line connection must Compress bar clamp until hole in bullnose aligns with shroud.
- Page 10 Elbow may authorised Wolf customer care at illustration below. be rotated to face downward for larger adapters. Do not 1300 808 859 Connect regulator assembly to grill manifold at flare rotate elbow upward.
- Page 11 Sub-Zero, Sub-Zero & Design, Sub-Zero & Snowflake Design, Dual Refrigeration, The Living Kitchen, Great American Kitchens The Fine Art of Kitchen Design, Wolf, Wolf & Design, Wolf Gourmet, W & Design, red colored knobs, Cove, and Cove &...
- Page 12 In addition to your rights and remedies under the Australian Consumer Law, CLAIM PROCEDURE Wolf provides customers with a Warranty where, if any part of a Wolf product In order to claim the Warranty, you must cease using the product when a fault...
- Page 13 MF09 7...
Need help?
Do you have a question about the ICBOG30 and is the answer not in the manual?
Questions and answers