Advertisement
Quick Links
Advertisement

Related Manuals for Cozzia EC-326G-CO


Summary of Contents for Cozzia EC-326G-CO
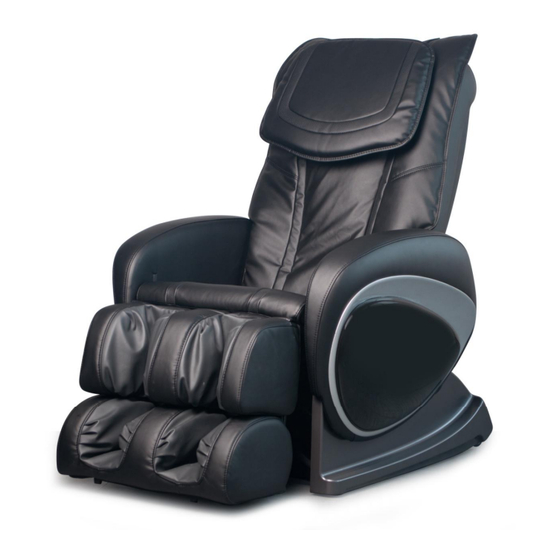
- Page 1 Maintenance Service Manual MODEL: EC-326G-CO By Customer Service Department...
- Page 2 1. Precautions for inspection and repair Inspection Verify that the power cord is tightly connected on the machine. Be careful to avoid electric shock. Repair Power off the supply before repair work begins. Keep things tidy and in order during repair work. ...
- Page 3 2:massage chair auto-check list ON/OFF: KNEAD + TAP + POWER(buttons on the controler), press and hold the three buttons in two senconds to turn on the automatic analysis system model. After activating the "auto-checking model", the display screen of the controller keeps flashing; if there is something wrong with the chair, the time area will show you the exact code of the malfunction, meanwhile the buffer will make noise.
- Page 4 disconnected 3.change kneading 3.kneading motor is motor broken or kneading belt is lost 1.wideth inspection board is broken 1.change wideth more than 5 2.the wire connect to the inspection board activate seconds did not wideth inspection board is 2.change backrest auto-check tested the middle disconnected...
- Page 5 1.change the counting 1.the counting sensor of sensor of the rolling activate height counting the rolling motor is broken motor. auto-check signal error 2.backrest wire(black) is 2.check whether the model disconnected backrest wire(black) is well connected. 1.change down limit sensor can't test signal activate 1.down limit sensor is...
- Page 6 5-18: Guidance of service the footrest. A:Detach the seat pad assy . ( Refer to Guidance of service the seat pad.) Seat pad has been detached. B:Slacken and remove the screws which fixing the seat board . Then remove the seat board. Seat board has been removed.
- Page 7 D: Find the bolt which joint the footrest and connecting rod together. Locate the bolt. E: Use pliers remove the bin first, then remove the bolt. Remove the pin by pliers. The bolt has been removed. D: Find two screws which fixing the footrest onto the chair. Locate the two screws.
- Page 8 E: Slacken and remove the screw nut, then remove the screw. ( As picture below show.) F: After the two screws have been removed, then we can detach the footrest. G: Slacken and remove the screws which fixing the footrest supports. ( As pictures below show.) Locate footrest supporters and screws.
- Page 9 H: Find the zipper heads of the footrest cover. And unzip the zipper. (As pictures below show.) Locate zipper heads. The zipper has been unzipped. I: Now we can remove the footrest cover. Footrest cover has been removed.
- Page 10 J: Find connecters of air bag and disconnect it, Then we can take off the air bag and change a new one. ( As pictures below show.) Locate air bag connecter. Locate air hose connecter.
Need help?
Do you have a question about the EC-326G-CO and is the answer not in the manual?
Questions and answers