Table of Contents
Advertisement
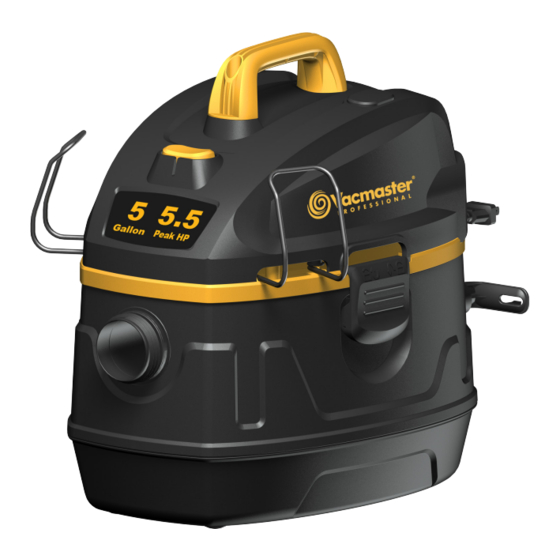
Wet/Dry Vacuum
Operator's Manual
5 Gallon
Model No.
VFB511B 0201
FOR YOUR SAFETY
Read and understand this manual before use.
Keep this manual for future reference.
Distributed By
Cleva North America, Inc.
Replacement Filters &
601 Regent Park Court
Accessories available at:
Greenville, SC 29607
Vacmaster.com
Advertisement
Table of Contents

Summary of Contents for Vacmaster VFB511B 0201
- Page 1 Wet/Dry Vacuum Operator’s Manual 5 Gallon Model No. VFB511B 0201 FOR YOUR SAFETY Read and understand this manual before use. Keep this manual for future reference. Distributed By Cleva North America, Inc. Replacement Filters & 601 Regent Park Court Accessories available at: Greenville, SC 29607 Vacmaster.com...
-
Page 2: Table Of Contents
FOR YOUR SAFETY: CAREFULLY READ AND UNDERSTAND ALL INSTRUCTIONS. WARRANTY We take pride in producing a high quality, durable product. This Vacmaster® product carries a limited five (5) year warranty against defects in workmanship and materials from date of purchase under normal household use. -
Page 3: Safety Instructions & Warnings
Safety is a combination of common sense, staying alert, and knowing how your vacuum works. Use this Wet/Dry Vac only as described in this manual. To reduce the risk of personal injury or damage to your Wet/Dry Vac, use only Vacmaster ®... -
Page 4: Double Insulation Instructions
This is a very fine dust which will not be captured by the filter and may cause damage to the motor. When vacuuming fine dust, use a fine dust filter (included). To purchase the additional fine dust ® filters, call 1-866-384-8432 or get them at your local or online Vacmaster retailer. WARNING:... -
Page 5: Unpacking & Checking Carton Contents
UNPACKING & CHECKING CARTON CONTENTS Remove all contents from the box. Remove the power head and take out any contents inside the collection tank. Check each item against the carton contents list. Carton Contents List: Description .........Qty. Vac Assembly .........1 Filter Basket ...........1 Handle Assembly ........ -
Page 6: General Assembly Instructions
GENERAL ASSEMBLY INSTRUCTIONS A Philips head screw driver is required. UNPACKING YOUR WET/DRY VACUUM & GENERAL ASSEMBLY 1. Verify that the power cord is disconnected from the outlet. (Fig. 1) 2. Undo the latches. (Fig. 2) 3. Lift the power head off the collection tank. (Fig. 3) 4. -
Page 7: Dry Vacuum Operation
(included). To purchase the additional fine dust filters, ® call 1-866-384-8432 or get them at your local or online Vacmaster retailer. WARNING: DO NOT PLUG POWER CORD INTO POWER OUTLET. MAKE SURE PLUG IS DISCONNECTED BEFORE CHANGING THE FILTERS. -
Page 8: Liquid Vacuum Operation
LIQUID VACUUM OPERATION LIQUID VACUUMING WARNING: BE SURE TO READ, UNDERSTAND, AND APPLY, INFORMATION ENTITLED ‘SAFETY INSTRUCTIONS & WARNINGS’. DO NOT VACUUM IN AREAS WITH FLAMMABLE GASES, VAPORS, OR EXPLOSIVE DUSTS IN THE AIR. FLAMMABLE GASES OR VAPORS INCLUDE BUT ARE NOT LIMITED TO: LIGHTER FLUID, SOLVENT TYPE CLEANERS, OIL- BASED PAINTS, GASOLINE, ALCOHOL, OR AEROSOL SPRAYS. -
Page 9: Blower Operation
BLOWER OPERATION This Wet/Dry Vac has blowing capabilities. To use the blower feature follow the instructions listed. WARNING: ALWAYS WEAR SAFETY GOGGLES COMPLYING WITH ANSI Z87.1 (OR IN CANADA, CSAZ94.3) BEFORE USING BLOWER. WARNING: KEEP BYSTANDERS CLEAR FROM BLOWING DEBRIS. WARNING: WEAR A DUST MASK IF BLOWING CREATES DUST THAT MIGHT BE INHALED. -
Page 10: Maintenance
MAINTENANCE Emptying the Collection Tank WARNING: MAKE SURE POWER CORD IS DISCONNECTED BEFORE CHANGING THE FILTERS. 1. Verify that the power cord is disconnected from the outlet. (Fig. 1) 2. Disconnect the hose from the vacuum by turning in a counter clockwise direction. (Fig. 2) 3. -
Page 11: Installing & Cleaning Cartridge Filter
INSTALLING & CLEANING CARTRIDGE FILTER Installing Cartridge Filter 1. Verify that the power cord is disconnected from the outlet. (Fig. 1) 2. Remove power head and place in upside down position. 3. Install the cartridge filter over the filter cage with the flat end of the filter towards the power head. -
Page 12: Installing & Cleaning Foam Wet Filter
INSTALLING & CLEANING FOAM WET FILTER Installing Foam Wet Filter 1. Verify that the power cord is disconnected from the outlet. (Fig.1) 2. Remove power head and place in upside down position. Follow instructions to remove cartridge filter. 3. Carefully slide foam wet filter down over the filter cage making sure the cage is completely covered. -
Page 13: Exploded View
EXPLODED VIEW... -
Page 14: Parts List
PARTS LIST Part Drawing Number Description Quantity 551253101 Handle Assembly 551013103 Hose Holder Power Head Assembly 551013104 Float 551012116 Filter Cage VJFF Cartridge Filter 551062108 Filter Retainer 551253104 Latch Assembly 551062104 Quick Release Cord Wrap Assembly Collection Tank 551062105 Vacuum Port Assembly 551027140 Noise Diffuser 551059111...


Need help?
Do you have a question about the VFB511B 0201 and is the answer not in the manual?
Questions and answers