
Related Manuals for Sony Z90


Summary of Contents for Sony Z90
- Page 1 SONY Z90 CCTV PRODUCER MANUAL - CAMERA BASICS FULL AUTO SETTINGS CCTV Media Training // Intro to Camera // January 2019 ...
-
Page 2: In This Manual
6 - Microphone & Audio Settings 8 - Turning the Camera on 9 - LCD Screen Display Recording with the Z90 10 - Record Settings 11 - Record & Zoom Controls 12 - Thumbnail Playback - watching what you recorded... -
Page 3: Inside The Case
INSIDE THE CASE When you get your camera from CCTV It will come with the following items. You are responsible for each of these items. 1. Camera (with Handle mount & lens cap) 2. Battery - 2 large 3. Shotgun Microphone 4. -
Page 4: Battery And Charging
BATTERY & CHARGING ATTACHING THE BATTERY The battery goes into the back of the camera under the eye cup. Make sure the arrow is pointing towards the eye cup - place it in the slot and push up to click it into place. REMOVING THE BATTERY The battery release is located on the bottom of the camera. -
Page 5: Sd Card Settings
SD CARD SETTINGS INSERTING & REMOVING YOUR SD CARD Open the LCD display and locate the SD card door. Open the door & insert your SD card. Cards will push in and click into place. To remove the card - push the card in to release and it will pop out. -
Page 6: Attaching The Microphone
SETTING UP THE CAMERA AUDIO When you set up your camera you will also need to set up the Audio. As a default setting, if the microphone is not attached NO AUDIO will record. ATTACHING THE MICROPHONE Open the Mic latch & place the microphone into the holder. Make sure the rubber holder is positioned in the camera latch correctly. - Page 7 CHECKING YOUR AUDIO If your audio is set up correctly, you will see movement on the audio indicators on the LCD screen. If only one channel is moving, you may have the “REC CH SELECT” set to the wrong setting for the microphones you are using. USING THE HEADPHONES TO CHECK AUDIO Always check your audio using headphones.
-
Page 8: Turning The Camera On
TURNING THE CAMERA ON Power You can turn the camera On opening either the LCD display or the Eye Cup. When the camera indicator is on - the Power Indicator will glow green. Flip Open LCD panel If the camera is actively recording - you can close both the LCD display and eyecup and the camera will continue to record. -
Page 9: Lcd Screen
LCD SCREEN 1 - Battery life 2 - SD Card status 3 - SD card capacity 4 - Audio Indicators 5 - Exposure Settings (Iris, Gain, Shutter) 6 - ND filter indicator 7 - Manual focus indicator 8 - Recording Settings 9 - SD Card Settings (Relay / Simul) 10 - NO card indicator... -
Page 10: Record Settings
RECORD SETTINGS The camera should be set to the CCTV Default settings when you receive it (settings can be found in the back of this manual). Double check that the video resolution & quality is correct - or change it to the settings you want to use. -
Page 11: Zoom Buttons
RECORD & ZOOM BUTTONS RECORD BUTTONS There are two record buttons on the Z90 Camera. The main button is located on the back of the camera. The other record button is located on top of the handle. By default these will both control the active SD card. -
Page 12: Thumbnail Playback
Thumbnail PLAYBACK When the camera is on and the SD card is inserted. Hit the “Thumbnail” button on the camera to go into playback mode. SELECTING CLIPS TO PLAYBACK In playback mode you can use the screen as a touchscreen - or use the menu toggle to navigate through the options. - Page 13 Z90 Default Settings Each time you get your camera from CCTV it should be set to the following settings. ! 1 3...
- Page 14 NAVIGATING THE MENU & MAKING CHANGES Press the MENU button. You will navigate through the menu with the toggle SET button. ! 1 4...
-
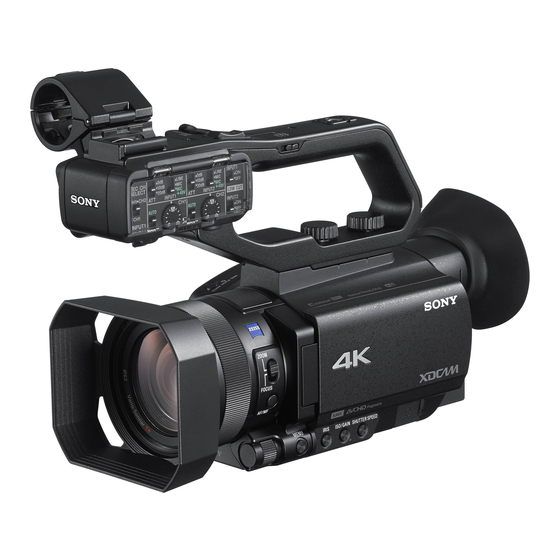
Page 15: Camera Buttons
CAMERA BUTTONS 1. Zoom lever 2. ASSIGN 4 - focus magnifier 3. Microphone holder 4. ASSIGN 5 - Iris Push Auto 5. ASSIGN 6 - Zebra 6. Recording lamp - flashes when capacity of memory card or battery becomes low. 7. - Page 16 1. Manual lens ring 2. Record Channel Select 3. ATT switch (INPUT 1) 4. Line/Mic/+48v switch (INPUT 1) 5. ATT switch (INPUT 2) 6. Line/Mic/+48v switch (INPUT 2) 7. Low Cut (INPUT 1) 8. Auto/Manual (CH1) 9. Audio Level (CH1) 10.
Need help?
Do you have a question about the Z90 and is the answer not in the manual?
Questions and answers
why is playback in the camera so low audio wise with my sennheiser external shot gun? also which video setting for recording do i use for professional broadcast quality