Advertisement
Quick Links
Wiring Diagram
The MVX-2011 gauges will work on
2011-up Softail models with 5" gauges
or 2012-up Dyna models with 5"
gauges. It is a direct plug in on these
models and requires no additional
wiring. Auxiliary temp or psi sensors
can be wired to the gauge.
IMPORTANT NOTE!
100 miles (160km) of operation. See "preset odometer" for instructions.
Mounting:
The MVX-2011 is designed to fit in the "Fat Bob" style five inch diameter dash mount gauge openings.
L-Bracket (supplied)
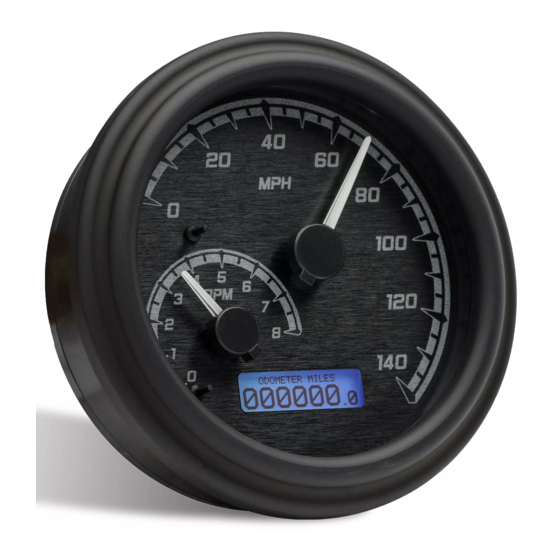
TANK MOUNT SPEEDOMETER/TACHOMETER
This gauge has an odometer preset option that is only available for the first
Dakota Digital Gauge
MVX-2011
Factory Gasket
1
MODEL MVX-2011
Factory Dash Panel
#8 Lock Washer
8-32 x ½" Screw
MAN#650536:A
Advertisement

Related Manuals for Dakota Digital MVX-2011


Summary of Contents for Dakota Digital MVX-2011
- Page 1 This gauge has an odometer preset option that is only available for the first 100 miles (160km) of operation. See “preset odometer” for instructions. Mounting: The MVX-2011 is designed to fit in the “Fat Bob” style five inch diameter dash mount gauge openings. Dakota Digital Gauge MVX-2011...
- Page 2 • Remove the dash. • Unclip and unplug the factory gauge. • Ensure that the rubber gasket is still in the dash or remove from factory gauge and place back on dash. • Insert new gauge from front of dash. •...
- Page 3 OPTIONAL OIL PRESSURE Dakota Digital part number SEN-1039 must be used. The sensor red wire connects to the gauge white/red wire, the sensor white wire connects to the gauge gray wire, and the sensor black wire connects to the gauge black wire.
- Page 4 FUNCTION SWITCH The factory speedometer push button switch is used as the main function switch. The function switch allows access to all of the mileage, RPM, and performance information. Pressing and releasing the function switch toggles through the different displays. Pressing and holding the switch for about four seconds will reset the current display. The display sequence for the speedometer is as follows: Speed message displays DESCRIPTION...
- Page 5 GAUGE SETUP AND CALIBRATION The function switch is used to enter setup mode. To get into setup, press and hold the function switch while turning the key on. Press and release the switch to advance through the menus below, when on the desired option press and hold the switch to select setup for that particular gauge/function.
- Page 6 Press and hold the switch while turning the key on. The speedometer will show the current revision code. Release the switch. Press and release the switch to move through the different setup menus. Press and hold the switch to select a menu option. Diag code Diagnostics mode for checking/clearing trouble codes •...
- Page 7 oil temp Engine oil temperature setup menu • Press and release the switch until “oil temp” is displayed, then press and hold the switch until the display blanks. • Release the switch. The display will show “ON” or “OFF” depending on whether the reading is currently enabled. •...
- Page 8 oil psi Engine oil temperature setup menu • Press and release the switch until “oil psi” is displayed, then press and hold the switch until the display blanks. • Release the switch. The display will show “ON” or “OFF” depending on whether the reading is currently enabled. •...
-
Page 9: Troubleshooting Guide
Any action for breach of any warranty hereunder, including any implied warranty of merchantability, must be brought within a period of 24 months from date of original purchase. No person or representative is authorized to assume, for Dakota Digital, any liability other than expressed herein in connection with the sale of this product. - Page 10 WARNING: This product can expose you to chemicals including lead, which is known to the State of California to cause cancer and birth defects or other reproductive harm. For more information go to www.P65Warnings.ca.gov MAN#650536:A...
Need help?
Do you have a question about the MVX-2011 and is the answer not in the manual?
Questions and answers