Sign In
Upload
Download
Table of Contents
Contents
Add to my manuals
Delete from my manuals
Share
URL of this page:
HTML Link:
Bookmark this page
Add
Manual will be automatically added to "My Manuals"
Print this page
×
Bookmark added
×
Added to my manuals
Manuals
Brands
turck Manuals
Controller
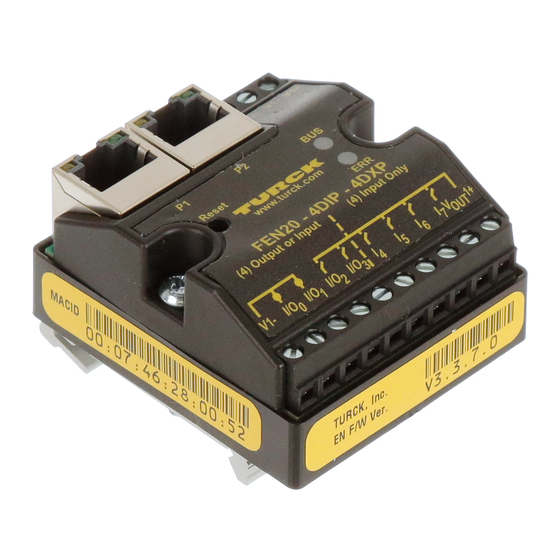
FEN20-4DIP-4DXP
Getting started manual
turck FEN20-4DIP-4DXP Getting Started Manual
Hide thumbs
1
2
Table Of Contents
3
4
5
6
7
8
9
10
11
12
13
14
15
16
17
18
19
20
21
22
23
24
25
26
27
28
29
30
31
32
33
34
35
36
37
38
39
40
41
42
page
of
42
Go
/
42
Contents
Table of Contents
Bookmarks
Table of Contents
Table of Contents
1 General Information
About These Instructions
Explanation of Symbols Used
Additional Documents
Feedback about These Instructions
2 Notes on the Product
Product Identification
Manufacturer and Service
3 FEN20 Product Family
Definition of Terms
4 FEN20 IP Address Setup
Fen20-4Dip-4Dxp
Downloading Turck Service Tool
Service Tool Features
Assigning an IP Address Using Turck Service Tool
Assigning an IP Address Using Rockwell BOOTP/DHCP
Fen20-16Dxp
Modes of Operation
5 Ethernet/Ip™ Configuration (Rockwell)
Turck Catalog Files
Configuration with Catalog File
Configuration with EDS File
6 PROFINET Configuration
GE Proficy Machine Edition Setup
Create New GE Project
Add the FEN20 Device
Assign FEN20 Name and IP Address
Installing GSD / GSDML Files in the Hardware Configuration
Adding a PROFINET Device Onto the Network
7 Modbus TCP Configuration
Create TX500 Modbus TCP Master Project
Add Ethernet Adapter
Add Modbus Master
Add Modbus TCP Slave
Configure FEN20 IO Data Map
Advertisement
Quick Links
1
Fen20 Ip Address Setup
2
Fen20-4Dip-4Dxp
3
Modes of Operation
4
Fen20-16Dxp
Download this manual
Your Global Automation Partner
FEN20-...
Startup
Getting Started Guide
Table of
Contents
Previous
Page
Next
Page
1
2
3
4
5
Advertisement
Table of Contents
Need help?
Do you have a question about the FEN20-4DIP-4DXP and is the answer not in the manual?
Ask a question
Questions and answers
Related Manuals for turck FEN20-4DIP-4DXP
Control Unit turck TBEN EN1 Series Getting Started Manual
Spanner modules (77 pages)
Controller turck FEN20-16DXP Getting Started Manual
(42 pages)
Controller turck TBEN-LL-4RMC-4DIP-4DXP Instructions For Use Manual
Motor roller controller (121 pages)
Controller turck TX707 Quick Start Manual
Hmi (8 pages)
Controller turck TBEN-L Series Instructions For Use Manual
Compact codesys v3 plc (126 pages)
Controller turck TX700S Series Instructions For Use Manual
Plc and iiot edge controller (35 pages)
Controller turck CODESYS 3 Getting Started
Profinet controller/device (45 pages)
Controller turck TBEN-LF Series Manual
(31 pages)
Controller turck TX700S Instructions For Use Manual
Plc and iiot edge controller (40 pages)
Controller turck TX700 Series Quick Start Manual
(4 pages)
Controller turck HMI – TX200 Quick Start Manual
(4 pages)
This manual is also suitable for:
Fen20-4dip-4dxp-din
Fen20-4din-4dxn
Fen20-4din-4dxn-din
Fen20-en1-din
Fen20-en1
Fen20-16dxp
Table of Contents
Print
Rename the bookmark
Delete bookmark?
Delete from my manuals?
Login
Sign In
OR
Sign in with Facebook
Sign in with Google
Upload manual
Upload from disk
Upload from URL


Need help?
Do you have a question about the FEN20-4DIP-4DXP and is the answer not in the manual?
Questions and answers