Table of Contents
Advertisement
Quick Links
Advertisement
Table of Contents

Subscribe to Our Youtube Channel
Related Manuals for MakerBot METHOD


Summary of Contents for MakerBot METHOD
- Page 1 REFERENCE GUIDE...
-
Page 2: Chapter 1 Welcome
CHAPTER 1 WELCOME Welcome to the Reference Guide for the MakerBot Method™ Performance ® 3D Printer. -
Page 3: Legal Notices
MakerBot Industries, LLC and our respective affiliates and suppliers (“MakerBot”) reserves the right to modify or revise this Manual in its sole discretion and at any time and makes no commitment to provide any such changes, updates, enhancements, or other additions to this Manual in a timely manner or at all. -
Page 4: Safety And Compliance
One MetroTech Center, 21 Floor Brooklyn, NY 11201 347.334.6800 PRODUCT: 3D Desktop Printer MakerBot declares that the radio equipment type 802.11 MODEL: METHOD a/b/g/n dual band complies with Directive 2014/53/EU. METHOD, Cat Nos. PACT56 CMIIT ID: XXXXXXXXXX RATINGS: 100-240VAC~ 50/60 Hz, 3.9 - 1.6 A Regulatorycompliance@makerbot.com... - Page 5 Dust generation and accumulation should be minimized. Some dust and dry powders can build static electricity charges when subjected to friction and create an ignition hazard. Note: For users in Japan, the power cord is only for use with this printer model, the MakerBot Method Performance 3D Printer.
-
Page 6: Specifications
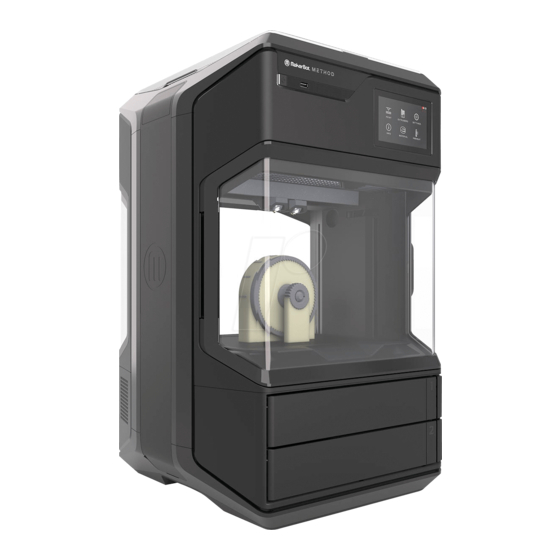
MakerBot printer via your local network, USB drive, or USB cable. The MakerBot Method will melt materials and extrude it out onto the build plate in thin lines to build your object layer by layer. The heated build chamber allows the extruded material to cool slowly, minimizing warping and curling. - Page 7 MAKERBOT METHOD DIAGRAM PRINTER LID PRINTER LID POWER BUTTON POWER BUTTON TOUCHSCREEN TOUCHSCREEN USB KEY PORT USB KEY PORT MODEL 1 MODEL 1 PERFORMANCE EXTRUDER PERFORMANCE EXTRUDER SUPPORT 2 SUPPORT 2 PERFORMANCE EXTRUDER PERFORMANCE EXTRUDER HEATED BUILD CHAMBER HEATED BUILD CHAMBER...
-
Page 8: Chapter 2 Getting Started
CHAPTER 2 GETTING STARTED When you set up your MakerBot Method™ Performance 3D Printer, ® remember that it was built and packaged very carefully. We hope you will take your time and be just as careful unpacking it and getting it set up. -
Page 9: Need Help
US/CAN Call: +1 925.529.8563 Mon - Fri 9am – 6pm ET US/CAN Call: +1 925.529.8563 Mon - Fri 9am – 6pm ET US/CAN Call: +1 925.529.8563 Mon - Fri 9am – 6pm ET UNPACKING THE METHOD Or Visit: Support.MakerBot.com Or Visit: Support.MakerBot.com Or Visit: Support.MakerBot.com... -
Page 10: Starter Kit
STARTER KIT Inside the box of your MakerBot Method, you will find all the necessary tools to get started, including both a Model Performance Extruder and Support Performance Extruder, a spring steel build plate, a leveling hex key, a nozzle cleaning brush, and two power cords (North America and EU). -
Page 11: Chapter 3 Guided Setup
CHAPTER 3 GUIDED SETUP The first time you turn on your MakerBot Method™ Performance 3D ® Printer, you will be guided through the setup process via the onboard touchscreen. From there, you will learn everything you need to know to... - Page 12 PERFORMANCE EXTRUDER PERFORMANCE EXTRUDER The first time you turn on your MakerBot Method, you will be guided through the initial setup process using the MakerBot Method user interface. This Guided Setup will walk you through connecting the printer to an internet...
-
Page 13: Chapter 4 Touchscreen User Interface
You can use these options to print objects from a USB flash drive on your MakerBot Method™ Performance 3D Printer ® or start prints initiated via MakerBot Print™ software. You can also change printer settings and monitor a print’s progress. -
Page 14: Home Screen
HOME SCREEN The touchscreen gives you six options for managing your printer and the printing process: › PRINT › EXTRUDERS › SETTINGS › INFO › MATERIAL › ADVANCED... -
Page 15: Start A Print
USB port. START PRINT PRINTING Choose a .MakerBot file that has been exported from MakerBot During the printing process you will be able to view print progress information and other printer details. Print to begin printing. Note that the file needs to be formatted from within MakerBot Print for MakerBot Method before being Percentage of the print completed. - Page 16 If there is an update, push the screen to begin the download. If the MakerBot Method already has the most current firmware, a message will display on the touchscreen stating that your firmware is already up-to-date.
-
Page 17: Reset To Factory Settings
Extruder Assembly and close the latch onto the extruder. If the Performance Extruder is successfully attached, you will see the extruder icon highlighted. NOTE: Only the Performance Extruder is supported for the MakerBot Method. Both extruders are required to start a print. INFO Select the [INFO] icon to view firmware information, network information, and print statistics from your MakerBot Method. -
Page 18: Chapter 5 Makerbot Print
CHAPTER 5 MAKERBOT PRINT The MakerBot Method™ Performance 3D Printer streamlines 3D print ® preparation and file management using MakerBot Print™software. MakerBot Print is a free desktop application that allows you to discover, prepare, manage, and share 3D prints. - Page 19 When you are ready to print your model, click PRINT in MakerBot Print to slice the model using the current settings and send a .makerbot print file to your MakerBot Method. You will be reminded to clear the build plate and asked to initiate the print on the touchscreen.
-
Page 20: Chapter 6 Printer Maintenance
As soon as you take your MakerBot Method™ Performance 3D Printer ® out of the box, it is ready to print high-quality models. However, like any precision machine, routine maintenance is needed. Here are some ways you can keep your MakerBot Method printing smoothly. -
Page 21: Other Issues
MAINTAINING THE BUILD PLATE The surface of the MakerBot Method build plate, known as the Grip Surface, allows for better print adhesion and print quality compared to other types of build surfaces. However, over time the grip surface can become cracked and damaged. -
Page 22: Chapter 7 Reference
MAKERBOT ACCOUNT: The username and password you will USB DRIVE: A USB flash drive. You can use a USB drive to use to sign in to MakerBot Print, and log on to Thingiverse and transfer print files to and from the MakerBot Method. Make sure other MakerBot sites. - Page 23 At MakerBot, we take pride in offering expert, responsive, friendly customer support to our customers around the world. If you need help resolving an issue with your MakerBot Method, open a case with the MakerBot Support Team at the web address above.
Need help?
Do you have a question about the METHOD and is the answer not in the manual?
Questions and answers