Sign In
Upload
Download
Table of Contents
Contents
Add to my manuals
Delete from my manuals
Share
URL of this page:
HTML Link:
Bookmark this page
Add
Manual will be automatically added to "My Manuals"
Print this page
×
Bookmark added
×
Added to my manuals
Manuals
Brands
Miele Manuals
Cooktop
KM 5603
Operating and installation instructions
Miele KM 5603 Operating And Installation Instructions
Hide thumbs
1
Table Of Contents
2
3
4
5
6
7
8
9
10
11
12
13
14
15
16
17
18
19
20
21
22
23
24
25
26
27
28
29
30
31
32
33
34
35
36
37
38
39
40
41
42
43
44
45
46
47
48
49
50
51
52
53
54
55
56
57
58
59
60
61
62
63
64
65
66
67
68
69
70
71
72
page
of
72
Go
/
72
Contents
Table of Contents
Bookmarks
Table of Contents
Table of Contents
Warning and Safety Instructions
Caring for the Environment
Overview
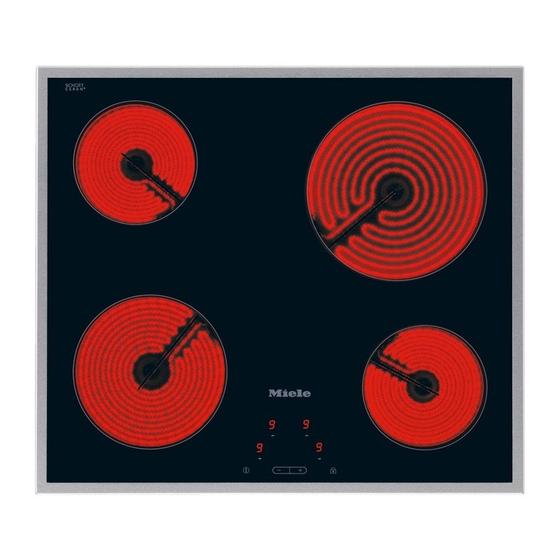
Cooktop
Controls / Indicators
Cooking Zone Data
Using for the First Time
Cleaning the Cooktop for the First Time
Switching on the Cooktop for the First Time
How the Cooking Zones Work
Pans
Tips on Saving Energy
Power Level Range
Operation
Operating Principles
Switching on
Selecting/Changing the Power Setting
Switching off
Residual Heat Indicator
Extension
Auto Heat-Up
Timer
Minute Minder
Switching a Cooking Zone off Automatically
Using both Timer Functions at the same Time
Safety Features
Safety Lock / System Lock
Safety Switch-Off
Overheating Protection
Cleaning and Care
Programming
Reset
Problem Solving Guide
Optional Accessories
Safety Instructions for Installation
Safety Distances
Cooktops with Frame or Bevelled Edge
Installation Notes
Building-In Dimensions
Installation
Flush-Fitted Cooktops
Installation Notes
Building-In Dimensions
Installation
Electrical Connection
External Mains Connection Box
Wiring Diagram
After Sales Service, Data Plate, Warranty
Advertisement
Quick Links
1
Cooktop
2
Controls / Indicators
3
Safety Lock / System Lock
4
Problem Solving Guide
5
Building-In Dimensions
Download this manual
Operating and installation instructions
Ceramic cooktops
To prevent the risk of accidents or damage to the appliance, it is
essential to read these instructions before it is installed and used for
the first time.
en-AU, NZ
M.-Nr. 07 687 890
Table of
Contents
Previous
Page
Next
Page
1
2
3
4
5
Advertisement
Table of Contents
Need help?
Do you have a question about the KM 5603 and is the answer not in the manual?
Ask a question
Questions and answers
Related Manuals for Miele KM 5603
Hob Miele KM 5600 Operating And Installation Instructions
(64 pages)
Hob Miele KM-5600 Operating And Installation Instruction
(60 pages)
Cooktop Miele KM 5600 Operating And Installation Instructions
Ceramic cooktop (52 pages)
Cooktop Miele KM 5656 Operating And Installation Instructions
Miele ceramic cooktop operating and installation instructions (44 pages)
Cooktop Miele KM5656 Product And Cut-Out Dimensions
Touch control electric cooktop (1 page)
Cooktop Miele KM 5656 Operating Instructions Manual
Ceramic cooktop (40 pages)
Cooktop Miele KM 5676 Operating And Installation Instructions
Miele ceramic cooktop operating and installation instructions (44 pages)
Cooktop Miele KM5676 Product And Cut-Out Dimensions
Touch control electric cooktop (1 page)
Cooktop Miele KM 5676 Operating And Installation Instructions
Ceramic cooktop (44 pages)
Cooktop Miele KM 5676 Operating Instructions Manual
Ceramic cooktop (44 pages)
Cooktop Miele KM 5621 Operating And Installation Instructions
Miele cooktop user manual (36 pages)
Cooktop Miele KM 5621 Operating And Installation Instructions
(52 pages)
Cooktop Miele KM5621 Product Dimensions
Miele knob control electric cooktop (1 page)
Cooktop Miele KM 5670 Operating And Installation Instructions
Ceramic cooktops (60 pages)
Cooktop Miele KM 5613 Operating And Installation Instructions
(72 pages)
Cooktop Miele KM 5618 Operating And Installation Instructions
(72 pages)
This manual is also suitable for:
Km 5600
Km 5604
Km 5613
Km 5607
Km 5612
Km 5618
...
Show all
Km 5617
Table of Contents
Print
Rename the bookmark
Delete bookmark?
Delete from my manuals?
Login
Sign In
OR
Sign in with Facebook
Sign in with Google
Upload manual
Upload from disk
Upload from URL


Need help?
Do you have a question about the KM 5603 and is the answer not in the manual?
Questions and answers