Miele KM 5656 Operating Instructions Manual
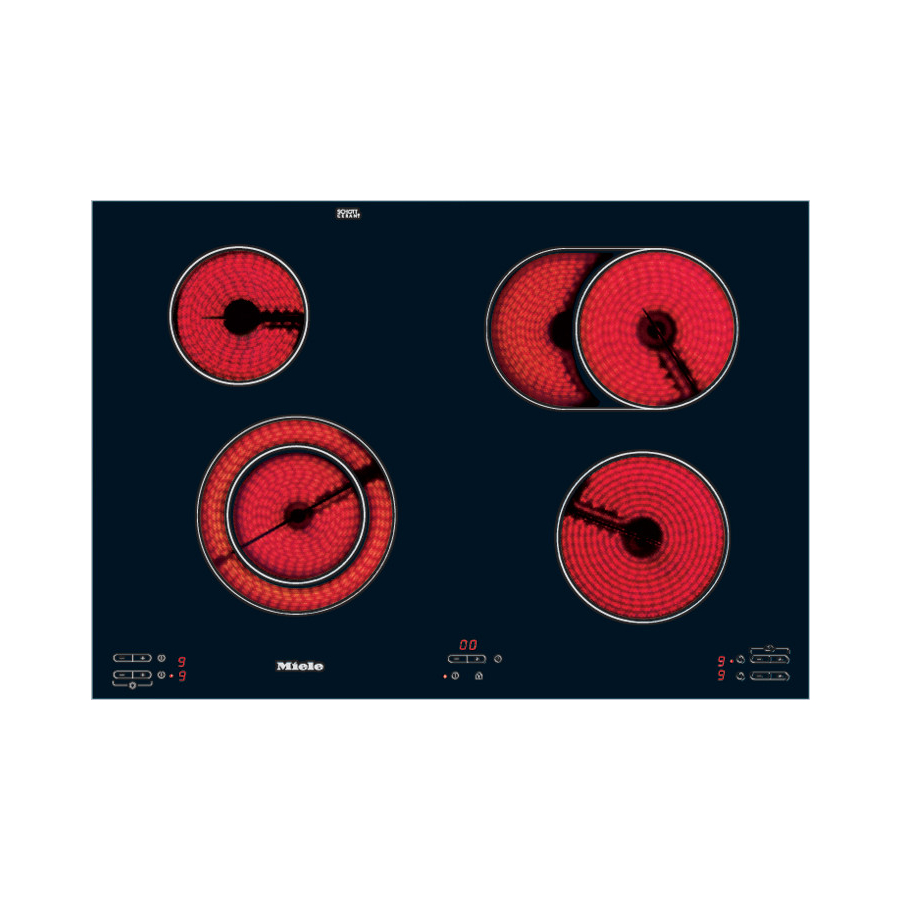
Ceramic cooktop
Hide thumbs
Also See for KM 5656:
- Operating and installation instructions (44 pages) ,
- Specifications (7 pages) ,
- Product and cut-out dimensions (1 page)

Related Manuals for Miele KM 5656


Summary of Contents for Miele KM 5656
-
Page 1: Operating Instructions
Operating Instructions Ceramic Cooktop KM 5656 To prevent accidents and appliance damage, read these instructions before installation or use. M.-Nr. 06 611 220... -
Page 2: Table Of Contents
Contents IMPORTANT SAFETY INSTRUCTIONS ....... . . 3 Guide to the appliance ..........8 Cooktop . -
Page 3: Important Safety Instructions
IMPORTANT SAFETY INSTRUCTIONS READ THE OPERATING To guarantee the electrical safety of this appliance, continuity must INSTRUCTIONS CAREFULLY exist between the appliance and an BEFORE USING THE effective grounding system. It is COOKTOP imperative that this basic safety requirement be met. If there is any WARNING - doubt, have the electrical system of the house checked by a qualified... - Page 4 IMPORTANT SAFETY INSTRUCTIONS Injury prevention Protect your hands with insulated gloves or potholders when using Children should not be left the appliance. Use only dry, heat unattended in an area where the resistant potholders. Moist or damp cooktop is in use. Never allow children potholders used on hot surfaces can to sit or stand on any part of the result in steam burns.
- Page 5 IMPORTANT SAFETY INSTRUCTIONS Never leave a cooktop unattended To prevent burns and breathing at high settings or when cooking difficulty, allow the cooktop to cool with oil or fat. Overheated oil could before cleaning. Some cleaners may ignite. Always heat oil slowly, monitoring produce toxic fumes if applied to a hot it as it heats.
- Page 6 IMPORTANT SAFETY INSTRUCTIONS Damage protection Do not allow either solid or liquid sugar, pieces of plastic or foil to fall Never place hot pots or pans over on the burners when they are hot. If the touch controls, this may these residues are allowed to cool on damage the electronics.
-
Page 7: Appliance Safety
The insulation main power supply. Call Miele’s of the cable could become damaged. Technical Service Department. Danger of electric shock! Do not use the appliance until it has Do not use plastic or aluminum. -
Page 8: Guide To The Appliance
Guide to the appliance Cooktop ac Single burners b Extended burner d Variable burner e Burner controls and displays f Cooktop on or active indicator g Cooktop ON/OFF touch control h Safety lock touch control i Safety lock indicator j Timer controls and display... -
Page 9: Burner Controls And Displays
Guide to the appliance Burner controls and displays a Touch controls To select the power level (touch individually). To activate the second heating circle of the variable burner (touch simultaneously). b Burner On/Off touch control c Display: = Burner is ready for use = Burner is turned on 1 to 9 = Power level... -
Page 10: Timer Controls And Display
Auto turn off indicator, e.g. rear right burner Burner data Burner KM 5656 diameter in inches / cm Power in watts " / 8 " 1100 / 2400 (12 / 21 cm) "... -
Page 11: Before Using For The First Time
Before using for the first time Clean the cooktop Touch controls Before using for the first time, clean and This cooktop has electronic controls dry the cooktop with a soft damp cloth. activated by the touch of a finger. There is a separate touch control for each burner. -
Page 12: Resetting The Touch Controls
Resetting the touch controls Automatic reset Manual reset ^ Make sure no direct light (sun or To ensure the cooktop functions properly the touch controls will artificial) beams onto the cooktop. automatically reset: The surrounding area of the cooktop should not be completely shaded or –... -
Page 13: Use
Turning on the cooktop Turning on a variable or extended burner ^ Touch the s On/Off cooktop touch control. The second circle of a variable burner or the extended burner can be turned A horizontal bar – will appear in each of on to extend the cooking area for larger the burner displays and the On/Off pots and pans. -
Page 14: Settings
Settings Use for Power level* Melting butter, chocolate, etc. 1 - 2 Dissolving gelatin Preparing yogurt Thickening sauces containing egg yolk and butter 1 - 3 Warming small quantities of food or liquid Warming sticky foods Cooking rice Warming liquid and half-set foods 2 - 4 Thickening sauces Cooking rice pudding... -
Page 15: Auto Heat
Auto heat Power level Heat up time When auto heat has been activated the (minutes : seconds) burner turns on automatically at the highest setting and then changes to the 1 : 20 continued power level which was 2 : 45 selected. -
Page 16: Turning Off A Burner
Turning off a burner Residual heat indicator ^ Touch the s On/Off touch control for the desired burner. The display shows - for a few seconds. If the burner is still hot the residual heat The bars in the residual heat indicator indicator will show. -
Page 17: Selecting Cookware
Selecting cookware Following these tips will allow you to Pots and pans make the most of your ceramic Special cookware is not required, but cooktop. as is true with all types of cooking appliances, the better the cookware, The cooking surface the better the performance. - Page 18 Selecting cookware Copper bottom and aluminum pans may leave a residue on the cooktop in the form of metallic lines. This is normal. These lines can be removed using a non-abrasive ceramic cooktop cleaner or a shielded scraper blade. Be sure to clean the cooktop after each use.
-
Page 19: Timer
Timer Setting the timer The cooktop has a timer which can be used to: The timer can be set with the cooktop – time any activity in the kitchen. either turned on or off. It can be set from 1 to 99 minutes. –... -
Page 20: Setting The Timer To Turn Off A Burner Automatically
Timer Setting the timer to turn off a The set time counts down in minutes in the time display. The remaining time is burner automatically displayed and can be changed at any To use this feature a power level must time by pressing - or +. -
Page 21: Safety Features
Safety features Safety Lock To deactivate the Safety Lock ^ Press and hold the $ Safety lock Keep children away from the control until the indicator goes out. cooktop for their own safety. In the case of a power failure the The cooktop has a Safety Lock to Safety Lock will be deactivated. -
Page 22: Safety Cut-Out Feature
Safety features Safety cut-out feature Covered touch controls The cooktop will turn off automatically if The cooktop is on too long any of the touch controls are covered The cooktop has a safety cut-out for more than 10 seconds, e.g. by feature in case it is not turned off after finger contact, food boiling over, or an use. -
Page 23: Overheating Protection
Safety features Overheating protection Each burner is equipped with a temperature limiter. This limiter turns off the heating elements in the burner before the ceramic surface becomes too hot. Once the ceramic surface has cooled to a safe temperature the heating elements will automatically turn back on. -
Page 24: Cooktop Settings
Auto-heat settings Default power Demo mode Power level range Residual heat indicator Safety lock Timer function Timer start setting Timer tone Tone for touch controls If you would like to reprogram the settings of your cooktop, please contact Miele for assistance. -
Page 25: Cleaning And Care
Cleaning and Care Do not use a steam cleaner to clean Clean any spills immediately before this appliance. Steam could they become difficult to remove. penetrate electrical components and cause a short circuit. Pressurized Clean the appliance regularly, steam could cause permanent preferably after each use. -
Page 26: Frequently Asked Questions
What if the burner does not heat up but can be turned on and a power level can be selected? Possible fault The cooktop is in the demo mode. Call Miele Technical Service. What if the cooktop turns off during use, a tone sounds and the residual heat indicator or a flashing F appears? Possible fault The burner was on for too long or See "Safety cut-out feature". - Page 27 See, "Resetting the touch controls - automatically. They must be reset Manual reset". manually. If the problem persists, call Miele Technical Service. What if the rear burner display shows F, the front burner display shows E and the timer shows numbers?
-
Page 28: Technical Service
Technical Service In the event of a fault which you cannot easily fix yourself, please contact the Miele Technical Service Department. U 1-800-999-1360 techserv@mieleusa.com V 1-800-565-6435 service@miele.ca When contacting Technical Service please quote the serial number and model of the cooktop. This information is visible on the silver data plate supplied with the cooktop. -
Page 29: Installation Instructions
Installation Instructions... -
Page 30: Important Safety Instructions
IMPORTANT SAFETY INSTRUCTIONS Note to the installer: Please leave this instruction book with the consumer for the local electrical inspector’s use. The minimum distances given in these Installation Instructions must be observed in order to ensure safe operation. Failure to do so increases the risk of fire. - Page 31 Please adhere to the greater distance. These contact the Miele Technical Service measurements should be given in their Department with specific requirements. operating and installation instructions.
-
Page 32: Installation
Installation Cooktops flush with the countertop Frame/Facet cooktops a Wall b Wall covering c Back splash strip d Countertop e Countertop cut-out f 2" (50 mm) minimum distance... - Page 33 Installation Installation dimensions a Spring clips b Installation height c Installation height power supply line d Front e Flexible stainless steel hose Length = 3’ 11" (1200mm)
- Page 34 Installation Cut out If during installation the seal around ^ Make the countertop cut-out following the frame does not sit flush with the the dimensions given in the countertop in the corners, the corner illustration. radius, maximum " (4 mm), can Remember to maintain a minimum be carefully filed down to fit.
-
Page 35: Installing The Spring Clips
Installation Installing the spring clips Wood or corian countertops Granite countertops ^ Fix the supplied spring clips at the ^ For granite countertops, the spring marked positions as shown above, clips must be placed in position and by laying them on the upper edge of secured with strong, double-sided the cut-out and then securing them adhesive tape. -
Page 36: Installing The Cooktop
Installation Installing the cooktop Wooden countertop ^ Feed the power cord down through the cut-out and connect the appliance to the power supply. ^ Position the cooktop on the spring clips, a. ^ Then with a hand on each side of the cooktop press down evenly on the edges until it clicks into position. - Page 37 Installation Sealing The cooktop must not be permanently sealed into the countertop when installed. The sealing strip under the edge of the cooktop provides a sufficient enough seal. If the cooktop is sealed into position, the countertop or the appliance may be damaged if the cooktop needs to be removed for maintenance or service.
-
Page 38: Electrical Connection
Electrical connection Power supply CAUTION: Before installation or Make sure your electrical supply servicing, disconnect the power matches the data plate. supply by either removing the fuse, shutting off the power main or Connection manually "tripping" the circuit breaker. The cooktop is equipped with a flexible power cord consisting of 3 wires ready Installation work and repairs should for connection to a grounded power... -
Page 39: Help Protect Our Environment
Help protect our environment Disposal of packing materials Disposal of an old appliance The cardboard box and packing Old appliances contain materials that materials are biodegradable and can be recycled. Please contact your recyclable. Please recycle. local recycling authority about the possibility of recycling these materials. - Page 40 Alterations rights reserved / 3605 M.-Nr. 06 611 220 / 01 en - US...
Need help?
Do you have a question about the KM 5656 and is the answer not in the manual?
Questions and answers