Subscribe to Our Youtube Channel
Summary of Contents for Cleanmate S 5000
- Page 1 Cleanmate Robot Window Cleaner Cleanmate S 5000 CC901 Instruction Manual USER MANUAL...
- Page 2 Congratulations on the purchase of your CC901! We hope it brings you many years of satisfaction. We trust the purchase of your new robot will help keep your home clean and provide you more quality time to do other things. Should you counter situations that have not be properly addressed in this Instruction Manual, please contact our Customer Service Center where a technician can address your specific problem or question.
-
Page 3: Table Of Contents
Contents 1. Important Safety Instructions................1 2. Package Contents and Technical Specifications..........2 2.1 Package Contents..................2 2.2 Specifications....................2 2.3 Product Diagram..................3 3. Operating CC901 .....................4 3.1 Notes before Cleaning................4 3.2 Attach Cleaning Pad..................5 3.3 Assemble Power Adapter................5 3.4 Install Safety Tether..................5 3.5 Place Safety Pod..................6 3.6 Spray Cleaning Solution................6 3.7 Start......................7 3.8 Pause......................8... -
Page 4: Important Safety Instructions
1. Important Safety Instructions When using an electrical appliance, basic precautions should always be followed, including the following: READ ALL INSTRUCTIONS BEFORE USING THIS APPLIANCE. SAVE THIS INSTRUCTION MANUAL. 1. This Appliance is not intended to be used by children under or anyone lacking knowledge on proper use. Supervision may be necessary. -
Page 5: Package Contents And Technical Specifications
2. Package Contents and Technical Specific 2.1 Package Contents CC901 Power Adapter Instruction Manual Extension Cord (1.5m/4’11 Safety Pod and Tether Remote Control Cleaning Pads Cleaning Solution 2.2 Unit Specification Model No CC901 Working Voltage 24V DC Rated Power Remote Control Rated output voltage 3V DC Power Adapter: GQ90-240375-E2... -
Page 6: Product Diagram
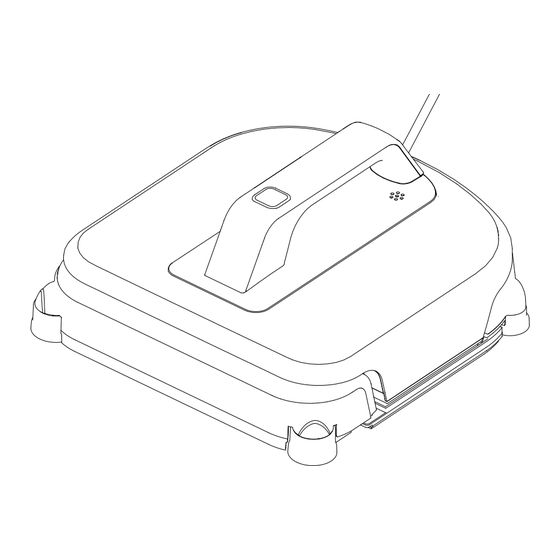
2. Package Contents and Technical Specific 2.3 Product Diagram CC901 Unit 10. Cleaning Pad 1. Front Bumper 13、风机 13、风机 1、前档 1、前档 7、后档 7、后档 11. Squeegees 2. Status Indicator Light 12. Cleaning Pad 14、驱动轮 14、驱动轮 2、状态指示灯 2、状态指示灯 8、电源线 8、电源线 3. START/PAUSE Button 13. -
Page 7: Operating Cc901
3. Operating CC901 3.1 Notes Before Cleaning Do not use CC901 on a framed window CC901 can clean framed or frameless with a frame smaller than 5mm (0.2"). glass, larger than 50 x 50cm (19.7’ ’x 1 9.7’’). If CC901 ’s Status Indicator Light flashes If the window is covered with dirt, RED after powering ON, please conncet clean a small area on the glass... -
Page 8: Attach Cleaning Pad
3. Operating CC901 Please sure there is a 13cm (5.1") clearance between the glass and obstacles in the room like curtains or furniture. CC901 can clean horizontally mounted glass but only when using the Direction Control Buttons on the Remote Control. -
Page 9: Place Safety Pod
3. Operating CC901 Loop one end of the Connect end A and end B and tight. Loop the other end of the Safety Tether Safety Tether to end A around the Safety Pod’s channel and on the CC901 Power pull it tight. Cord and tight. -
Page 10: Start
3. Operating CC901 3.7 Start Plug in CC901 CAUTION: * Do not unplug CC901 while it is cleaning. Power ON Move the Power Switch to the "--" position. CC901 is powered ON when the Status Indicator Light flashes BLUE. CAUTION: * Keep objects away from CC901’s Fan to avoid bl ockage. -
Page 11: Pause
3. Operating CC901 " N " Cleaning Mode is Best " Z " Cleaning Mode is best for tall windows. for wide windows. CC901 CC901 cleans in an " N " path. cleans in a " Z " path. CAUTION: If the remote control not able to command the CC901 unit. Please check below steps matc hcode for CC901 and the remote control. -
Page 12: Stop
3. Operating CC901 3.9 Stop When CC901 completes its cleaning cycle, it returns to the place it started and beeps. Remove CC901 Power OFF Grasp CC901’s Handle. Press and hold for Move the Power Switch to the "o" approximately 5 seconds and the fan will position. -
Page 13: Maintance
4. Maintance Before performing cleaning and maintance on CC901, Power OFF and unplug CC901 from the glasses. 4.1 Cleaning Pad Turn CC901 over and remove the Cleaning Pad. Soak the Cleaning Pad in 20℃, clean water for 2 minutes. Hand wash with mild detergent and lay flat to dry. -
Page 14: Driving Treads
4. Maintance 4.3 Driving Treads Turn CC901 over and move the Power Switch to "--" position. The fan motor will shut down about 8 seconds later. Press the "Wheel Clean" button on remote control start to clean the wheels. Inspect the Driving Treads by using the START/PAUSE button on the Remote Control. -
Page 15: Status Indicator Light And Sounds
5. Status Indicator Light and Sounds Twinkles Blue (slowly) CC901 will not clean until the Back-Up Battery is properly charged. Flashes Blue (quicker) CC901 is powered ON and ready to be placed on the glass. Solid Blue CC901 has successfully adhered itself to the glass and is ready to clean. Flashes Red CC901 power connection has a problem or the vacuum is not good enough. -
Page 16: Troubleshooting
6. Troubleshooting Malfunction Possible Causes Solutions Cleaning pads was installed Remove the cleaning pad and adhere neatly onto the velcro. improperly Status Indicator light flashes BLUE when CC901 adhered Edge detection sensors with Check if the edge detection sensors was stucked by cleaning pad or dirts. to glass problem There is too much dirt and debris on...

Need help?
Do you have a question about the S 5000 and is the answer not in the manual?
Questions and answers