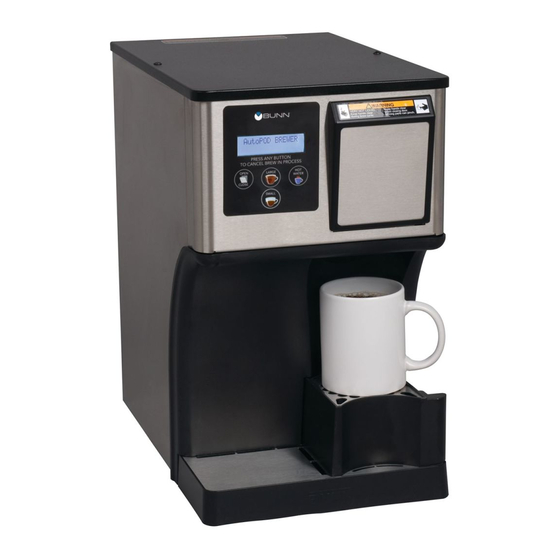
Bunn AutoPOD Instructions For Installing
Retrofi t tank kit #41021.1100
Hide thumbs
Also See for AutoPOD:
- Technical training manual (31 pages) ,
- Installation & operating manual (15 pages) ,
- Illustrated parts catalog (15 pages)
Table of Contents
Advertisement
Quick Links
INTRODUCTION
WARNING - The brewer must be disconnected from the power source until installation is completed. Allow
brewer to cool.
This instruction covers the installation of new style tanks into early models.
WARNING: Software must be at version .17 or higher to operate new style temperature probes.
KIT CONTENTS
1
42041.0000
1
41022.0000
2
28891.0009
2
36629.0003
2
12422.0000
1
12422.0006
2
12422.0011
1
41816.0000
INSTRUCTIONS
Refer to illustrations.
1. Follow tank draining procedure in Operating Manual.
2. Remove rear access panel.
3. Remove 3 screws securing board mounting bracket to frame. Pivot board assembly to gain access to plumbing
under brew tank.
4. Disconnect hoses & connectors from both tanks.
5. Remove the screws securing the tank retaining straps & remove tanks.
6. Cut the steel bands from old tanks & remove limit thermostats. Install them under clips of new tanks &
reconnect harnesses. FIG 2A & B
7. Install new tank assemblies & retaining straps.
8. Install level probe in Hot Water tank.
41816.0000B 04/09 ©2009 Bunn-O-Matic Corporation
Hot Water Tank
Brew Tank
Temp probes
Braided tubes
Clamps, SNP-6 (Lower)
Clamp, SNP-8 (HW inlet)
Clamps, SNP-4 (Upper)
Instructions
CONTINUED
BUNN-O-MATIC CORPORATION
POST OFFICE BOX 3227
SPRINGFIELD, ILLINOIS 62708-3227
PHONE: (217) 529-6601
AutoPOD
Instructions for Installing
Retrofi t Tank Kit #41021.1100
FAX: (217) 529-6644
Advertisement
Table of Contents

Summary of Contents for Bunn AutoPOD
- Page 1 FIG 2A & B 7. Install new tank assemblies & retaining straps. 8. Install level probe in Hot Water tank. CONTINUED BUNN-O-MATIC CORPORATION POST OFFICE BOX 3227 SPRINGFIELD, ILLINOIS 62708-3227 PHONE: (217) 529-6601 FAX: (217) 529-6644 41816.0000B 04/09 ©2009 Bunn-O-Matic Corporation...
- Page 2 New thermistors mounted through top Brew Tank Hot Water Tank Limit thermostat clips FIG 1 NEW STYLE TANKS 9. Connect inlet & outlet hoses to both tanks. NOTE: New HW tank has larger inlet barb fi tting than old HW tank. FIG 2.
- Page 3 Reuse level probe Discard Discard Cut band, reuse limit FIG 2A OLD STYLE HOT WATER TANK SHOWN FIG 2B NEW STYLE BREW TANK SHOWN CONTINUED...
- Page 4 HOT WATER TANK THERMISTOR BREW TANK THERMISTOR FIG 3 11. Reinstall control board/bracket assembly. Connect temp probe harness to control board. FIG 3 12. Replace the rear access panel. Place large cup under brew chamber. 13. NOTE A: If using same control board, use the initial tank fi ll procedure; press & hold “OPEN/CLOSE” & “HOT WATER”...


Need help?
Do you have a question about the AutoPOD and is the answer not in the manual?
Questions and answers