Advertisement
Update Instructions for V4.9.0.xxx
V1.0 21-04-2017
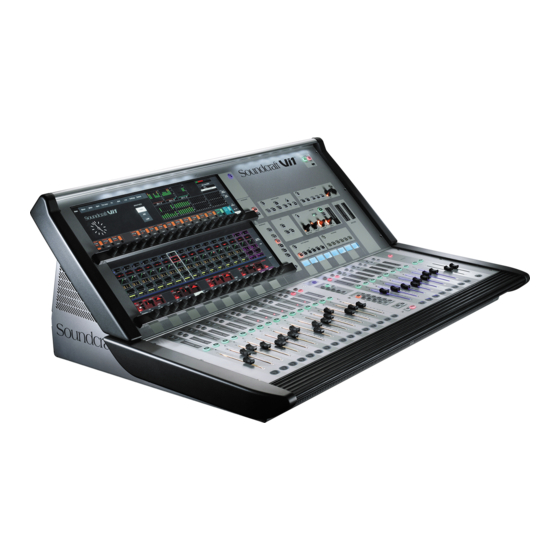
Vi1 and Vi2/4/6 consoles
Note that although a common file is used for upgrading Vi1, 2, 4 and 6 consoles, the update
procedure for Vi1 differs from the 3 other Vi models, due to the Vi1's use of hibernate for fast
booting, so separate update instructions are provided for the two types.
Please note that Vix00 and x000-series consoles use different software update files, named
V6.x, and it is not possible to upgrade a Vi1,2,4 or 6 console with this file (it will not be
recognised).
Vi1 consoles only
Please note that the update procedure for Vi1 is slightly different to Vi2/4/6.
Read the following instructions carefully before starting the update, and refer to them during
the process. It is important to note the section (Step 8) about not touching the console after the
update may appear to have finished, and also switching the power off using the REAR switches
after the fader recalibration (Step 11):
1. Copy the files V4.9.0.xxx_Update_console.7z and V3.3.1.30_Update_updater.zip onto the
root of a USB stick. (Do not unzip or rename the files).
Make sure there are no older update files in the root (you can hide these in a folder if you
want to keep them on the memory stick).
2. Put the stick into a running console and press the Power button.
3. From the Power menu, select the Update Console Software option (note, this option will only
be seen if there is a USB stick with a valid update file in the console). You will be prompted to
save the current show – do so if necessary.
4. You will see the System Updater screen – follow the on-screen instructions to install the new
version 3.3.1.30, if the existing version is older (if the system updater 3.3.1.30 is already
installed you can skip this step and choose 'keep current version'). When the System Updater
install has completed (this happens almost instantly), follow the instructions to press the Recall
key in the snapshot section again, and the system will now move to the main desk software
update screen.
5. You will now see the main System Installer menu, which contains a list of the current and
new software, firmware and shows. Not all desk software releases will update all of these items.
Using the Up/Down buttons in the Snapshot control area of the front panel, select the option
'Install new version', as indicated by the white highlighted button.
NOTE! Check that one of the items in the list is called 'DB'. If you do not see the DB item, it is
likely that you have not completed Step 4 correctly – please check that you have the correct
version of System Updater on the console.
6. Press the Recall button. You will now see activity with progress bars on the list menu and a
green 'tick' mark will appear for each item in the right column after a few seconds. The screen
and desk illumination may flash on and off during the Desk Firmware item, this is normal. When
all the items have green tick marks, you will see the text: "Update Succeeded. Remove Stick,
Stagebox, HiQnet and Keyboard and press Recall to restart".
7. Check that the items referred to are unplugged from the console (but leave any MADI or
other option cards plugged in), and then press the Recall button. The console will restart and
after 45 seconds of various start-up screens, including a large Soundcraft logo, the console will
show a progress bar with the Soundcraft Vi1 logo and text 'Installing...'.
Advertisement
Table of Contents

Related Manuals for SoundCraft Vi Series


Summary of Contents for SoundCraft Vi Series
- Page 1 Recall button. The console will restart and after 45 seconds of various start-up screens, including a large Soundcraft logo, the console will show a progress bar with the Soundcraft Vi1 logo and text 'Installing...'.
- Page 2 8. After about 2.5 minutes the console may appear to have returned to normal operation. Do not touch the console at this point however, but wait (up to a further minute) until another progress menu appears, this time with a large blue progress bar and a message saying: "Installing...
- Page 3 Vi2/4/6 Master Bay jumper change for V4.9.0 software update From the previous software update V4.8.2.234 onwards for Vi2, 4 and 6 consoles, a hardware change has to be made on the host console in order to function correctly. When installing V4.9.0, if the console was previously updated to 4.8.2.234 then this modification should have already have been done.
- Page 4 Instructions for changing Master Control board jumper on Vi2/4/6 consoles Ensure power is switched off before starting the procedure. 1. Gain access to the rear of the console and remove the 9 screws securing the left- hand rear access panel (as you look at the rear of the console). Lower the rear panel to allow access to the Control boards, which are the PCBs mounted directly behind the TFT screens.
Need help?
Do you have a question about the Vi Series and is the answer not in the manual?
Questions and answers