Sign In
Upload
Download
Table of Contents
Contents
Add to my manuals
Delete from my manuals
Share
URL of this page:
HTML Link:
Bookmark this page
Add
Manual will be automatically added to "My Manuals"
Print this page
×
Bookmark added
×
Added to my manuals
Manuals
Brands
Envirovent Manuals
Fan
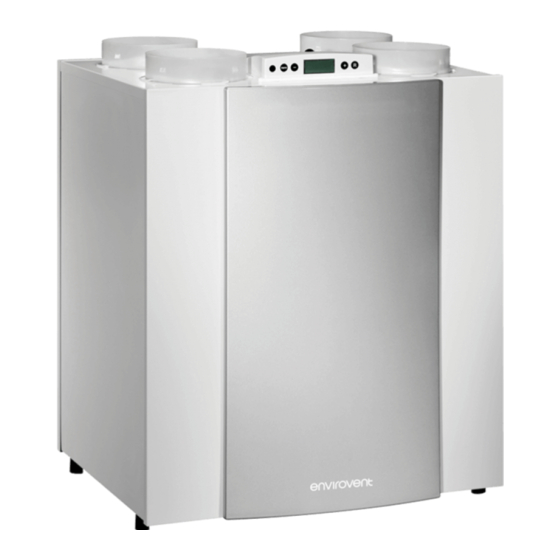
energiSava 300
Installation manual
Envirovent energiSava 300 Installation Manual
Hide thumbs
1
2
3
4
5
6
7
8
9
10
11
12
13
14
15
16
17
18
19
20
21
22
23
24
25
26
27
28
29
30
31
32
33
34
35
36
37
38
39
40
41
42
43
44
45
46
47
48
Table Of Contents
49
page
of
49
Go
/
49
Contents
Table of Contents
Troubleshooting
Bookmarks
Table of Contents
Safety Instructions
Technical Specifications
Left-Handed
Note: the Value Stated in
Do Not Throw Away
After Installing this Unit Please Pass Onto End User
Installation Instructions
Placing the Appliance
Connecting the Condensate Discharge
Connecting Ducts
Left-Handed
Control Display
Operation
Troubleshooting
Maintenance
Electric Connections
Electric Connections Accessories
Setting Values
Advertisement
Quick Links
1
Technical Specifications
2
Installation Instructions
3
Control Display
4
Operation
5
Troubleshooting
6
Maintenance
7
Setting Values
Download this manual
Table of
Contents
Previous
Page
Next
Page
1
2
3
4
5
Advertisement
Table of Contents
Need help?
Do you have a question about the energiSava 300 and is the answer not in the manual?
Ask a question
Questions and answers
Subscribe to Our Youtube Channel
Related Manuals for Envirovent energiSava 300
Fan Envirovent energisava 380 Installation Manual
Heat recovery system (28 pages)
Fan Envirovent energiSava 200 Installation Manual
Ceiling mounted version (25 pages)
Fan Envirovent SLIMLINE 300 Installation Manual For Engineer / Installer
(46 pages)
Fan Envirovent ENERGISAVA 260 Installation Manual
Wall & floor mounted version (28 pages)
Fan Envirovent energiSava 200 Installation Manual
Wall & floor mounted version (28 pages)
Fan Envirovent SILENT 100 Instruction Leaflet
Sxial extractor fans (17 pages)
Fan Envirovent SILENT MV-160/100 Installation And Wiring Instructions
(9 pages)
Fan Envirovent SILENT-100 DESIGN Instruction Leaflet
(16 pages)
Fan Envirovent ECO dMEV LC Instruction Leaflet
(13 pages)
Fan Envirovent energiSava 250 User Manual
Home ventilation system (4 pages)
Fan Envirovent PIV Installation Manual
(25 pages)
Fan Envirovent PIV Installation And User Manual
Loft mounted unit (17 pages)
Fan Envirovent VENTY ECO2 Air Installation Manual For Engineer / Installer
(12 pages)
Fan Envirovent cyclone 7 Installation Manual
230v & selv lifetime range ipx4 (12 pages)
Fan Envirovent MEV SPIDER Installation Manual
(17 pages)
Fan Envirovent FILTERLESS EXTRACT FAN SELV Series Installation Manual For Engineer / Installer
(17 pages)
This manual is also suitable for:
Energisava 400
Table of Contents
Print
Rename the bookmark
Delete bookmark?
Delete from my manuals?
Login
Sign In
OR
Sign in with Facebook
Sign in with Google
Upload manual
Upload from disk
Upload from URL


Need help?
Do you have a question about the energiSava 300 and is the answer not in the manual?
Questions and answers