Table of Contents
Advertisement
Quick Links
Download this manual
See also:
User Manual
Advertisement
Table of Contents

Subscribe to Our Youtube Channel
Related Manuals for TRIUMPH BOARD MULTI Touch Series


Summary of Contents for TRIUMPH BOARD MULTI Touch Series
- Page 1 User Manual MULTI Touch Series 78” / 89” June 2017...
-
Page 2: Table Of Contents
Content 1) Safety Information ........................3 2) Product Description ......................... 7 3) Technical Specifications ......................8 4) Package contents........................10 5) Wall mount Installation ......................11 6) Driver Installation ........................14 7) HW Installation ........................16 8) MULTI Touch Driver Configuration ..................17 9) Hotkey Setting........................ -
Page 3: Safety Information
1) Safety Information Please read, understand and follow the information contained in this User Guide before installation and use of this product. Safety Information This product was designed, and intended for use indoors via a USB cable or wireless USB receiver connected to a desktop or laptop computer. - Page 4 Safety Information (Continued….) indicated power supply voltage and which is effectively grounded through the normal wiring. If this product is used at a voltage other than the one indicated, it will malfunction and may result in fire or electric shock. If the power cord or power plug or power adaptor cannot be plugged into the AC power outlet, contact a licensed electrician to replace the AC power outlet with a properly grounded (grounded) one.
- Page 5 Safety Information (Continued….) o Do not open or alter the casing of this product. Electric shock or injury may result. o Be careful r e g a r d i n g the location of the power cord, power plug or power adaptor to avoid that it trips someone or causes this product to fall, etc.
- Page 6 Fasten the screws tightly to avoid that the stand or this product falls, which may cause injury or damage. Before installation, take the wall material and wall strength into consideration. For details, please consult your dealer. TRIUMPH BOARD a.s.
-
Page 7: Product Description
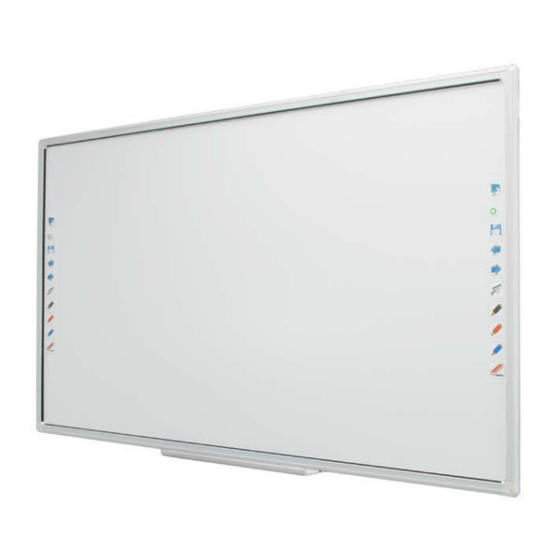
Users can write, draw and move objects with a finger, stylus or even a pointer. TRIUMPH BOARD MULTI Touch connects to a computer through a fast USB 2.0 interface, makes the lecture more interactive and enhances the efficiency of the class. -
Page 8: Technical Specifications
3) Technical Specifications TRIUMPH BOARD 78” MULTI Touch EAN: 8592580120008 Active screen area size: 1643 x 1150mm, 78.9” diagonal Aspect ratio: Technology: IR (Infrared) cell LED optical Resolution: 32768 x 32768 Projection screen area: 1518 x 1138mm (with hotkeys) Interface Type: USB 2.0... - Page 9 TRIUMPH BOARD 89” MULTI Touch EAN: 8592580120138 Active screen area size: 1935 x 1150mm, 88,6” diagonal Aspect ratio: 16:10 Technology: IR (Infrared) cell LED optical Resolution: 32768 x 32768 Projection screen area: 1810 x 1138mm (with the hotkeys) Interface Type USB 2.0...
-
Page 10: Package Contents
Hard copy of mounting instructions USB Flash stick with TRIUMPH CLOUD USB offline version + License Confirmation USB Flash stick with installation files of SW (RM Easiteach, Display Note) + License Confirmations Installation components set Quick Start User Guide TRIUMPH BOARD a.s. -
Page 11: Wall Mount Installation
2) measure the position of top wall mounts for hanging (3) 3) install wall anchors (1) and hangers (3) 4) install pen tray on board 5) measure and install wall plugs (1), screws (2) and square (4) 6) hang board TRIUMPH BOARD a.s. - Page 12 89" MULTI Touch 1 Wall anchor 10 5 Bracket 2 Screw SxSO Screw M5x12 TB MULTI Touch wall mount Screw M4x10 4 Bracket Hotkeys TRIUMPH BOARD a.s.
- Page 13 Do not install this product in a location where the temperature may change suddenly. Avoid installing two or more of these products in the same room or adjacent to each other. Please consult your dealer for details. TRIUMPH BOARD a.s.
-
Page 14: Driver Installation
6) Driver Installation Install TRIUMPH IWB driver a) To run the driver Installation, double-click the file “TRIUMPH IWB Driver.exe”. Then click “Next” to install the software. b) Choose destination location and click “Next” to continue. c) Click Install TRIUMPH BOARD a.s. - Page 15 Click “Finish” to exit upon the TRIUMPH IWB driver has been successfully installed. e) Connect your PC / laptop with the MULTI Touch by using USB cable (provided). TRIUMPH BOARD a.s.
-
Page 16: Hw Installation
7) HW Installation Connection User must have PC, projector, MULTI Touch - USB connect them as shown in the figure below. MULTI Touch – USB cable – Computer TRIUMPH BOARD a.s. -
Page 17: Multi Touch Driver Configuration
Calibration for MULTI Touch board after first time installation or if the projector size and projector’s position has changed. Click the flashing cross to calibrate, press ESC to exit. Touch each coordinate accurately. The coordinates will be moved continually until the calibration is completed. TRIUMPH BOARD a.s. - Page 18 Auto Run If user enables auto run, the MULTI Touch board driver will automatically start with each restart of windows. If the MULTI Touch board is not used every day you can choose to disable auto run. TRIUMPH BOARD a.s.
-
Page 19: Hotkey Setting
Exit to cancel it. 1) Click on Tools in main Triumph IWB Driver Program menu and choose “Calibration Hotkeys”. 2) Use stylus of MULTI to point to Hotkey cross icons according to where the blue cross is. TRIUMPH BOARD a.s. - Page 20 2) Click the right mouse button or hold stylus longer on TRIUMPH for RM Driver icon in the Windows system tray and select calibration. 3) Use stylus to point the corresponding blue cross to calibrate the Hotkey. TRIUMPH BOARD a.s.
-
Page 21: Iwb Calibration Under Windows 8.1 And Windows 10
NOTE: this IWB is HID device which can work without driver, however we recommend using IWB driver for the correct function of IWB (Hotkeys etc.) 2) Press CALIBRATE button 3) Calibrate and save settings (follow instructions on the screen) TRIUMPH BOARD a.s. -
Page 22: Repair Service And Contacts
Reproduction or reprinting of this user guide or any part is prohibited without prior permission in writing from TRIUMPH BOARD. The contents of this user guide are subject to change without prior notice.
Need help?
Do you have a question about the MULTI Touch Series and is the answer not in the manual?
Questions and answers