Table of Contents
Advertisement
Quick Links
Download this manual
See also:
Instruction Manual
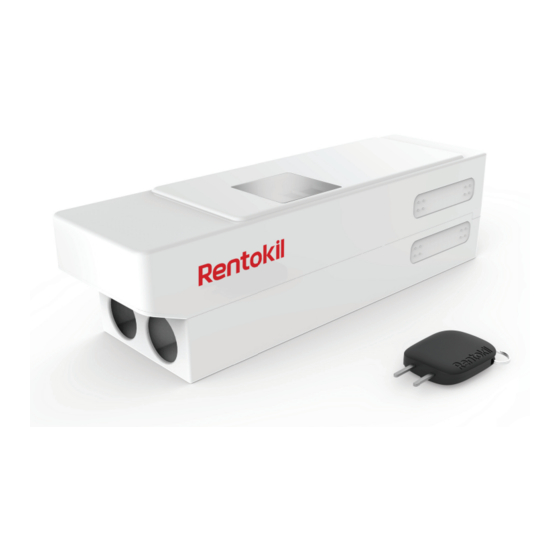
RADAR
Applicable to: Single / Dual Variants
Standard / Connect Variants
This manual is based on the latest information and is provided subject to
alteration. We reserve the right to change the construction and/or confi guration
of the product and versions at any time without obligation.
All rights reserved. No part of this document may be reproduced, stored in a database or any other retrieval
system, or published, in any form or way, electronically, mechanically, digitally per photo print or microfi lm
or any other way without written permission from the author.
Advertisement
Table of Contents

Related Manuals for Rentokil RADAR Single Connect


Summary of Contents for Rentokil RADAR Single Connect
- Page 1 RADAR Applicable to: Single / Dual Variants Standard / Connect Variants This manual is based on the latest information and is provided subject to alteration. We reserve the right to change the construction and/or confi guration of the product and versions at any time without obligation. All rights reserved.
-
Page 2: Table Of Contents
Contents Introduction Safety Instruction Caution Attention Product Description Product Function (Connect Variants Only) Limitation of Liability & Damages Product Disposal Environmental Restrictions Product Range Installation Site Installation Site Survey (Connect Variants Only) Prior to RADAR Installation Open Catch Tray Fitting the Battery... -
Page 3: Safety Instruction
RADAR is suitable for food and pharmaceutical manufacturers, hospitality, educational and health establishments. Safety Instructions • Only use the Battery Pack that is supplied by Rentokil. • Do not use the trapping device if it is damaged. • Do not expose the trapping device to corrosive liquids. -
Page 4: Product Description
CO is being fully supported 12 monthly intervals (all at the same time) to by Rentokil for this use under the European maximise the installed system performance. Biocidal Products Regulation (BPR). There are some system limitations that should... -
Page 5: Limitation Of Liability & Damages
Rentokil reserve the right to alter the specification or design without prior notice. Rentokil cannot accept any liability for any loss or damage arising from the use of any information contained within this manual, or from any incorrect use of the product described herein. -
Page 6: Environmental Restrictions
Environmental Restrictions Environmental Details Restrictions High levels of The system electronics can be damaged by surface water water. Take care to locate trapping devices away from areas where local high pressure washing or hosing down operations are carried out. High levels of It is important that trapping devices are kept dust / grease clean, especially if installed in areas where high... -
Page 7: Product Range
Product Range i. SKU Variants Connect Trapping Devices RADAR Single Connect RADAR Dual Connect Model No. 304838 Model No. 304840 Serial No: 913 . . . Serial No: 914 . . . Standard Trapping Devices RADAR Dual RADAR Single Model No. 304839 Model No. -
Page 8: Installation
Installation 1. Site Installation RADAR trapping devices should be sited along wall / fl oor junctions, behind machinery and equipment, i.e. anywhere where that bait boxes and mouse monitor units (MMU’s) would normally be placed. Trapping devices should be secured with fi xing brackets if possible to prevent the trapping device being accidentally moved, knocked or removed by unauthorised persons. -
Page 9: Prior To Radar Installation
3. Prior to RADAR Installation While unpacking, check for any signs of shipment damage and, if found, notify both transporter and supplier in writing within eight days of receipt with full details of the damage that has occurred. Retain the equipment and packing materials for inspection. -
Page 10: Fitting The Battery
5. Fitting the Battery Unlock the battery door Remove the door Connect the battery contacts Insert the battery Fold the cables between battery and connector Replace & lock the door... -
Page 11: Setting The Trigger Mechanism
6. Setting the Trigger Mechanism 7. Fitting CO Canister 8. Setting the Trap Click... -
Page 12: Refitting The Catch Tray
9. Refi tting the Catch Tray Click 10. Arming the Module 9141800000001 See Page 16 for more 8.8. Interface information. Swipe the RI Key magnet to step through the Interface to arm the RADAR. See Page 16 for more details on the Interface. -
Page 13: Enter Service Mode
Servicing & Maintenance 1. Enter Service Mode Use the RI Key Magnet to activate the Interface Active Magnet Zone 9141800000001 8.8. Swipe the RI Service Key Magnet over the device to put into service mode: See Page 16 for more details on the Interface. -
Page 14: Removing A Used Co
4. Removing a used CO Canister Click 5. Fitting a new Canister Ensure a new CO Canister is fi tted... -
Page 15: Setting The Trap
6. Setting the Trap Click 7. Refi tting the Catch Tray Click 8. Reactivate the Trap Standard RADAR: Connect RADAR: Once fully armed, the Once refi tted, RADAR will Once refi tted, RADAR will screen will go blank self-test & re-arm. self-test &... -
Page 16: Operating The User Interface (Ui)
Operating the User Interface (UI) Device Status * 8.8. 8.8. Armed but not triggered Device triggered (Solid LED) (Flashing LED) Catch Duration * Number of days since each chamber has Dot will identify which Eg: Right chamber been activated chamber has activated activated 3 days ago Battery Level * 8.8. -
Page 17: Error Codes
Error Codes If RADAR detects an error, it will self diagnose and display an Error Code in either: Device Status (1) or Service Mode (4). Error Code Status Action Motor Error Remove and refi t battery. IR Sensor Error Clean sensors. Unit triggered but Warning: failed to detect... -
Page 18: Further Information
Further Information Technical Details Power Supply Battery Details Use only Rentokil-Initial battery pack FR18 6v output - 4 x AA cell Alkaline battery pack -20ºC to 50ºC ( -4ºF to 122ºF) Operating Temperature range Physical Dimensions (Single) 272mm x 77mm x 55mm (10.70”... -
Page 19: Approvals
Approvals FCC PART15 CLASS B, CE and RoHS compliant FCC Warning Statement: • This device complies with Part 15 of the FCC Rules. Operation is subject to the following two conditions: (1) This device may not cause harmful interference, and (2) This device must accept any interference received, including interference that may cause undesired operation. - Page 20 Rentokil reserve the right to alter the specification or design without prior notice. Rentokil cannot accept any liability for any loss or damage arising from the use of any information contained within this manual, or from any incorrect use of the product described herein.
Need help?
Do you have a question about the RADAR Single Connect and is the answer not in the manual?
Questions and answers