
Related Manuals for Axminster Trade Series Harvey


Summary of Contents for Axminster Trade Series Harvey
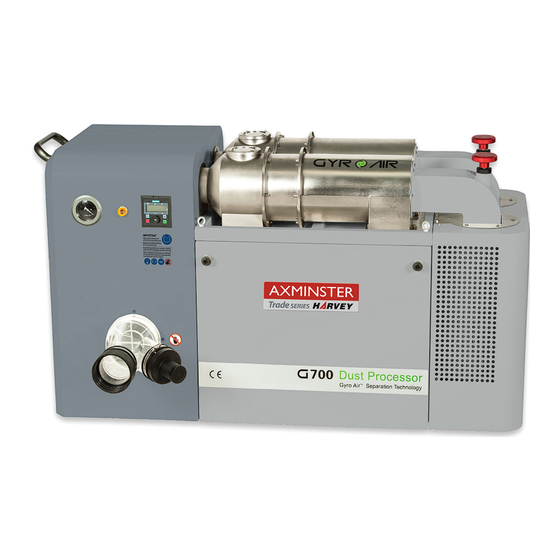
- Page 1 Code 104480 Original Instructions Gyro Air G700 Cyclone Fine Dust Extractor AT&M: 11/07/2018 BOOK REF : 105188...
- Page 2 Cert No: G700 EU Declaration of Conformity Axminster Tools & Machinery Ltd This machine complies with the following directives: Axminster Devon EX13 5PH UK axminster.co.uk 2006/42/EC EN 60335-1:2012+A11 06/42/EC - Annex I/05.2006 declares that the machinery described:- EN 62233:2008 EN 60335-2-69:2012...
-
Page 3: Table Of Contents
Index of Contents Contents ..............................2 1. Foreword..............................3 2. Machine Description..........................3 2.1 Feature Identification........................3 2.2 Specification...........................4 2.3 Requirement of electrical power....................5 3. Safety Regulations..........................7 3.1 General Safety Instructions......................7 3.2 Specific Safety Instructions for Dust processor................8 4. -
Page 4: Foreword
1. Foreword This manual was developed as an integral part of this machine. It contains basic information for qualified operating staff. It also contains all necessary information for the correct and safe operation. These regulations, however, cannot cover all other safety aspects. Operator must peruse and make sense of this manual before starting to use the machine. - Page 7 2.3.3 Electrical diagram (Fig.2) Fig.2...
-
Page 8: Safety Regulations
3. Safety Regulations 3.1 General Safety Instructions 1. Read and understand the owner’s manual and labels affixed to the machine. Learn its application and limitations as well as its specific potential hazards. 2. The power supply socket or terminals need reliable grounding. 3. -
Page 9: Specific Safety Instructions For Dust Processor
3.2 Specific Safety Instructions for Dust Processor 1. CLEAN ENVIRONMENT Once you are ready to commence work, remove any tools, objects or items that could inadvertently get ‘sucked up’ by the machine and place safely out of the way. 2. INTENDED USE Don't use this machine as a vacuum cleaner, avoid stones, nails, etc., as it may produce a spark and cause fire or explosion. -
Page 10: Installation Of The Machine
4. Installation of the machine This machine need a little assembly, almost can be used directly. 4.1 Transportation of machine 4.1.1 Transportation and store Anti-rust and shockproofing measures have been taken during packing. The machine should be transported and stored in -25~55°C ambient temperature. Take care not to allow the machine to be exposed to rain or damage to the packing during transportation and storage. -
Page 12: Positioning The Machine
4.3 Positioning the machine (Fig.5) Fig.5 The machine should be placed at least 0.5 meter (18 inches) away from the wall to ensure that the motor heat dissipation is good. 4.4 Assembly 4.4.1 Moving & Placing Base Unit This machine is very heavy, serious personal injury will happen if safe moving methods are not followed! To be safe, you will need assistance and power equipment when moving the shipping crate and removing the machine from the pallet! 1. - Page 13 2. Rotating the knobs as arrow indicated (see Fig.6) to open the door. Then release the dust bin (see Fig.7) , you can slide the dust bin out. Fig.7 3. After you sliding out the bin, you need to remove transportation screws. Step 1: As Fig.8 indicated, you can find four Hex head screws at the bottom, remove these screws.
- Page 15 5. Install the handle as Fig.11. (Side cover plate need to be removed.). Reinstall the dust bin. Fig.11 6. When the equipment is in place, turn the red handles (see Fig.9) to make the support legs touch the ground.
-
Page 16: Installation Of Dust Extractor Adaptor
4.4.2 Installation of dust extractor adaptor Open the front door and pull out the dust bin, take out the dust extractor adaptor and fix the dust extractor adaptor to the main unit. as Fig.12. 2’’(50mm), 4’’(100mm) and 6’’ (150mm) hoses can be used, see Fig.12. When you choose 6’’(150mm) hose, connect hose to the main unit directly. -
Page 17: Operations
5. Operations 5.1 The operating and instructions of electrical components ( Fig.13 ) A: Power Switch: Connect or disconnect the power. B: Control panel: Press the green button to start this machine, Press the red button to stop this machine, turn the knob to adjust the frequency from 40Hz-75Hz. NOTE: 1. -
Page 18: The Operating Of Manometer
5.2 The operating of manometer ( Fig.13 ) D. Manometer: This manometer is not used to measure the pressure, is mainly used to observe whether there is abnormal pressure fluctuations. Every time, when you power this machine and adjust to the frequency that you needed, turn the manometer ring, make the “arrow mark”... -
Page 20: Trouble Shooting Guide
7. Trouble shooting guide 7.1 Electrical and motor problems Trouble Possible Cause Correction 1. Cord unplugged from the power source. 1. Plug in power cord. 2. Cord damaged. 2. Replace cord. 3. Machine circuit breaker has tripped. 3. Let motor cool and improve ventilation. Machine will not 4. - Page 21 7.2 Performance problems 1. Filters are dirty. 1. Clean filters. 2. Remove dust line from collector inlet and 2. There is a restriction in the duct line. unblock the restriction in the duct line. A plumbing snake may be necessary. 3.
-
Page 22: Breakdown & Parts List
8. Breakdown & Part List... - Page 23 Part list of G700 DESCRIPTION DESCRIPTION DESCRIPTION Main base Wheel Cap screw M5X16 Back cover Clamp 5” Spring washer 5 Front cover (Assy) Duct 5'' Flat washer 5 Dust bin (Assy) Adjust ring Cap screw M5X20 Separator system (Assy) Adjust bracket Nut M5 Filter (Assy) Y separator...
- Page 24 The Axminster guarantee is available on Craft, Trade, Engineer, Air Tools & CNC Technology Series machines Buy with confidence from Axminster! So sure are we of the quality, we cover all parts and labour free of charge for three years! For more information visit axminster.co.uk/3years...
Need help?
Do you have a question about the Trade Series Harvey and is the answer not in the manual?
Questions and answers