Table of Contents
Advertisement
Quick Links
Advertisement
Table of Contents

Related Manuals for Vintage Air 491241


Summary of Contents for Vintage Air 491241
-
Page 1: Cover
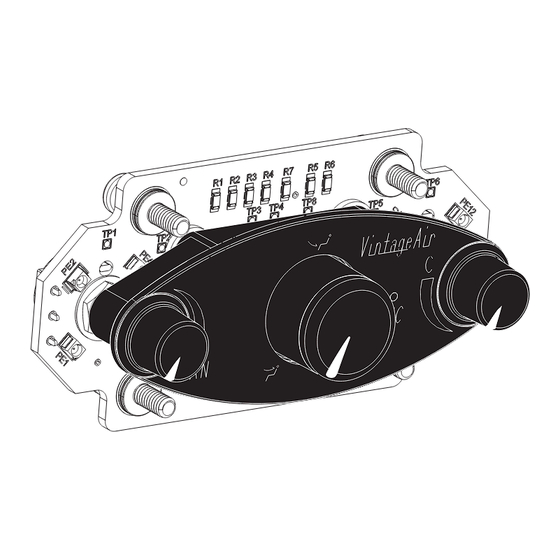
ISO 9001:2015 Registered Company Streamline Gen IV ProLine Ellipse Panel Black Anodized 491241 18865 Goll St. San Antonio, TX 78266 Phone: 800-862-6658 Sales: sales@vintageair.com Tech Support: tech@vintageair.com www.vintageair.com 901441 REV B 1/30/19, PG 1 OF 9... -
Page 2: Table Of Contents
ECU. Please confirm that your unit has the proper ECU prior to installing the control panel as shown Service Info: below. A replacement ECU can be purchased from Vintage Air if needed. Evacuate the system for 35-45 minutes with system components (Drier, compressor, evaporator and condenser) at a temperature of at least 85°... -
Page 3: Packing List/Parts Disclaimer
Streamline Gen IV ProLine Ellipse ** Before beginning installation, open all packages and check contents of shipment. Please report any shortages directly to Vintage Air within 15 days. After 15 days, Vintage Air will not be responsible for missing or damaged items. -
Page 4: Control Panel Dimensions, Control Panel Installation
Control Panel Dimensions www.vintageair.com 3.3175” 1.440” Ø.3438 (11/32)” .700” 1.0438” Level This Line Ø.4375 (7/16)” 2.880” Control Panel Installation NOTE: Do not install the (2) control panel knobs onto the control panel assembly until the panel has been installed in the dash. For knob removal after installation, refer to the Control Panel Removal instructions on Page 6. -
Page 5: Control Panel Installation (Cont.)
Control Panel Installation (Cont.) www.vintageair.com (4) Control Panel PC Board Control Panel Mounting Screws (4) Control Panel PC Board Assembly Mounting Screws Thread Into Opening Back Side of in Dash Control Panel Face Control Panel Face Figure 1 Control Panel PC Board Assembly Control Panel PC Board Assembly... -
Page 6: Control Panel Removal
Control Panel Removal www.vintageair.com NOTE: Do not attempt to remove the control panel knobs using pliers, as doing so may damage the knobs. To remove the knobs and/or the control panel assembly from the dash, follow the procedure below. Disconnect the control harness from the back of the control panel assembly (See Figure 3, below). Loosen the (4) control panel mounting screws securing the control panel to the dash (See Figure 3, below). -
Page 7: Wiring Diagram
Wiring Diagram www.vintageair.com 232007-VUR AC ANNUNCIATOR BACKLIGHT POS BACKLIGHT NEG 5V-SW WHT/RED TEMP WIPER WHT/YEL MODE WIPER WHT/GRN FAN WIPER PRE-WIRED VIEWED FROM WIRE SIDE GEN IV ECU 232002-VUA GEN IV WIRING DIAGRAM (IF USED) REV E, 10/6/2017 TEMP MODE PROGRAM * DASH LAMP (IF USED) -
Page 8: Operation Of Controls
Operation of Controls www.vintageair.com On Gen IV systems with three lever/knob controls, the temperature control toggles between heat and A/C operations. To activate A/C, move the temperature lever/knob all the way to cold and then back it off to the desired vent temperature. -
Page 10: Packing List
Packing List: Control Panel Kit (491241) www.vintageair.com Qty. Part No. Description 491241 Streamline Gen IV ProLine Ellipse Checked By: Packed By: Date: 901441 REV B 1/30/19, PG 9 OF 9...
Need help?
Do you have a question about the 491241 and is the answer not in the manual?
Questions and answers