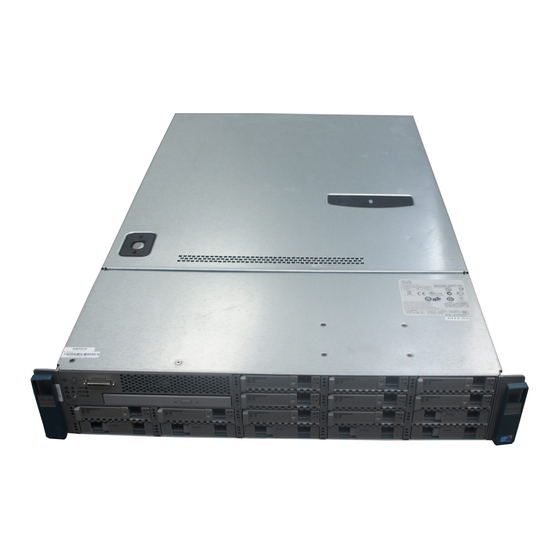
Cisco UCS C200 Setup
Hide thumbs
Also See for UCS C200:
- Installation and service manual (108 pages) ,
- Installation and service manual (104 pages) ,
- Configuration manual (88 pages)
Table of Contents
Advertisement
Set up CIMC for UCS C−Series Server
Document ID: 111455
Contents
Introduction
Prerequisites
Requirements
Components Used
Introduction
This support document provides an overview for the steps required to set up CIMC network connectivity for
the UCS C−Series server.
Prerequisites
Requirements
Cisco recommends that you:
•
Have a working knowledge of the Cisco UCS C−Series Server Blade hardware and software
administration.
•
Be familiar with UCS C−Series Servers Cisco Integrated Management Controller
•
Understand the impact and implications of the different commands described in this document.
•
Be familiar with the UCS C−Series components and topology.
Components Used
The information in this document is based on Cisco UCS C−Series Servers.
The information in this document was created from the devices in a specific lab environment. All of the
devices used in this document started with a default configuration. If your network is live, make sure that you
understand the potential impact of any command.
Advertisement
Table of Contents

Summary of Contents for Cisco UCS C200
-
Page 1: Table Of Contents
UCS C−Series server. Prerequisites Requirements Cisco recommends that you: • Have a working knowledge of the Cisco UCS C−Series Server Blade hardware and software administration. • Be familiar with UCS C−Series Servers Cisco Integrated Management Controller • Understand the impact and implications of the different commands described in this document. -
Page 2: Network Diagram
KVM Features Overview of KVM features: Cisco C−Series Rack Servers provides a physical local video and two usb connections for a usb keyboard, video monitor, and usb mouse connection through the front panel of the Rack Server using the Cisco provided dongle connector. - Page 3 C200 Rear Panel: Connection for C200 Server: C210 Front Panel: C210 Rear Panel: Connection for C210 Server:...
- Page 4 C250 Front Panel: C250 Rear Panel: Connection for C250 Server:...
-
Page 5: Power Up The Kvm
Power Up the KVM Complete these steps in order to power up the server: Plug the power cord into the chassis. Note: ♦ CIMC initializes system standby (Power Off mode). ♦ CIMC is active and can be controlled through GUI or CLI, if you know the IP address. Depress Front Panel Power: ♦... -
Page 6: Power Up Kvm View
♦ If this happens, wait and then press the power button again. Power UP KVM View While the server boots up, you can access BIOS, Cisco Splash Screen in Quiet mode: • Press ESC in order to watch POST. •... - Page 7 ♦ HBA/CNA if installed ♦ Additional NICs ♦ Then point a Web browser to the configured CIMC IP address. ♦ Default username: admin ♦ Default password: password Choose Admin > Network Settings and check Settings.
- Page 8 In order to revert to DHCP, from the Admin tab in the GUI, choose Network and in IPv4 properties, check the Use DHCP box. Reboot the chassis.
- Page 9 Monitor your DHCP server to see when the IP is assigned to your MAC. Then point to the new IP server. Once you logged into the CIMC, you can check the network setting:...
-
Page 10: Verify
Technical Support & Documentation − Cisco Systems Contacts & Feedback | Help | Site Map © 2014 − 2015 Cisco Systems, Inc. All rights reserved. Terms & Conditions | Privacy Statement | Cookie Policy | Trademarks of Cisco Systems, Inc.


Need help?
Do you have a question about the UCS C200 and is the answer not in the manual?
Questions and answers