
Related Manuals for Samsung MM-X7


Summary of Contents for Samsung MM-X7
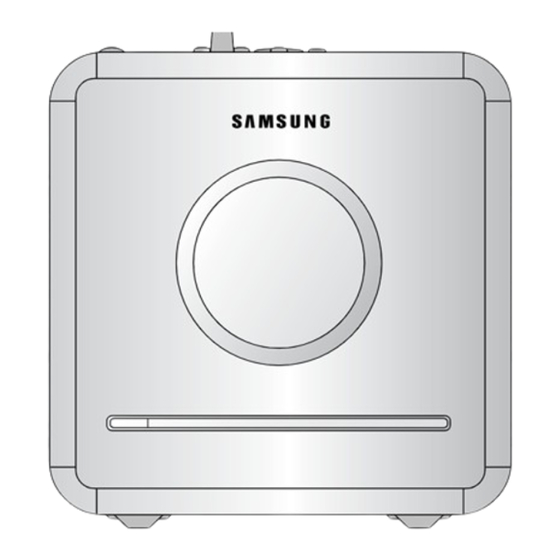
- Page 1 MICRO COMPONENT SYSTEM MM-X7 THIS APPLIANCE IS MANUFACTURED BY: Instruction Manual COMPACT DIGITAL AUDIO AH68-01953B...
-
Page 2: Safety Warnings
Safety Warnings Precautions Use of controls, adjustments or performance of procedures other CLASS 1 LASER PRODUCT than those specified herein may result in hazardous radiation KLASSE 1 LASER PRODUKT exposure. LUOKAN 1 LASER LAITE KLASS 1 LASER APPARAT PRODUCTO LASER CLASE 1 CAUTION-INVISIBLE LASER RADIATION WHEN OPEN AND INTERLOCKS DEFEATED, AVOID EXPOSURE TO BEAM. -
Page 3: Table Of Contents
Repeat Playback.................................20 Moving Directly to a Scene/Song............................22 Power Saving Function JPEG File Playback ................................23 The MM-X7 automatically shuts itself off after 20 minutes in the stop . Playing USB ..................................24 Selecting a Track from USB Device............................25 To use high speed search..............................26 RADIO OPERATION Listening to Radio ................................27... -
Page 4: Description
Description —Rear Panel— —Top Panel— FM Antenna Connector Video Output Connector Connect the TV's video input jacks AM Antenna Connector (VIDEO IN) to the VIDEO OUT connector. AUX-Input Speaker Output Terminals Cable Clamp Voltage Selector(Option) Accessories 1. MIC VOL EJECT 2. - Page 5 Description —Remote Control— Insert Remote Batteries TUNER(BAND) button TAPE button CD button AUX/USB button Remove the battery Insert two 1.5V AAA Replace the battery EJECT button POWER button DEMO/COLOR button cover on the back of batteries, paying cover. the remote by attention to the correct pressing down and polarities (+ and –).
-
Page 6: Connecting The Speakers
Connecting to a TV Connecting the Speakers Please be sure to turn off the power and unplug the power cord before moving or installing this unit. Before moving or installing the product, be sure to turn off the power and disconnect the power cord. Composite Video .... -
Page 7: Connecting The Fm And Am(Mw) Antennas
Setting the Clock Connecting the FM and AM(MW) Antennas For each step, you have a few seconds to set the required options. If you exceed this time, you must start again. Switch the system Press TIMER/CLOCK Press ENTER. If FM reception is poor, on by pressing twice. -
Page 8: Disc Playback
Disc Playback MP3/WMA-CD Playback Data CDs (CD-R, CD-RW) encoded in MP3/WMA format can be played. In Stop mode, use Load the MP3/WMA to select disc. the album, and then Load a disc. press the ENTER button. • Insert a disc that the disc’s label facing up. •... -
Page 9: Divx Playback
DivX Playback Audio Display Skip Forward/Back Press the AUDIO button. During playback, press the button. • If there are multiple audio tracks on a disc, you can toggle between them. • Go to the next file whenever you press button, if there are over •... -
Page 10: Displaying Disc Information
Displaying Disc Information Fast/Slow Playback You can view playback information on the disc on the TV screen. Fast Playback Press INFO button. Press button. • Each time the button is pressed, the display changes as follows: • Each time the button is pressed during playback, the playback speed changes as follows: DivX JPEG... -
Page 11: Skipping Scenes/Songs
Skipping Scenes/Songs Repeat Playback Repeat playback allows you to repeatedly play a chapter, title, track (song), or directory (MP3 file). Briefly press button . • Each time the button is pressed briefly during playback, the previous or next chapter, track, or directory (file) will be played. JPEG •... -
Page 12: Moving Directly To A Scene/Song
Moving Directly to a Scene/Song To Select a Repeat Playback Mode in the Disc Information Screen Moving to a Track Press Cursor button Press INFO button Press Cursor , buttons to move to REPEAT twice. or numeric buttons to select Press INFO button. -
Page 13: Jpeg File Playback
JPEG File Playback Playing USB JPEG Images captured with a digital camera or camcorder, or JPEG files on a PC You can play MP3 files by connecting to various external USB storage devices can be stored on a CD and then played back with this CD player. such as USB flash memory or HDD. -
Page 14: Selecting A Track From Usb Device
To use high speed search Selecting a Track from USB Device Before you begin! Connect the external USB storage device to your player. Select USB function by using the USB button. You can search the part you want quickly during the play You can select a desired directory and an MP3 file during the play or when it stopped. -
Page 15: Listening To Radio
Listening to Radio Presetting Stations You can listen to the chosen band (FM, AM broadcast stations) by using either You can store up to: the automatic or manual tuning operation. • FM Frequency Modulation 15 FM stations • AM(MW) Medium Wave 15 AM stations Remote Control Unit Example: Presetting FM 89.1 in the memory... -
Page 16: Listening To A Cassette
Selecting the cassette Playback Listening to a Cassette Mode/Repeat A↔B /Tape Counter Always treat your cassettes with care; refer, if necessary, to the section entitled Function “Precautions When Using Audio Cassettes” on page 40. Selecting the Cassette Playback Mode Your micro component system has three cassette playback modes which enable you to listen to both sides of a cassette automatically. -
Page 17: Timer Function
Cancelling the Timer Timer Function • After having set the timer, it will start automatically as shown by the TIMER indication on the display. The timer enables you to switch the system on or off at specific times. • If you no longer want the system to be switched on or off automatically, you must cancel the timer. If you no longer wish to use the timer, you must cancel it. -
Page 18: Recording A Compact Disc
Recording a Compact Disc You can record a compact disc on a cassette in two different ways: Direct recording The direct recording mode enables you to start recording with any track on the compact disc. Synchronized recording This feature enables you to synchronize the start of the recording with the start of the disc or track of your choice. Switch the system Insert a blank Load a compact... -
Page 19: Recording A Radio Program
Recording a Radio Program EQ/Sound Mode/Treble/Bass Function Your micro component system is equipped with a preset equalizer that allows you to choose the You can record a radio program of your choice. most appropriate balance between treble and bass frequencies, according to the type of music You do not need to adjust the volume, as it has no effect on the recording. -
Page 20: Sleep Timer Function / Mute Function
Sleep Timer Function / Mute Function DEMO / COLOR Function Sleep Timer Function DEMO Function You can set the time that the CD player will shut itself off. You can view the various functions available on your system. Press SLEEP button. Press and hold DEMO/COLOR button. -
Page 21: Connecting Headphones/Microphone(Option)
Connecting Headphones/Microphone(option) Cautions on Handling and Storing Discs You can connect a set of headphones to your micro component system so that you can listen to music or Small scratches on the disc may reduce sound and picture quality or cause breaks in radio programmers without disturbing other people in the room. -
Page 22: Notes On Discs
Refer to the chart below when this unit does not function properly. If the problem you are experiencing is not listed below or if the instruction below does not help, turn off the unit, disconnect the power cord, and contact the nearest authorized dealer or Samsung Electronics Service Center. Symptom... -
Page 23: Specifications
Nikon Digital Camera Iriver H320 Iriver 20G HDD MP3 Player 1.0Vp-p(75Ω load) Coolpix 4100 Nikon Digital Camera Composite Video YH-920 Samsung 20G HDD MP3 Player VIDEO Coolpix 5200 Nikon Digital Camera YP-T7 Samsung MP3 Player Stylus 410 digital Olympus Digital Camera... - Page 24 Contact SAMSUNG WORLD WIDE f you have any questions or comments relating to Samsung products, please contact the SAMSUNG customer care center.
Need help?
Do you have a question about the MM-X7 and is the answer not in the manual?
Questions and answers
Where can I.buy it in Kenya?