Advertisement
Table of Contents
- 1 Parts Included
- 2 Installation
- 3 Installation of Mounting Bracket
- 4 Installation of Magnet
- 5 Installation of Speed Transmitter
- 6 Installation of Cadence Transmitter
- 7 Installation of Bike Computer
- 8 Mode / Reset
- 9 Pairing / Connection
- 10 Changing Modes
- 11 Display Illumination
- 12 Basic Settings
- 13 Language Entry
- 14 KMH/MPH Entry
- Download this manual
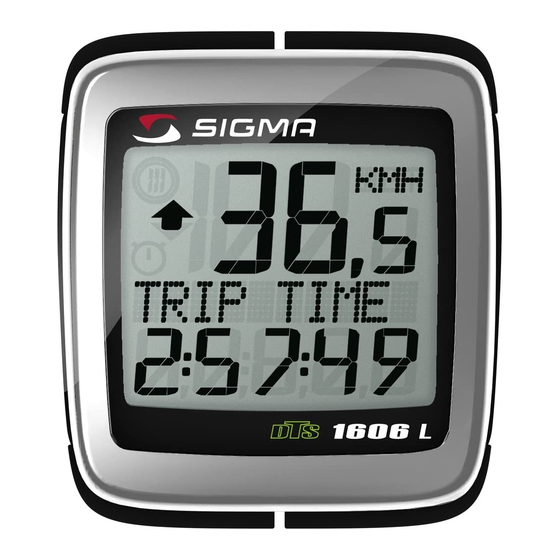
SIGMA BIKE COMPUTER
BC 1606L DTS
SIGMA EUROPA:
SIGMA USA:
SIGMA Elektro GmbH
North America
Dr.- Julius - Leber - Straße 15
1067 Kingsland Drive
D-67433 Neustadt a.d.W.
Batavia, IL 60510, USA
Tel. +49-(0)6321-9120-118
Tel. +1-630-761-1106
Fax +49-(0)6321-9120-34
Fax +1-630-761-1107
Toll Free: 888-744-6277
W W W. SI GMA SP O RT. CO M
Printed in USA
SIGMA ASIA:
Asia, Australia, South America
7F-1, No. 193, Ta-Tun 6th Street,
Taichung City, Taiwan
Tel. +886-4-2475 3577
Fax +886-4-2475 3563
BIKE COMPUTER
TOPLINE
W W W. SI GMA SP O RT. CO M
BC 16 06L D TS cad en ce
G
E
R M
A N
Y
Advertisement
Table of Contents

Related Manuals for Sigma BC 1606L DTS cadence


Summary of Contents for Sigma BC 1606L DTS cadence
- Page 1 SIGMA BIKE COMPUTER BIKE COMPUTER BC 1606L DTS TOPLINE W W W. SI GMA SP O RT. CO M SIGMA EUROPA: SIGMA USA: SIGMA ASIA: SIGMA Elektro GmbH North America Asia, Australia, South America Dr.- Julius - Leber - Straße 15 1067 Kingsland Drive 7F-1, No.
- Page 2 Contents / Contenu / Contenudo Installation / Montage / Montaje handlebar stem 42 mm 32 mm go to go to step 2 step 3...
- Page 3 Installation of mounting bracket Montage du support / Montaje del soporte de bicicleta remove yellow tape stem mount The harness comes ready to mount on your handlebars. To mount on a stem, remove the 4 screws on the back of the harness, turn base 90 degrees. 90°...
- Page 4 Installation of mounting bracket Installation of magnet / Montage de l'aimant / Montaje del imán the SIGMA logo on the harness must always face the front of the bike. 2 mm Foam pad included for use with bladed spokes...
- Page 5 Installation of speed transmitter Montage de l'émett. Vit. / Montaje del emisor de velocidad...
- Page 6 Installation of speed transmitter Montage de l'émett. Vit. / Montaje del emisor de velocidad max. 30˚ max. 90 cm Left side Right side...
- Page 7 Installation of speed transmitter Installation of cadence transmitter To reach the required 20mm or less, move magnet Test: Battery and transmitter towards center of wheel. Note: 20mm = 3/4 inches Max. 20 mm...
- Page 8 Montage de l'émett. Cad. / Montaje del sensor de frecuencia de pedaleo Installation of cadence transmitter...
- Page 9 Installation of cadence transmitter Installation of Bike Computer Use spacer to decrease space between magnet and transmitter. max. 30˚ max. 100 cm 15: 2 3...
- Page 10 Mode / Reset KM DIA HORA TRIP DIST CLOCK KM JOUR HEURE TIEMPO PAR CRONOMETRO TRIP TIME STOPWATCH TEMPS PARC CHRONO AVG. SPEED TIMER UP/DOWN VIT MOYEN. CPT TEMPS +/- VEL MEDIA TIEMPO +/- CAD MEDIA AVG. CADENCE TRIP UP/DOWN CAD MOYEN.
- Page 11 Pairing / Connection / Apareado Pairing / Connection / Apareado • After installing the bike computer into mounting bracket, SPEED and CADENCE displays will blink ZERO. • Press MODE until CADENCE is displayed. There are two ways to pair your CADENCE CADENCE CADENCE...
- Page 12 Pairing / Connection / Apareado Pairing / Connection / Apareado • Monter le compteur sur son support. Les zéros de la vitesse et de la cadence clignotent • Appuyer sur MODE jusqu'à ce que CADENCE apparaisse. Il y a deux CADENCE CADENCE CADENCE...
- Page 13 Pairing / Connection / Apareado Pairing / Connection / Apareado • Encajar el BC 1606L DTS sobre el soporte. Los ceros de las indicaciones de velocidad y de frecuencia de pedaleo parpadean. • Pulsar MODE hasta que aparece RPM PEDAL. Para emparejar la velocidad CADENCIA CADENCIA CADENCIA...
- Page 14 Changing modes Changement d’affichage / Cambio de visualización MODE 2 How to change modes • Appuyer sur la touche MODE1 jusqu'à ce que la fonction souhaitée soit • Press MODE 1 button until the desired function is affichée (DISTANCE JOURNALIERE KM, TEMPS PARCOURU, PEDALE UPM, displayed(TRIP DISTANCE, TRIP TIME, AVG.
- Page 15 Display illumination Eclairage de l'écran / Iluminación de la indicación RESET • The backlight function is switched on/off when you press • En appuyant simultanément sur les touches SET et RESET, la lumière est the SET button and RESET button at the same time. The allumée/éteinte.
- Page 16 Basic settings Réglages de base / Ajustes básicos • Press SET button for 3 sec. to enter set-up mode • Appuyer sur la touche SET 3 sec pour effectuer les réglages de base (SET will appear in upper right hand corner of display suivants : langue, changement entre kmh/mph, circonférence de la when in set-up mode, you must be in set-mode to roue 1/2, heure, montrer pédalage, Km-Roue 1/2, temps-roue 1/2 et...
- Page 17 Language entry Réglage langue / Introducir el idioma 1. Set language 1. Régler la langue • Press MODE 1 button until LANGUAGE is displayed • Appuyer sur la touche MODE1 jusqu'à ce que LANGUE • Press the SET button briefly, the display flashes. Set the apparaisse sur l'écran.
- Page 18 KMH/MPH entry Réglage KMH/MPH / Introducción KMH/MPH 2. KMH / MPH 2. KMH / MPH • Press MODE 1 button until KMH / MPH is displayed. • A l'aide de la touche MODE1 changer le réglage KMH/MPH. • Press SET button briefly, KMH or MPH is displayed and •...
Need help?
Do you have a question about the BC 1606L DTS cadence and is the answer not in the manual?
Questions and answers