Sign In
Upload
Download
Table of Contents
Contents
Add to my manuals
Delete from my manuals
Share
URL of this page:
HTML Link:
Bookmark this page
Add
Manual will be automatically added to "My Manuals"
Print this page
×
Bookmark added
×
Added to my manuals
Manuals
Brands
LG Manuals
Air Conditioner
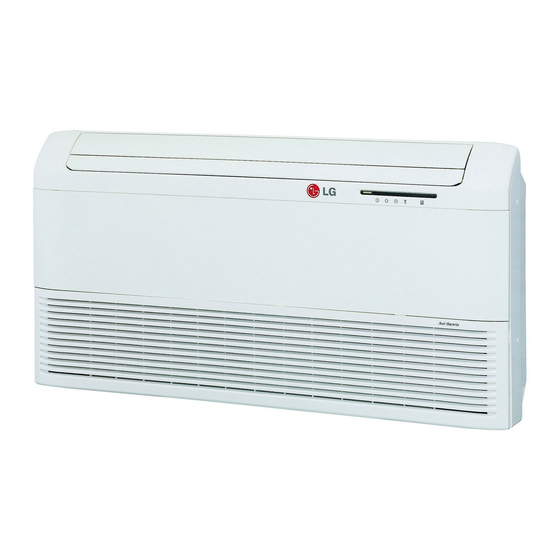
LV-B1864CL
Product data
LG LV-B1864CL Product Data
Ceiling & floor 50hz, r22, ceiling suspended 50hz, r22
Hide thumbs
Also See for LV-B1864CL
:
Manual
(68 pages)
,
Service manual
(64 pages)
1
2
3
Table Of Contents
4
5
6
7
8
9
10
11
12
13
14
15
16
17
18
19
20
21
22
23
24
25
26
27
28
29
30
31
32
33
34
35
36
37
38
39
40
41
42
43
44
45
46
47
48
49
50
51
52
53
54
55
56
57
58
59
60
61
62
63
64
65
66
67
68
69
70
71
72
73
74
75
76
77
78
79
80
81
82
83
84
85
86
87
88
89
90
91
page
of
91
Go
/
91
Contents
Table of Contents
Bookmarks
Table of Contents
Table of Contents
Models List
Model Number Nomenclature
Feature & Benefits
List of Functions
Specifications
Dimensional Drawings
Wiring Diagrams
Refrigerant Cycle Diagrams
Selection Procedure
Performance Data
The Coefficient of Capacity Change
Operation Limit
Air Velocity and Temperature Distributions(Reference Data)
Sound Levels
Installation
Function of Remote Controller
Advertisement
Quick Links
1
Table of Contents
2
Models List
3
Model Number Nomenclature
4
Specifications
5
Wiring Diagrams
6
Function of Remote Controller
Download this manual
See also:
Service Manual
,
Manual
LG AIR CONDITIONERS
Ceiling & Floor
(50Hz, R22)
Ceiling Suspended
(50Hz, R22)
5CSV2-03A
Replaces 5CSV2-02A
Table of
Contents
Previous
Page
Next
Page
1
2
3
4
5
Advertisement
Table of Contents
Need help?
Do you have a question about the LV-B1864CL and is the answer not in the manual?
Ask a question
Questions and answers
Related Manuals for LG LV-B1864CL
Air Conditioner LG LV-B2461CL Manual
Exploded view (68 pages)
Air Conditioner LG LV-B2461CL Service Manual
(64 pages)
Air Conditioner LG C6000 Service Manual
Room air conditioner (46 pages)
Air Conditioner LG LC6000 Service Manual
Room air conditioner (46 pages)
Air Conditioner LG LV-B2461CL Service Manual
Convertible type (66 pages)
Air Conditioner LG LV-B1861HL Owner's Manual
(41 pages)
Air Conditioner LG LV240HV4 Installation Manual
Single zone vertical air handling unit (70 pages)
Air Conditioner LG LV-C3681HL Product Data
Ceiling & floor 50hz, r22, ceiling suspended 50hz, r22 (91 pages)
Air Conditioner LG LV-B18 C Series Owner's Manual
Convertible type (18 pages)
Air Conditioner LG LV-B2420CL Service Manual
Room air conditioner (65 pages)
Air Conditioner LG LV-C362FLA0 Svc Manual
Ceiling & floor type air conditioner (49 pages)
Air Conditioner LG LVN180HV4 Installation Manual
Vertical air handling unit (12 pages)
Air Conditioner LG LV120HCV Installation Manual
Single zone vertical air handling unit - cv (66 pages)
Air Conditioner LG LVN181HV4 Installation Manual
Single zone vertical air handling unit - cv (66 pages)
Air Conditioner LG LV-B3620CL Service Manual
(55 pages)
Air Conditioner LG LV-B1860RL Service Manual
Convertible type, applied to new refrigerant r-410a (60 pages)
This manual is also suitable for:
Lv-b2464cl
Lv-b2860cl
Lv-c3681cl
Lv-c368klab0
Lv-c368kla0
Lv-c368kla1
...
Show all
Lv-c488llab0
Lv-d4881cl
Lv-c488lla0
Lv-c488lla1
Lv-d6081cl
Lv-c608lla0
Lv-c608llab0
Lv-c608lla1
Lv-b1864hbl
Lv-b1864hl
Lv-b2464hbl
Lv-b2464hl
Lv-b2860hl
Lv-c3681hl
Lv-h368kla0
Lv-h368klab0
Lv-d4881hl
Lv-d6081hl
Lv-h488lla0
Lv-h488llab0
Lv-h608lla0
Lv-h608llab0
Table of Contents
Print
Rename the bookmark
Delete bookmark?
Delete from my manuals?
Login
Sign In
OR
Sign in with Facebook
Sign in with Google
Upload manual
Upload from disk
Upload from URL


Need help?
Do you have a question about the LV-B1864CL and is the answer not in the manual?
Questions and answers