Table of Contents
Advertisement
Quick Links
Assembly Instructions
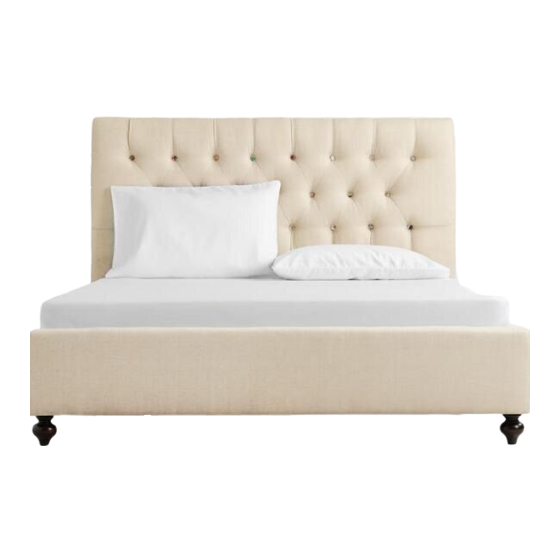
Erin Cute As A Button Queen Bed
SKU - 452439
THANK YOU FOR YOUR PURCHASE.
IF YOU HAVE ANY QUESTIONS PERTAINING TO THE ASSEMBLY
OF THIS FURNITURE PIECE, PLEASE CONTACT THE NEAREST
COST PLUS WORLD MARKET STORE. IF YOU ARE NOT NEAR A STORE,
PLEASE CALL OUR CUSTOMER SERVICE CALL CENTER
TOLL FREE AT 877- 967-5362 FOR ASSISTANCE.
Page 1 of 6
Advertisement
Table of Contents

Related Manuals for World Market Erin Cute As A Button Queen Bed


Summary of Contents for World Market Erin Cute As A Button Queen Bed
- Page 1 IF YOU HAVE ANY QUESTIONS PERTAINING TO THE ASSEMBLY OF THIS FURNITURE PIECE, PLEASE CONTACT THE NEAREST COST PLUS WORLD MARKET STORE. IF YOU ARE NOT NEAR A STORE, PLEASE CALL OUR CUSTOMER SERVICE CALL CENTER TOLL FREE AT 877- 967-5362 FOR ASSISTANCE.
-
Page 2: Parts List
Parts List Label Picture Description Headboard 1 pc Side Rail 2 pcs Slat 2 pcs Center Rail 1 pc 4 pcs Foot Center Support 1 pc Footboard 1 pc Tool List Picture Label Description Allen Wrench Page 2 of 6... - Page 3 Do not assemble on flooring or carpet - Assemble on a clean non-marking surface (packing foam) - Save all packaging until finished - In case of missing parts, please contact your nearest Cost Plus World Market Store. Page 3 of 6...
- Page 4 Assembly Steps Step 1: a. Attach the Foot (E) to the Headboard (A) and Footboard (G). Turn Foot clockwise until they are firmly secured. Step 2: a. Slot hooks on the Side Rails (B) onto the screws so the mattress Support Rails face inwards. Secure the screws using Allen Wrench (T-1).
- Page 5 Assembly Steps Step 3: a. Slot hooks on the ends of the Side Rails (B) onto the screws so the mattress Support Rails face inwards.Secure the screws using Allen Wrench. Step 4: a. Insert Center support (F) into pre-drilled holes on the center rail (D) and turn clockwise to tighten. b.
- Page 6 Assembly Steps Step 5: a. Insert the Slat (C) to assembled bed. Page 6 of 6...
Need help?
Do you have a question about the Erin Cute As A Button Queen Bed and is the answer not in the manual?
Questions and answers