Advertisement
Assembly Instructions
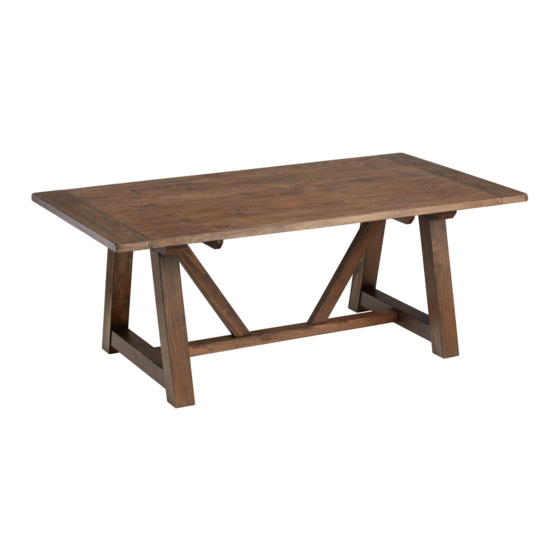
Leona Farmhouse Ext Dining Table
SKU - 542375
THANK YOU FOR YOUR PURCHASE. IF YOU HAVE ANY QUESTIONS
PERTAINING TO THE ASSEMBLY OF THIS FURNITURE PIECE, PLEASE CONTACT
THE NEAREST COST PLUS WORLD MARKET STORE.
IF YOU ARE NOT NEAR A STORE, PLEASE CALL OUR CUSTOMER SERVICE CALL
CENTER TOLL FREE AT 877-967-5362 FOR ASSISTANCE.
Page 1
Advertisement
Table of Contents

Related Manuals for World Market Leona


Summary of Contents for World Market Leona
- Page 1 THANK YOU FOR YOUR PURCHASE. IF YOU HAVE ANY QUESTIONS PERTAINING TO THE ASSEMBLY OF THIS FURNITURE PIECE, PLEASE CONTACT THE NEAREST COST PLUS WORLD MARKET STORE. IF YOU ARE NOT NEAR A STORE, PLEASE CALL OUR CUSTOMER SERVICE CALL CENTER TOLL FREE AT 877-967-5362 FOR ASSISTANCE.
- Page 2 Component List LABEL DESCRIPTION Table top Extension panel Stretcher 1 Stretcher 2 Hardware List LABEL DESCRIPTION Hanger Bolt (Ø8x80mm) Nut (M8x7mm) D Washer (29x15x8mm) Long Bolt (M8x90mm) Short Bolt (M8x60mm) Spring Washer (Ø8xØ14x2mm) Flat Washer (Ø8xØ20x2mm) Tool List LABEL DESCRIPTION Spanner (M13mm) Ball Allen Key (M4x30x110mm) Page 2...
- Page 3 Do not assemble on ooring or carpet. Assemble on a clean non-marring surface (packing foam). Save all packaging until In case of missing parts contact your nearest Cost Plus World Market store or our customer service call center 877-967-5362. Page 3...
- Page 4 Assembly Steps Step 1 1. Assemble Stretcher 2 with Table top. Position Table top (A) up side down on non marring padded surface. Secure the Stretcher 2 (E) using Long bolt (H-4), Spring washer (H-6) and Flat washer (H-7) onto the underside of Table top (A) . 2.
- Page 5 Assembly Steps Step 3 Attach the Legs (C) to Table top (A) and Stretcher 1 (D). Secure Nut (H-2), D Washer (H-3), Spring Washer (H-6) with the Spanner (T-1) as shown in the picture below. Do NOT tighten any hardware yet. H-2 H-6 H-3 H-1 Step 4 1.
- Page 6 Assembly Steps Step 5 Turn table right side up Adjust levelers if needed for stability. Step 6 Insert extension panel as shown below. CLOSE Open the latches on the ends of the table then pull the end rail out as shown. OPEN After extension panel is inserted close and turn latches to lock in place.
- Page 7 Care & Maintenance • Do not put hot items direct ly on furniture surface. • Do not clean furniture with harsh cleansers or polish. • Do not place furniture in direct sunlight. • heating or cooling vents. Do not place furniture near •...
Need help?
Do you have a question about the Leona and is the answer not in the manual?
Questions and answers