Sign In
Upload
Download
Add to my manuals
Delete from my manuals
Share
URL of this page:
HTML Link:
Bookmark this page
Add
Manual will be automatically added to "My Manuals"
Print this page
×
Bookmark added
×
Added to my manuals
Manuals
Brands
REVENT Manuals
Fan
RVS50
Installation manual
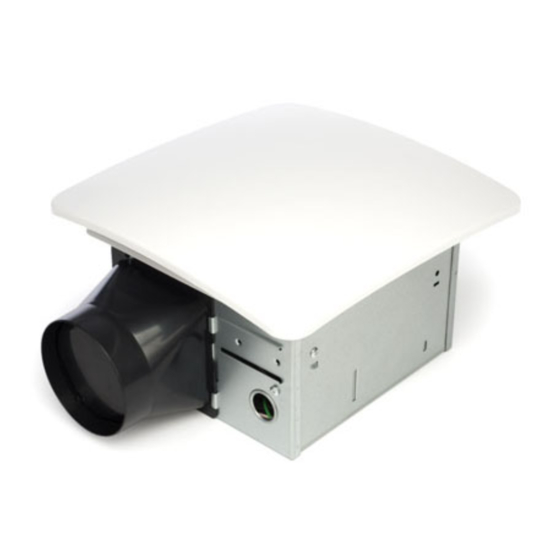
REVENT RVS50 Installation Manual
Hide thumbs
Also See for RVS50
:
Installation manual
(72 pages)
1
Table Of Contents
2
3
4
5
6
7
8
9
10
11
12
13
14
15
16
17
18
19
20
21
22
page
of
22
Go
/
22
Contents
Table of Contents
Bookmarks
Advertisement
Quick Links
1
Table of Contents
2
What's Inside the Box
3
Planning Your Installation
4
Connecting the Duct
5
Removing Your Old Fan
6
Care and Cleaning
7
Frequently Asked Questions
Download this manual
models #RVS50, RVS70,
RVS80, RVS90, RVS110,
RVS130, RVS150
Installation Guide
Read and Save These Instructions
Need Help?
Watch the installation video at:
reventfans.com/install
Questions? Call
1-877-543-8698 (English) or
1-800-615-5439 (French)
Table of
Contents
Previous
Page
Next
Page
1
2
3
4
5
Advertisement
Need help?
Do you have a question about the RVS50 and is the answer not in the manual?
Ask a question
Questions and answers
Related Manuals for REVENT RVS50
Fan REVENT RVS50 Installation Manual
(72 pages)
Fan REVENT RVL50 Installation Manual
(76 pages)
Fan REVENT RVL50 Installation Manual
(23 pages)
Fan REVENT RVL80 Installation Manual
(23 pages)
Fan REVENT RVL110 Installation Manual
(23 pages)
Fan REVENT RVL150 Installation Manual
(23 pages)
Fan REVENT RVS80 Installation Manual
(22 pages)
Fan REVENT RVS150 Installation Manual
(22 pages)
Fan REVENT RVSH50 Installation Manual
(29 pages)
Fan REVENT RVSH50 Installation Manual
(96 pages)
Fan REVENT RVLH50 Installation Manual
(29 pages)
Fan REVENT RVLH80 Installation Manual
(89 pages)
Fan REVENT RVM80 Installation Manual
(84 pages)
Fan REVENT RVH50 Installation Manual
(25 pages)
Fan REVENT RVP50 Installation Manual
(2 pages)
Fan REVENT RVRL5080 Installation Manual
(48 pages)
This manual is also suitable for:
Rvs70
Rvs80
Rvs90
Rvs110
Rvs130
Rvs150
...
Show all
Rvl50
Rvl80
Rvl70
Rvl130
Rvl110
Rvl150
Rvl90
Print
Rename the bookmark
Delete bookmark?
Delete from my manuals?
Login
Sign In
OR
Sign in with Facebook
Sign in with Google
Upload manual
Upload from disk
Upload from URL


Need help?
Do you have a question about the RVS50 and is the answer not in the manual?
Questions and answers