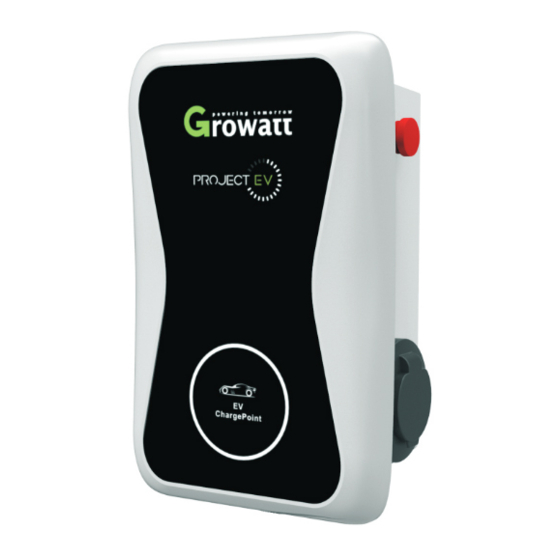
Summary of Contents for Project EV EVA-07S
- Page 1 EVA-07S Single-phase AC charging equipment User Manual Project EV Lakes Court, Lancaster Business Park, Newborough Road,Needwood, Burton Upon Trent, Staffordshire DE13 9PD www. projectev.co.uk...
-
Page 2: Table Of Contents
Menu 1. Product overview....1 2. Features......1 3. Specification......2 4. Operation......3 System Parameter setting....6 6. Installation......11 7. Troubleshooting.....18 8. Packaging list.......19 9. Annex......20... -
Page 3: Product Overview
3.Specification 1.Product overview series product is a charging apparatus with user-friendly HMI and functions of charging control, metering and communication. etc. specially designed for charging EV batteries. Model EVA-07S 2.Features Di mension(mm) 510*355*360(L*W *H) Weig ht(kg) Safe and Reliable Di spl ay Reliable electrical and anti-thief protection, The IP65 degree allows for water and dust proof and normal operation in harsh environment. -
Page 4: Operation
4.Operation During the charging Switch on the power to power cable, the Red and Green status indicator will flash to There will be electricity consumption, time and money spent showing on the display. initiate and start the control circuit. The charging equipment will successfully start The Green status indicator will lit continuously during the charging. -
Page 5: System Parameter Setting
Charging complete without re-swiping card DANGER Charging complete will change the display to the following interface indicating user to swipe card to bill. The card will be frozen if leaving without re-swiping. The frozen Notice: card can only be unlocked at this specific charging equipment by swiping or at The charging equipment will only return to normal operation on condition of the backend office where the card was issued. - Page 6 Introduction 2.Set the computer’s IP address to 192.168.1.x(x can be any value between 1 and 255 except for 5). There is an internal web server inside each charger, You can access the internal web server via web browser on a PC that is connected to the charger using a network cable for parameter setting.
- Page 7 4.If you cannot get into the parameter setting page after several attempts, the Some key parameters: charger’s IP may have been set to other value, you can reset the charger to factory Some key parameters: setting and try again, the charger’s IP will be restored to 192.168.1.5 after the factory reset.
-
Page 8: Installation
6.Installation Step3: unfold the packaging and take out all items Step 1: Drill on the wall according to the dimension below Step4: Mount and fix the bracket onto the wall, Step2: hit the M8 interior expansion bolts into the drilled holes... - Page 9 6.1.Mounting on pole Step5: Hang the charging equipment on the mounting bracket Step1. Drill on the ground for pole standing, Step6: The complete installation will be as below S t ep 2 : H i t t h e exp an si on b ol t s in t o th e d r i l l ed h ol es as sh ow n b el ow ,...
- Page 10 Step5. Mount the cable holder, Step3. Take all the items out, Step4. Mount the pole onto the expansion bolts in the ground and fix with the nuts, Step6. Fix the charging equipment onto the top of the pole from the bottom and fix with the hex head screws. Then the installation is completed.
-
Page 11: Troubleshooting
7.Simple troubleshooting If fault happens, please first check the following table for simple troubleshooting. If the fault is out of the list or the fault still persists after troubleshooting. Please contact your seller for further assistance. Unqualified personnel are not allowed to open the charging equipment or repair it! Fault Countermeasures... -
Page 12: Packaging List
9.Annex 8.1 Electrical diagram DANGER Notice: 1.Wiring and installation must be carried out by qualified personnel, phase sequence cannot be connected incorrectly! AC KM 2.The PE wire should be grounded firmly! 3.No live working! The incoming power should be cut off before opening the INPUT OUTPUT charging equipment.


Need help?
Do you have a question about the EVA-07S and is the answer not in the manual?
Questions and answers