Dometic 457915 Installation & Operating Instructions Manual
Hide thumbs
Also See for 457915:
- Installation & operating instructions manual (15 pages) ,
- Installation and operation manual (28 pages) ,
- Installation instructions manual (24 pages)
Table of Contents
Advertisement
REVISION E
Form No. 3315079.016 6/18
(French 3315288.013_E)
©2018 Dometic Corporation
LaGrange, IN 46761
Description
Model
Air Conditioner
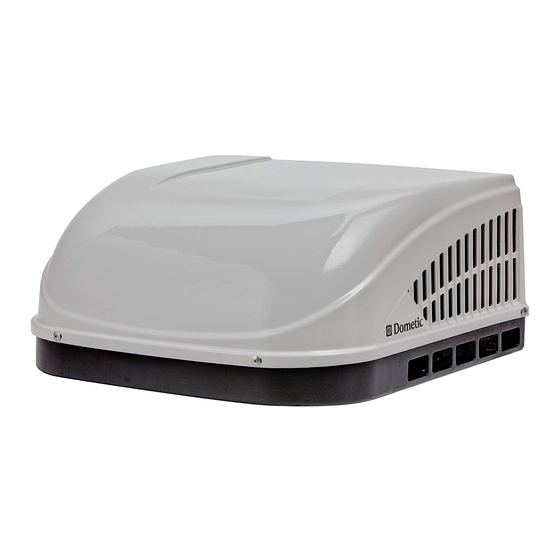
457915
B57915
459516
B59516
540315
H540315
540316
H540316
640312
640315
640316
Read these instructions carefully. These
instructions MUST stay with this product.
USA & CANADA
SERVICE OFFICE
Dometic Corporation
1120 North Main Street
Elkhart, IN, 46514
RECORD THIS INFORMATION FOR FUTURE
REFERENCE:
Model Number
Serial Number
ADB Model Number
ADB Serial Number
Date Purchased
Roof Top Unit
Use With Air Distribution Box
Model
3314851.000
SERVICE CENTER &
DEALER LOCATIONS
Please Visit:
www.dometic.com
Control
Integral Mechanical
Advertisement
Table of Contents

Related Manuals for Dometic 457915


Summary of Contents for Dometic 457915
- Page 1 MUST stay with this product. USA & CANADA SERVICE CENTER & REVISION E SERVICE OFFICE DEALER LOCATIONS Form No. 3315079.016 6/18 Please Visit: Dometic Corporation (French 3315288.013_E) 1120 North Main Street www.dometic.com ©2018 Dometic Corporation Elkhart, IN, 46514 LaGrange, IN 46761...
-
Page 2: Table Of Contents
This unit can be installed by one person with brief help from additional personnel. Use these instructions to ensure a properly installed, and properly functioning product. Dometic Corporation reserves the right to modify appearances and specifications without notice. TABLE OF CONTENTS INTRODUCTION ..................................2... -
Page 3: Important Safety Instructions
Read and understand these instructions be- writing by Dometic Corporation. fore [installing / using / servicing / performing maintenance on] this product. Incorrect [installation / operation / servicing / maintaining] of this product can lead to seri- ous injury. -
Page 4: Specifications
For wire length over 24 ft., consult the National Electrical Code for proper sizing. ** Dometic Corporation gives GENERAL guidelines for generator requirements. These guidelines come from experiences people have had in actual applications. When sizing the generator, the total power usage of your RV must be considered. - Page 5 INSTALLATION INSTRUCTIONS Model Max Tilt Model Max Tilt FIG. 3 Dimensions Are Nominal Model Number (All Directions) Number (All Directions) 540315 540316 457915 15° H540315 15° B57915 540316 13″ 459516 H540316 B59516 640312 8° 540315 640315 640316 29-7/8″ 39-5/8″ After Location Has Been Selected: c.
-
Page 6: Roof Preparation
INSTALLATION INSTRUCTIONS Dimensions Are Nominal FIG. 5 FIG. 7 Faces Model Front 640312C 640315C 21-1/8″ 640316C 23-1/8″ 10-3/8″ 2-5/8″ 40-1/2″ 29″ 12″ Dimensions Are Nominal 11-9/16″ 11-9/16″ Center Line Of Unit Roof Opening 3-7/16″ Keep These Front Air Flow Areas Roof Opening Free Of 21-1/8″... -
Page 7: Wiring Requirements
INSTALLATION INSTRUCTIONS e. If the opening is less than 14-1/8″ x 14-1/8″, a. This supply wire must be located in the front it must be enlarged. See “B. Roof Require- portion of the roof opening. ments” on page (4). b. The power MUST be on an appropriately 3. -
Page 8: Installation Preparation
Unit May Vary In Appearance 2. Cut away the number of rows as indicated in the table below. See (FIG. 13). 2. Remove ADB and mounting hardware from car- H540315, H540316 457915, B57915 ton. See (FIG. 11). 459516, B59516 540315, 540316 FIG. 11... -
Page 9: Installing Unit
1. C eiling Template Installation Model Bolt Location a. Plug the 6 pin electrical cord from the top unit 457915 A, D, E & H into the matching 6 pin connector in the elec- B57915 A, D, E & H tronic control box. -
Page 10: 120 Vac Power Supply Connection
INSTALLATION INSTRUCTIONS F ront and rear vent doors are supplied FIG. 18 Mounting Bolt loose. Do NOT install them until all screws are installed in step 2 & 3. FIG. 20 Ceiling Template Alignment Holes Mounting Bolt 120 Vac Power Supply Connection 1. - Page 11 INSTALLATION INSTRUCTIONS 2. Install two (2) (supplied) sheet metal screws in- 6. Install return air vent grille into the ADB. Slide re- side return air opening to secure ADB to ceiling turn air vent grille tab into slot in ADB and rotate template.
-
Page 12: Operating Instructions
OPERATING INSTRUCTIONS Controls Heating Operation (With Electric Heater Option Installed). 1. The Selector Switch has (8) positions including “OFF”. This controls fan speeds, cooling modes T he heat mode of operation will NOT replace and optional heating modes of operation. See a furnace for heating your RV in cold weath- (FIG. -
Page 13: Maintenance
For a more permanent solution to high heat gain, acces- sories like Dometic outdoor patio and window awnings will reduce heat gain by removing the direct sun. They also add a nice area to enjoy company during the cool of the evening. -
Page 14: Service - Unit Does Not Operate
After the above checks, call your local service center for further help. This unit must be ser- viced by qualified service personnel only. WIRING DIAGRAMS Unit Wiring Diagrams 3. 640312, 640312C, 640315, 640315C, 640316 1. 457915, 459516, B57915 & B59516 2. 540315, 540316, H540315 & H540316... -
Page 15: Adb Wiring Diagram
WIRING DIAGRAMS ADB Wiring Diagram...
Need help?
Do you have a question about the 457915 and is the answer not in the manual?
Questions and answers
How much amperage does the Air conditioner require Model 457915