Advertisement
Advertisement

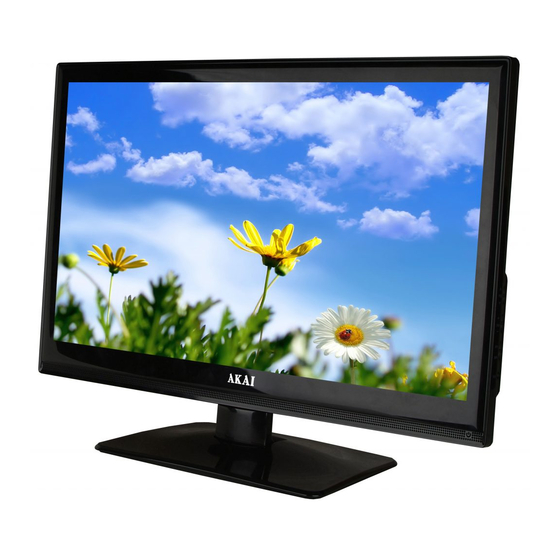
Related Manuals for Akai LT-2402AB


Summary of Contents for Akai LT-2402AB
- Page 1 USER’S MANUAL 22/24” LED TV SET MODEL: LT-2204AB MODEL: LT-2402AB...
-
Page 2: Table Of Contents
Contents Introduction Warning Caution Main Unit Description Remote Control OSD basic adjustment Specifications Trouble Shooting... -
Page 3: Introduction
Introduction Thank you very much for your purchase of our product of LCD TV. It serves as a normal colour TV and PC monitor. To enjoy your set to the full from the very beginning, read this manual carefully and keep it handy for ready reference. INSTALLATION ①... -
Page 4: Warning
Warning CAUTION RISK OF ELECTRIC SHOCK DO NOT OPEN CAUTION: TO AVOID THE RISK OF ELECTRIC SHOCK. DO NOT REMOVE COVER (OR BACK). NO USER- SERVICEABLE PARTS INSIDE. REFER SERVICING TO QUALIFIED SERVICE PERSONNEL. This symbol is intended to alert the user to avoid the risk of electric shock, do not disassemble this equipment by anyone except a qualified service personnel. -
Page 5: Caution
Caution Caution High voltages are used in the operation of this product. Do not remove the back cabinet from your set. Refer servicing to qualified service personnel. Caution To prevent fire or electrical shock hazard, Do not expose the main unit to moisture. Caution Do not drop or push objects into the television cabinet slots or openings. - Page 6 Caution Caution Never stand on, lean on, push suddenly the product or its stand. You should pay special attention to children. Caution Do not place the main unit on an unstable cart stand, shelf or table. Serious injury to an individual, and damage to the television, may result if it should fall.
-
Page 7: Main Unit Description
Main unit description Control Panel Key Function VOL- : Volume down. VOL+ : Volume up. CH- : TV channel down. CH+ : TV channel up. MENU : Press to select the main menu. TV/AV : Select the input signal. POWER : Switch on when at standby mode or enter the standby mode. TV Terminal Connections 1. -
Page 8: Remote Control
Remote control : Press this button to switch on the TV when at standby mode or enter standby mode. : Press this button to mute or restore sound. In the TV condition, press this key to select the NICAM/A2: stereo mode. Press to select the different picture size. -
Page 9: Osd Basic Adjustment
OSD basic adjustment Picture You can select the type of picture, which best corresponds to your viewing. 1. Press the “MENU” button to enter the OSD menu. Then press “/” button to select the “Picture” menu. Enter the “Picture” menu by pressing “” button. 2. - Page 10 Sound You can select the type of sound, which best corresponds to your listening. 1. Press the “MENU” button to enter the OSD menu. Then press “/” button to select the “Sound” menu. Enter the “Sound” menu by pressing “” button. 2.
- Page 11 Channel You can make the desired adjustment in the TV mode. 1. Press “/” button to select “Auto Tune” and press the “” button to do auto search. Then press “MENU” or “EXIT” button to exit. 2. Press “/” button to select “Manual Tune”...
- Page 12 6. Press “/” button to select “Sound .SYS” menu and press the “/” button select the sound mode such as BG / DK / I 7. Press the “Menu” button to return to upper-menu. Function 1. Press the “MENU” button to enter the OSD menu.
- Page 13 Press the “MENU” button to enter the OSD menu. Then press “/” button to select the “PC” menu. Enter the “PC” menu by pressing “” button. Press “/” button to select “Clock” and press the “/” button to enter clock adjustment menu to adjust clock.
-
Page 14: Specifications
Specifications RGB INPUT Horizontal Vertical Model Resolution Frequency(KHz) Frequency(HZ) 720x400 31.5 640x480 31.5 SVGA 800x600 37.9 1024x768 48.4 WXGA 1920*1080 67.5 HDMI INPUT Horizontal Frequency Vertical Frequency Model Resolution (KHz) (HZ) 640 x 480 31.47 59.94 480i 720 x480i 15.73 59.94/60 576i 720 x 576i... - Page 15 COMPONENT VIDEO (YPbPr) INPUT Horizontal Frequency Vertical Frequency Mode Resolution (KHz) (HZ) 480i 720 x480i 15.73 59.94/60 576i 720 x 576i 15.63 480p 720 x480p 31.47 59.94/60 576p 720 x 576p 31.26 720p 1280 x 720p 37.50 44.96 59.94/60 1080i 1920 x 1080i 28.13 33.75...
-
Page 16: Trouble Shooting
Trouble Shooting Before consulting service personnel, check the following chart for a possible cause of the trouble you are experiencing and for a solution. PROBLEM SOLUTION ●Make sure the power cord is plugged in. TV will not turn on ●The batteries in the remote control may be exhausted replace the batteries. - Page 17 For more detailed information about recycling of this product, please contact your local city office, your household waste disposal service or the shop where you purchased the product. For more information and warranty conditions, please visit: www.akai.com.ro...
Need help?
Do you have a question about the LT-2402AB and is the answer not in the manual?
Questions and answers