SATO CL4NX RIDF Configuration Manual
Hide thumbs
Also See for CL4NX RIDF:
- Operator's manual (807 pages) ,
- Programming reference manual (756 pages) ,
- Service manual (160 pages)
Table of Contents
Advertisement
Quick Links
Advertisement
Table of Contents

Subscribe to Our Youtube Channel
Related Manuals for SATO CL4NX RIDF


Summary of Contents for SATO CL4NX RIDF
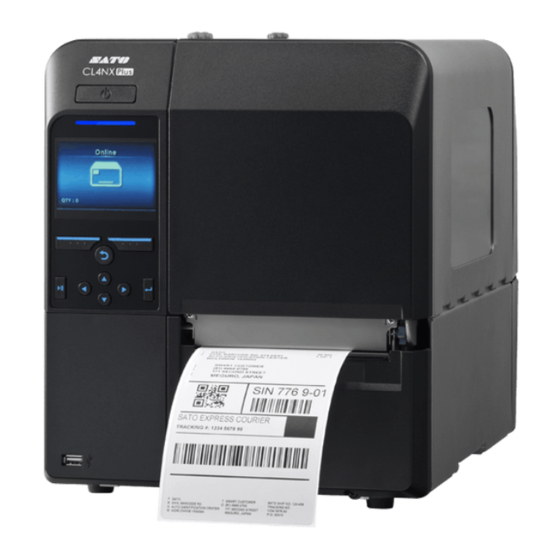
- Page 1 SETUP & CONFIGURATION MANUAL SATO CL4NX RIDF...
-
Page 2: Checking The Ink Side Of The Ribbon
Label Printer Installation & Configuration This guide applies to the SATO CL4NX Printer. Be aware that updates and/or OS revisions may affect the look and feel of the interface. Please visit www.sato.com for additional details. 1. Have some benzyl hydroxyl handy to clean sensors. -
Page 3: Loading The Ribbon
3 Loading the Ribbon and Media Loading the Ribbon Use genuine SATO media and ribbons for the printer in order to ensure optimum print quality. CAUTION • The print head and its surroundings are hot after printing. DO NOT touch the print head after printing, as this may result in burning or injury. - Page 4 3 Loading the Ribbon and Media Push the ribbon rewind spindle w all the way in. If there is any ribbon on the ribbon rewind spindle, remove it from the spindle before installing new ribbon. Push the head lock lever e towards the rear.
- Page 5 3 Loading the Ribbon and Media From the ribbon supply spindle t, pass the ribbon below the print head y. Wind the ribbon counterclockwise to the ribbon rewind spindle w and grip sheet Turn the ribbon rewind spindle counterclockwise for several rounds, to wind the ribbon.
-
Page 6: Removing The Ribbon
3 Loading the Ribbon and Media Removing the Ribbon Press the tab q on the tip of the ribbon rewind spindle to pull it out. Pull to remove the used ribbon from the ribbon rewind spindle. Push the ribbon rewind spindle all the way in. -
Page 7: Usable Media
3 Loading the Ribbon and Media Usable Media This printer can print on two types of media: media roll and fan-fold media. The printer uses media sensors to detect I-marks or Gaps on the media in order to precisely print the content. 1.75”... -
Page 8: Loading Media Roll
3 Loading the Ribbon and Media Loading Media Use genuine SATO media and ribbons for the printer to ensure optimum print quality. CAUTION • The print head and its surroundings are hot after printing. DO NOT touch the print head after printing, as this may result in burning or injury. - Page 9 3 Loading the Ribbon and Media Pull the media holder guide q and media guide w away from the printer. Turn the knob counterclockwise to release the media guide. Load the media in the media holder r. Make sure that the media roll is all the way in to inside of the printer.
- Page 10 (Click on the video link to view) CL4NX Ribbon Replacement CL4NX Label Roll Replacement (Standard) CL4NX Fanfold Label Replacement (Standard) CL4NX Cleaning SOFTWARE & DRIVERS Sato Management Tool Windows Driver ADDITIONAL DOCUMENTATION SATO CL4NX Advanced Operator Manual SATO CL4NX Tech Tips Guide...
Need help?
Do you have a question about the CL4NX RIDF and is the answer not in the manual?
Questions and answers