rako RAK-LINK Instruction Manual
Hide thumbs
Also See for RAK-LINK:
- Instruction manual (10 pages) ,
- Installing (2 pages) ,
- Instruction manual (9 pages)
Table of Contents
Advertisement
Quick Links
RAK-LINK Instruction Manual
For programming
information:
For further installation information:
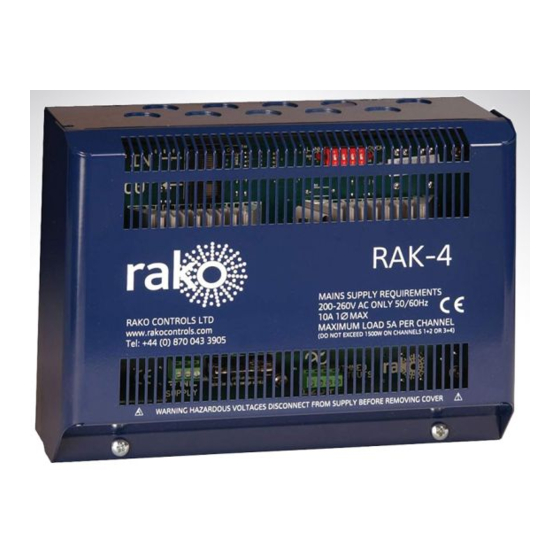
What is the RAK-LINK?
The RAK-LINK is a required element of any wired system.
The RAK-LINK powers the wired network and also provides a link between the keypads and
RAK dimmers.
Up to 32 RAK circuits can be used per RAK-LINK. These 32 circuits can be designated in
any combination of RAK8s and RAK4s.
The RAK-LINK supports up to approximately 40 wired devices communication devices in a
typical installation of 1000m of data cable. "Wired communication devices" refers to WCMs
(keypads), WAPIR (motion sensor) etc.
For a more exact calculation of power requirements please refer to "RAK-LINK diagnostics"
application sheet.
Typical Wired Installation layout:
RAK-LINK
W ired system Programming Guide
W ired RAK Application Sheet
Manual Version 2.1.7
Advertisement
Table of Contents

Subscribe to Our Youtube Channel
Related Manuals for rako RAK-LINK


Summary of Contents for rako RAK-LINK
- Page 1 The RAK-LINK powers the wired network and also provides a link between the keypads and RAK dimmers. Up to 32 RAK circuits can be used per RAK-LINK. These 32 circuits can be designated in any combination of RAK8s and RAK4s.
- Page 2 Installation of the RAK-LINK The connections to the RAK-LINK, as shown below are: 1) Mains AC connection to power supply 2) RJ45 patch lead to RAK stacks 3) Krome connector punchdowns and RJ11 sockets to wired network 4) Optional 3 x RJ11 sockets for wired accessories Remove lid.
- Page 3 Wire the mains supply into the Step 4 terminal block. Insert the RJ45 cable that links the RAK-LINK to a stack of RAKs. Prepare two remaining screws to be slotted into top tray Reattach the ribbon cable...
- Page 4 Termination Jumper settings: No Term - Both Jumpers removed Used when the RAK-LINK is not at the end of line. This is usually identifiable by two cables being punched down to the RAK-LINK. Term - Jumper fitted across 1+2 & 4+5 Used when the RAK-LINK is end of line in a daisy chain configuration (such as the RAK-LINK shown in “Typical Wired Installation layout”...
Need help?
Do you have a question about the RAK-LINK and is the answer not in the manual?
Questions and answers