Advertisement
Advertisement
Table of Contents

Related Manuals for Mobotix T26


Summary of Contents for Mobotix T26
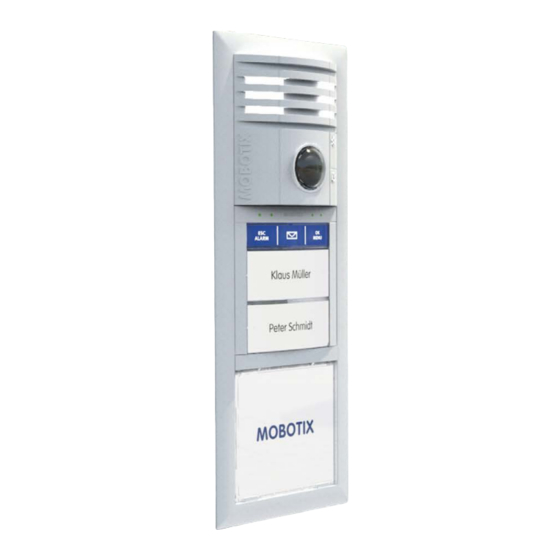
- Page 1 Quick Installation Door Station T26...
- Page 2 Then press and hold the light button (> 2 s). Each MxDisplay+ device is reconfigured from the T26 and reboots with an updated configuration. The network data of the camera is announced (e.g. IP address). The camera LEDs will then light, the keypad number buttons will flash white, the ESC/ALARM button will flash red, and the OK/MENU button will flash blue.
- Page 3 Step 2 – Enter Super PIN Choose an 8 to 16 digit number. The number should not be composed only of zeros and must be difficult to guess. Important: Make a note of the Super PIN straight away and keep it in a safe place! Enter the Super PIN and press the OK/MENU button.
- Page 4 T26 Quick Installation Step 4 – Customize System Via MxDisplay+ After the autoconfiguration has been completed and the access modules have been set up, you still have to set up MxDisplay+ as the remote terminal. Fig.: After autoconfiguration, the MxDisplay+ is opened in standby mode with date/time display.
Need help?
Do you have a question about the T26 and is the answer not in the manual?
Questions and answers