Table of Contents
Advertisement
Quick Links
Advertisement
Chapters
Table of Contents

Related Manuals for Lionel Oil Tank


Summary of Contents for Lionel Oil Tank
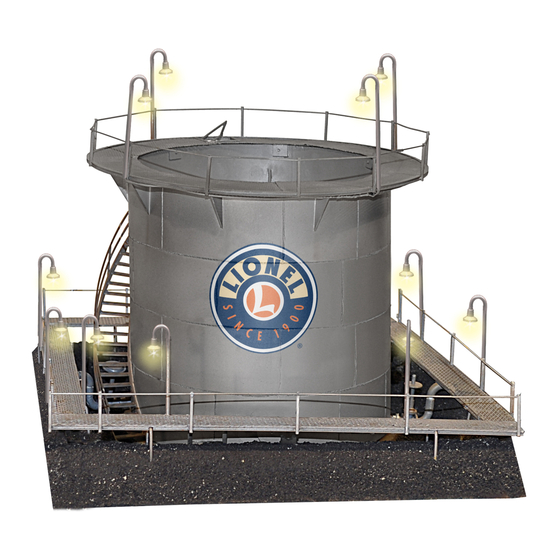
- Page 1 73-7966-250 5/11 Lionel Lionel Oil Tank Oil Tank Owner’s Manual Owner’s Manual...
- Page 2 • Power leads with connector • On/Off switch • Owner’s Manual *One platform has steps and two wire connectors at one end The following Lionel marks are used throughout this catalog and are protected under law. All rights reserved. Lionel®, LEGACY™, FasTrack™, TrainMaster®, Odyssey®, RailSounds®, CrewTalk™, TowerCom™, DynaChuff™, StationSounds™, Pullmor®, ElectroCoupler™, Magne-Traction®, CAB-1® Remote Controller, American Flyer®, Lionel ZW®, ZW®, MagniVision®, TMCC®, Lionelville®, Wireless Tether™, Powerhouse™, LionMaster®, Conventional Classics™, Postwar Celebration Series™,...
-
Page 3: Setting Up Your Oil Tank
Setting up your Oil Tank ollow the instructions below to install the illuminated walkways around the Oil Tank. Refer to Figure 1 on page 4. Remove the two pairs of illuminated walkways from the box. Note the difference in the distance between the posts on the long and short walkway sections. -
Page 4: Setting Up Your Oil Tank
Setting up your Oil Tank (continued) Connects to center of base (tank light) To power supply (see page 5) Figure 1. Walkway connections and installation... -
Page 5: Powering The Accessory
12-18 volts (AC). You may choose to power the accessory with a separate accessory power supply, through a FasTrack Accessory Power Wire (6-12053), or through a Lionel Lockon for O gauge track. To make the proper connections, all wires must be stripped back 1/8” to 1/4”. -
Page 6: Joining Multiple Oil Tanks Together
Note that two pins align the ends with the base. Slide the bases together and ensure proper alignment. Reconnect power to one walkway section, and then insert the posts on the underside of the walkway into the holes on both bases. Figure 3. Joining two Oil Tank accessories... -
Page 7: Servicing The Lamps
Servicing the lamps uring the course of normal operations, you may find that a lamp requires replacement. The lamps must be replaced at an authorized Lionel Service Station. Visit www.lionel.com to find the nearest location. -
Page 8: Warranty Information
(or copy) from an Authorized Lionel Retailer*, will at the discretion of Lionel LLC, be repaired or replaced, without charge for parts or labor. In the event the defective product cannot be repaired, and a suitable replacement is not available, Lionel will offer to replace the product with a comparable model (determined by Lionel LLC), if available.
Need help?
Do you have a question about the Oil Tank and is the answer not in the manual?
Questions and answers