Advertisement
Quick Links
Advertisement

Related Manuals for peerless-AV GC-X360S-W


Summary of Contents for peerless-AV GC-X360S-W
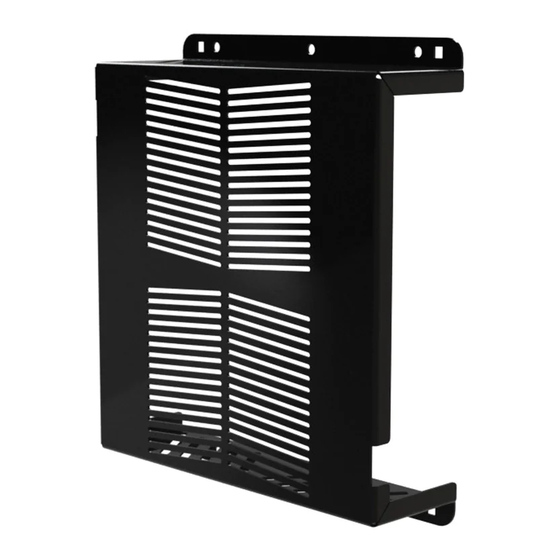
- Page 1 GC-X360S-W GC-X360S-B Game Console Security Cover for Xbox 360S date:01/22/13 #:125-9401...
- Page 2 WARNING ENG - This product was designed to be installed on wood stud, solid concrete or cinder block walls. Before in- stalling make sure the supporting surface will support the combined load of the equipment and hardware. Screws must be tightly secured. Do not overtighten screws or damage can occur and product may fail. Never exceed the Maximum Load Capacity.
- Page 3 Tools Needed for Assembly. 5/16", 5/32", 1/2" 3/8" (10mm) date:01/22/13 #:125-9401...
-
Page 4: Parts List
Parts List Part Description Quantity Part Number (-B) Part Number (-W) cover plate 125-P1455 125-2455 1/4-20 x 1.75" carriage bolt 520-1017 520-1017 #14 2 2.5" hex head wood screw 500-1005 500-1005 1/4-20 x 1.5" socket pin screw 520-1256 520-1256 concrete anchor 590-0320 590-0320 1/4 x 20 slope nut... - Page 5 Wood stud wall. Concrete/Cinder block. Drywall. Desktop date:01/22/13 #:125-9401...
- Page 6 WARNING When installing Peerless wall mounts on a wood stud wall covered with gypsum board (drywall), verify that the woods studs are a minimum of 2”X4” nominal size. When installing to more than one stud, insure the spacing between studs is at least 16” but does not exceed 24”. Do not install over gypsum board thicker than 5/8”. 1a-1 Use stud finder to locate and mark stud center lines.
- Page 7 1a-3 Drill mounting holes into supporting surface 2.5" (2.5" (64 mm) minimum depth required). (64mm) 5/32" 5/32" (4mm) (4mm) Mounting hole must center on stud. 1a-4 Level cover plate. Install using wood screws provided. 3/8" (10mm) Maximum 80 in. • lb (9 N.M.). date:01/22/13 #:125-9401...
- Page 8 WARNING ENG • When installing Peerless wall mounts on a concrete wall, the wall must be at least 8” thick with a minimum compressive strength of 2000 psi. • When installing Peerless wall mounts on a cinder block wall, the cinder blocks must meet ASTM C-90 specifications and have a minimum nominal width of 8”.
- Page 9 1b-3 1b-3 Insert anchor flush to concrete. 1b-4 1b-4 Level wallplate. Install using concrete anchors and wood screws provided. 3/8" (10mm) Maximum 80 in. • lb (9 N.M.). date:01/22/13 #:125-9401...
- Page 10 WARNING • Drywall must be 1/2" or thicker. • Make sure that the wall will safely support the combined load of the equipment and all attached hardware and components. 1c-1 Level cover plate and mark the center of the four mounting holes. Drill four 1/2" holes through drywall. NOTE: It may be necessary to drill 5/32"...
- Page 11 1d-1 Level cover plate and mark the center of four rectangular mounting holes Drill four 5/16” (8 mm) dia. holes through desktop ounting surface NOTE: Avoid jamming both slope nuts (F) together, doing so may make it difficult to remove slope nut BOTTOM OF DESK used for tightening.
-
Page 12: Limited Five-Year Warranty
Peerless product. ® This warranty gives specific legal rights, and you may also have other rights which vary from state to state. Peerless-AV 2300 White Oak Circle Aurora, IL 60502 Email: tech@peerlessmounts.com Ph: (800) 865-2112 Fax: (800) 359-6500 www.peerless-av.com...
Need help?
Do you have a question about the GC-X360S-W and is the answer not in the manual?
Questions and answers