Table of Contents
Advertisement
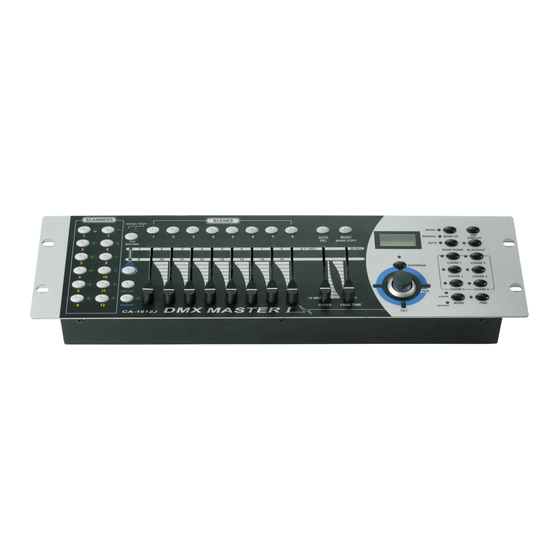
Technical Specification
DMX MASTER
Power Input ..........................................DC 9V , 300 mA min.
Professional Lighting Technology
DMX Input ....................................................3 pin male XLR
DMX Output ................................................3 pin female XLR
MIDI Signal .......................................5 pin standard interface
Audio Input ...........................By built-in microphone or line in
Dimensions .................................................. 482x132x73mm
Weight(appro.) ............................................................. 2.5 kg
User Guide
Please read these instructions carefully before use
Innovation , Quality , Performance
Advertisement
Table of Contents

Subscribe to Our Youtube Channel
Related Manuals for ACME DMX Master I


Summary of Contents for ACME DMX Master I
- Page 1 Technical Specification DMX MASTER Power Input ........…….DC 9V , 300 mA min. Professional Lighting Technology DMX Input ..........……3 pin male XLR DMX Output ..........3 pin female XLR MIDI Signal ........5 pin standard interface Audio Input ......By built-in microphone or line in Dimensions ..........
-
Page 2: Table Of Contents
CONTENTS 1. Features……………………………………………………………………………………………….. Page 1 Note 2. General Instructions………………………………………………………………………………….. Page 2 3. Overview……………………………………………….……………………………………………. Page 3 3-1. Front View…………………………………………………………………….…………………… Page 3 3-2. Rear View…………………………………………………………………………………………. Page 6 4. Operation Guide…………………………………………………………………………………….. Page 6 4-1 Program Enable……………………………………………………………….………………….. Page 7 4-2 Programming Scenes..……………………………………………………….………………….. Page 8 4-2.1Scene Editing……………………………………………………………………………………. -
Page 3: Features
1. Features 192 DMX channels. EC Declaration of Conformity 12 scanners of 16 DMX channels. We declare that our products (lighting equipments) comply with the following 30 banks of 8 programmable scenes. specification and bears CE mark in accordance with the provision of the 6 chases of 240 programmed scenes from 30 banks 8 faders for manual control Electromagnetic Compatibility (EMC) Directive 89/336/EEC. -
Page 4: General Instructions
4-8 Send File Dump General Instructions NOTE Please read the user manual carefully, as it includes important information regarding details of You must set up proper connection before you can send or receive the file dump. operation, maintenance, and technical data. Keep this manual with the unit for future consult. WARNINGS!... -
Page 5: Overview
3. Overview 2. Use the Bank Up/Down button to select the DMX channel 01-16 to assign to MIDI channel. 3-1. Front View CA-1612J 3. Press and hold down the MIDI/Rec button for three seconds to store your setting and to deactivate MIDI setting. To cancel your setting, tap any other button (except Bank Up/Down buttons) to exit MIDI mode. - Page 6 3. Use the Speed slider(or Tap Sync) and Fade Time slider to 1. Scanner Buttons(1-12) adjust the chase to your desired effects. 12 scanners of 16 DMX channels & fader control You may select several chases at a time, the chases will run Scanners DMX channels Fader control...
- Page 7 2. Scene Buttons Press the scene buttons to load or stored your scenes. There 4-6 Running Chases You must program scenes before you can run chases. are a maximum of 240 programmable scenes. 3. Faders These faders are used to control the intensity of channel 1-8 or channel 9-16 depending upon the selected page.
-
Page 8: Rear View
Hints: 3-2 Rear View The Tap Sync button is used to set the speed by tapping the button several times, the last two taps will define the speed with a maximum of 10 minutes. Tap Sync will override any previous setting of the Speed slider unless the slider is moved again. -
Page 9: Operation Guide
4. Operation Guide General This unit allows you to program 12 scanners of 16 DMX channels, 30 banks of 8 4. Tap the Scene button to select the scene to run. programmable scenes, 6 chases of 240 programmed scenes using 8 faders and other function buttons. -
Page 10: Programming Scenes
4-4.6 Display DMX channel 4-2 Programming Scenes Enter Program mode. 1. Press the Fine and Mode buttons at a time,the Assign LED lights. 2. Press the Scanner button to turn on its fader control, which is indicated by the lit LED. You may select several scanners at a time by tapping of these Scanner buttons, so you can set several scanners at a time. - Page 11 8. Repeat steps 3-7until all desired scenes have been 3. Press the Mode and TAP/Display buttons at a time to store programmed into memory .Tap the Scanner button again to turn your setting into memory. off its fader control.To set another scanner(scanner), you may If you are not going to save your setting, tap the Blackout tap the corresponding Scanner button to turn on its fader control, button to leave this operation.
-
Page 12: 4-2.1Scene Editing
6. Tap the Page Select button to select Page A or Page B. 4-2.1 Scene Editing 1. Program enable. 2. Tap the Bank Up/Down button to select the bank that contains the scene you wish to edit. 7. While pressing the Mode button, tap the Scene button, all LEDs should flash briefly indicating the DMX channel is reversed.( Scene button 1 stands for DMX channel 1, Scene button 2 stands for DMX channel 2, and so on.) -
Page 13: 4-2.2 Scanner Copy
6. Tap the Scene button that corresponds to the scene you're 4-4.2 Reverse DMX channel editing. This will overwrite the exited scene 1. Program enable. 2. Press the Fine and Mode buttons the second time, the Reverse LED lights up indicating Reverse mode is active. NOTE: Be sure to select the same scene in steps 3 and 6, otherwise you may accidentally record over an exited scene. -
Page 14: 4-2.3 Scene Copy
4. Tap the Tap/Display button to change between 8 CH. and 4-2.3 Scene Copy 16 CH. mode, the LCD reads 1.Program enable. ASSXX XX ASSXX XX 08CH 16CH 2. Tap the Bank Up/Down button to select the bank that contains the scene you wish to copy. 5. -
Page 15: 4-2.4 Delete A Scene
2. Press and hold down the Auto/Del button. Tap the Chase 6. Tap the Scene button you wish to copy the scene to. button while holding down the Auto/Del button, all LEDs will flash three times briefly indicating this chase has been deleted. 4-3.5 Delete all Chases 4-2.4 Delete a Scene 1. -
Page 16: 4-2.6 Bank Copy
7. Tap the MIDI/Rec button again , all LEDs will flash three 4-2.6 Bank Copy times briefly indicating the new step has been inserted into this 1. Program enable. chase. 2. Tap the Bank Up/Down button to select the bank you wish to copy. -
Page 17: Programming Chase
4-3 Programming Chase 4-3.2 Add a Step You must program scenes before you can program chases, this function 1. Program enable. allows you to store up to 240 scenes into one chase. 1. Program enable. 2. Select the chase you wish to add a step to. 2.
Need help?
Do you have a question about the DMX Master I and is the answer not in the manual?
Questions and answers