Sign In
Upload
Download
Table of Contents
Contents
Add to my manuals
Delete from my manuals
Share
URL of this page:
HTML Link:
Bookmark this page
Add
Manual will be automatically added to "My Manuals"
Print this page
×
Bookmark added
×
Added to my manuals
Manuals
Brands
mcmurdo Manuals
Transmitter
Smartfind G8 AIS
User manual
mcmurdo Smartfind G8 AIS User Manual
Hide thumbs
1
2
3
4
Table Of Contents
5
6
7
8
9
10
11
12
13
14
15
16
17
18
19
20
21
22
23
24
25
26
27
28
29
30
31
32
33
34
35
36
37
38
39
40
41
42
43
44
45
46
47
48
49
50
51
52
page
of
52
Go
/
52
Contents
Table of Contents
Bookmarks
Table of Contents
Table of Contents
1 Safety Notices
Use
Testing, Maintenance and Disposal
Hazards
EC Declaration of Conformity
FCC Compliance
Response Time
Disclaimer
2 Mandatory Registration
Overview
How to Register
3 Description
EPIRB Controls and Indicators
Top View
Back View
Carry Handle
Manual Bracket
Float-Free Enclosure
Automatic Activation
Manual Activation
4 Emergency Procedure
Abandon Ship
Float-Free Enclosure
Release from Manual Bracket
Release from Float-Free Enclosure
Manual Activation
Optimising Onboard Performance
Deactivation
Stowage
Manual Bracket
Float-Free Enclosure
5 False Alerts
Notify Rescue Services
Deactivate the EPIRB
Faulty EPIRB
6 Installation
Manual Bracket
Siting
Mounting Procedure
Mounting Instruction Plate
Float-Free Enclosure
Siting
Mounting Procedure
Mounting Instruction Plate
HRU Expiry Date
Marking Vessel Name
7 Maintenance
Servicing Schedule
Self-Test & Inspection
Short Self-Test
Long Self-Test (GNSS Variants Only)
Mechanical Inspection
HRU Replacement
Battery Maintenance
Battery Replacement
Battery Removal
Transportation
GMDSS Inspections
8 End of Life Statement
Disposal
9 Technical Specification
10 Product Warranty
Orolia Ltd Warranty Registration
Warranty Statement
11 How Does It Work
12 Cospas-Sarsat Satellite System
The Search and Rescue (SAR) Process
Global Navigation Satellite System (GNSS)
MEOSAR Compatibility Explained
13 How to Register Your Epirb
Emergency Contact
Registration Information for Australia & New Zealand
Advice for EPIRB Purchase or Transfer
Online Warranty Registration
Radio Licence
Sale or Transfer
Advertisement
Quick Links
1
Testing, Maintenance and Disposal
2
Self-Test & Inspection
3
Short Self-Test
Download this manual
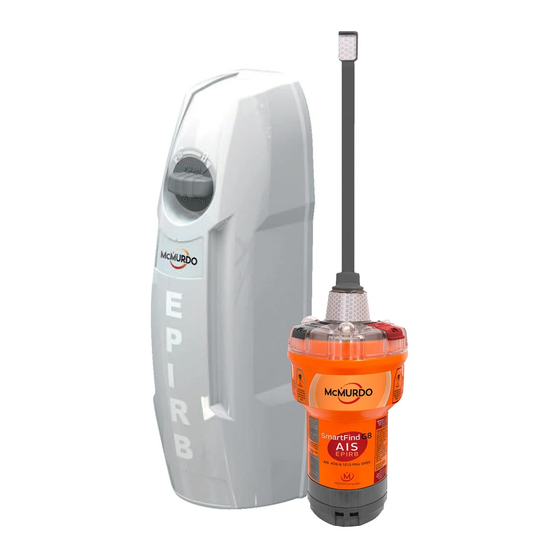
Smartfind G8 AIS
Smartfind G8
Smartfind E8
EPIRB-AIS
USER MANUAL
Table of
Contents
Previous
Page
Next
Page
1
2
3
4
5
Advertisement
Table of Contents
Need help?
Do you have a question about the Smartfind G8 AIS and is the answer not in the manual?
Ask a question
Questions and answers
Related Manuals for mcmurdo Smartfind G8 AIS
Transmitter mcmurdo Smartfind E8 User Manual
(52 pages)
Transmitter mcmurdo EPIRB-AIS User Manual
(52 pages)
Transmitter mcmurdo E3 Owner's Manual
Epirb (25 pages)
Transmitter mcmurdo KANNAD 406 SURVIAL Installation Manual Operating Instructions
(49 pages)
Transmitter mcmurdo Fastfind Max Service Manual
Pbl (29 pages)
This manual is also suitable for:
Smartfind e8
Smartfind g8
Epirb-ais
Table of Contents
Save PDF
Print
Rename the bookmark
Delete bookmark?
Delete from my manuals?
Login
Sign In
OR
Sign in with Facebook
Sign in with Google
Upload manual
Upload from disk
Upload from URL


Need help?
Do you have a question about the Smartfind G8 AIS and is the answer not in the manual?
Questions and answers