Table of Contents
Advertisement
Advertisement
Table of Contents

Subscribe to Our Youtube Channel
Related Manuals for mcmurdo E3


Summary of Contents for mcmurdo E3
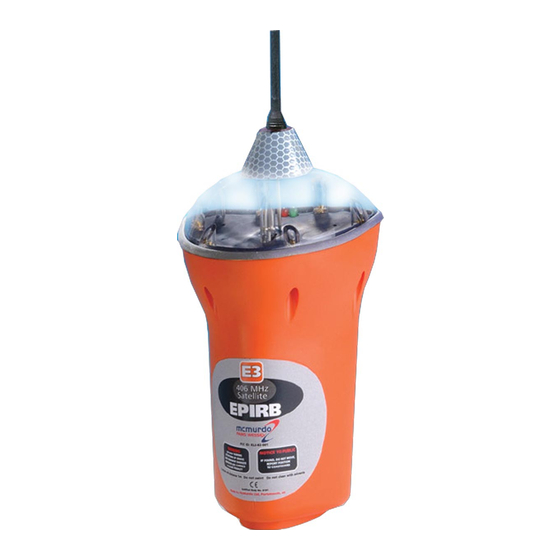
- Page 1 406 MHz Satellite OWNERS MANUAL...
- Page 3 The E3 also has a secondary distress transmitter. This transmits on 121.5 MHz and is used for “homing” purposes. When the rescue services get close, this allows them to direction find on the signal. To cater for searches at night, the E3 has a bright flashing light that aids final visual location.
-
Page 4: Wall Bracket
This bracket is more than just a stowage point, it contains a magnet which disarms the E3’s sea switch. If you do not stow the E3 in its bracket, there is a risk of the E3 activating if it gets wet. 2.2 Float-free enclosure If you purchased the automatically activated version (E3a), also known as the “float-... - Page 5 The lid is weighted so it rolls over and falls away. As the E3 floats away from the lid, it moves out of range of the magnet. Once away from the magnet its sea switch becomes armed.
-
Page 6: Ready Button
3.3 Sea switch It is important to realise that the only time the E3 is completely off is when it is fitted in its mounting bracket. As soon as you take it out of its bracket a magnetic switch activates and puts the E3 into its “ready”... -
Page 7: Operating Procedure
If you have a category 1 “float-free” enclosure (see marking on enclosure label), then if your vessel sinks, the E3 will automatically release itself from its enclosure before it reaches a depth of 4 metres. The E3 will float to the surface and start to operate because its sea switch is activated. - Page 8 4.5 Manual activation If the vessel is not sinking, but there is imminent danger, then remove the E3 from its bracket and manually activate it as shown below. Note that once activated it will flash immediately, but it will not transmit a distress call for 50 seconds. This gives you a chance to turn it off, if you activated it in error.
-
Page 9: Battery Condition
4.8 Re-fitting E3 into wall bracket The E3 is now in its “ready” state, but its sea switch is still armed and will activate if it gets wet. To fully de-activate the E3 it must be returned to its mounting bracket, where a magnet hidden in the bracket will make the E3 safe. - Page 10 • Engage base of E3 into D shaped metal prongs. • Antenna rests either to left or right of release pin. • Check E3 is fully engaged in metal prongs and resting on foam pad. • Refit cover by first locating release pin through hole in cover.
-
Page 11: False Alarms
The E3 bracket has a hidden magnet to hold the E3 in an off state. If the E3 is wrongly fitted the magnet does not do its job and heavy seas may activate the sea switch. The simple cure is to ensure the E3 is correctly fitted as per section 4.8 or 4.9. -
Page 12: Wall Bracket Installation
6. WALL BRACKET INSTALLATION 6.1 Siting The wall bracket should ideally be sited in plain view near an emergency exit. When choosing a suitable mounting position you should also consider… • Ease of access in an emergency. • Mount at least 1 metre (3’) from any compass equipment. •... -
Page 13: Mounting Instruction Plate
6.3 Mounting instruction plate The E3 is supplied with an instruction plate. This is a rigid plate with basic visual instructions for how to operate the E3 in an emergency. The plate varies slightly depending on whether you have a wall bracket or a full enclosure. The wall bracket version is illustrated below. -
Page 14: Enclosure Installation
No other orientations are recommended. If you have a float-free E3 it is critical that you choose a position where the released EPIRB will not get trapped by overhangs, rigging, aerials etc, should the vessel ever sink. - Page 15 (5.9") 7.3 Mounting instruction plate The E3 is supplied with a rigid plate giving visual instructions on how to operate the E3 in an emergency. Mount this next to your EPIRB as explained in section 6.3. 7.4 Marking HRU expiry If you are installing a float-free E3 you must now mark the HRU expiry date.
-
Page 16: Marking Vessel Name
In these countries it is left to the customer to mark the vessel name during installation. The name must be marked on the rear of the E3 itself and also on the enclosure, if you have one. Use the alpha-numeric stickers provided to mark the vessel name (or its abbreviation) on the top line of the E3’s rear label and again on the enclosure... - Page 17 It is usual to receive confirmation when you register. In the USA you will also receive a “Decal” sticker which you must fit to the E3 itself. The Decal is proof of registration. Not having a Decal is an offence. Useful registration contacts are…...
-
Page 18: Maintenance
If your E3 is in an enclosure it can be tested through the test window, without having to remove the E3 from the housing. If you have a bracket mounted E3 it will have to be removed from the bracket as described in section 4.3. The procedure for self- testing is as follows…... -
Page 19: Hru Replacement
9.2 HRU replacement If you have an E3 in an enclosure which is marked as category 1 then it contains a Hydrostatic Release Unit (HRU). This has a 2 year replacement interval. The HRU expiry date should be checked regularly. It is marked on the HRU itself and also on the enclosure side label. - Page 20 Typically this will have to be replaced every 5 years. The exact battery expiry date is marked on the rear of the E3 lens dome and if you have a full enclosure it is also marked on the outside of the enclosure. The battery expiry date should be checked regularly.
- Page 21 9.7 Fully disabling an E3 In the unlikely event that your E3 refuses to turn off then it may have a fault. Procedures for dealing with a faulty E3 are covered in section 5 on false alarms and in simple terms you should do the following…...
-
Page 22: Technical Specification
Technical specification Operating frequency 406.025 MHz +/- 5kHz 406 MHz Transmitter Power output 5W typical Modulation Phase (16K0GID) 121.5 MHz Homer Operating frequency 121.5 MHz +/- 3.5kHz Power output 50mW radiated typical Modulation Swept tone AM (3K20A3X) Type Xenon discharge tube Strobe light Light output 0.75 Candela minimum... -
Page 23: Warranty
Record Serial No. (visible through dome) : _______________________ McMurdo Ltd 1998 The Copyright on this manual is owned by McMurdo Ltd. This manual, or information from this manual may not be copied or otherwise transferred to third parties using any media, including electronic, without prior written... - Page 24 McMurdo Ltd Rodney Road Fratton Portsmouth Hampshire United Kingdom PO4 8SG A member of Chemring group PLC 82-163-001M issue 1...
Need help?
Do you have a question about the E3 and is the answer not in the manual?
Questions and answers