
Related Manuals for Rockwell Automation PowerFlex 525


Summary of Contents for Rockwell Automation PowerFlex 525
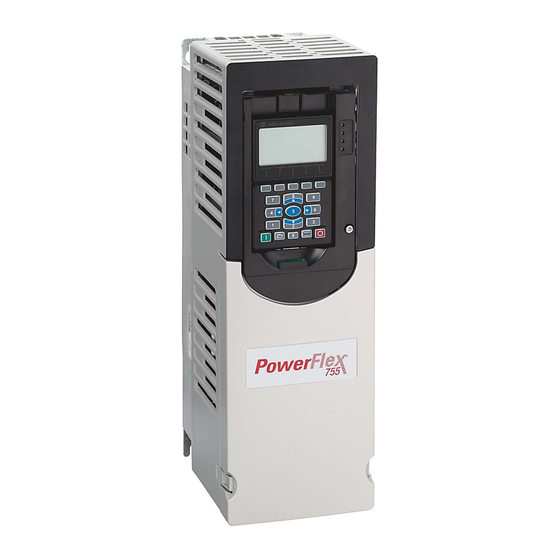
- Page 1 PowerFlex® Drives Configuration & Programming PowerFlex 525 and PowerFlex 755 AC Drives...
-
Page 3: Table Of Contents
Drive Programming with the PowerFlex® 525 and 755 Contents Lab Setup and Configuration Information ....................4 Lab Information ............................. 4 Hardware Configuration ..........................4 Computer/Host Settings ..........................4 Application/Programming ..........................5 Additional Equipment Required ........................5 RSLinx – Driver Configuration ........................5 RSLinx Enterprise –... -
Page 4: Lab Setup And Configuration Information
Lab Description Learn the basics of drive configuration and programming using the new PowerFlex 525 compact AC drive and the PowerFlex 755 AC drive. Attendees will configure these drives using the Human Interface Module (HIM), Connected Components Workbench software and Studio 5000™... -
Page 5: Application/Programming
Operating System Windows 7 Enterprise SP1 64-bit Application/Programming Location Files PowerFlex_Lab.ACD PowerFlex _Lab_ADC.ACD PowerFlex _Lab.apa PowerFlex _Lab.mer C:\Users\Labuser\Desktop\Lab Files\Premier Integration RSlinx Backup.RSX Additional Equipment Required Items 1585J-M8TB-JM-0M3 : 0.3m Ethernet Patch cord 1585J-M8TB-JM-0M3 : 0.6m Ethernet Patch cord 1585J-M8TBJM-5 : 5m Ethernet Patch cord RSLinx –... -
Page 6: Photograph Of Hardware
Photograph of Hardware PowerFlex 525 Demo Box 6 of 17... - Page 7 PowerFlex 755 DHQ Demo Box 7 of 17...
-
Page 8: Basic Setup Diagram
Basic Setup Diagram Network Setup Ethernet Connections L18ERM Port 1 (front) L18ERM Port 2 (rear) ETAP Port 1 (front) ETAP Port 2 (rear) PF525, 25-COMM-E2P Ethernet Port 1 ETAP Device Port (front) PF755, Embedded Ethernet Port Set IP Address of PowerFlex 755 to 192.168.1.30 by setting the IP address switches. Hundreds –... - Page 9 The lab script will describe setting the PowerFlex 525 IP Address using the 25-COMM-E2P option module parameters. In order to accomplish this the E2P last octet IP address switches should be set to ‘000’ or the factory default ‘999’. Hundreds – 0 or 9 Tens –...
- Page 10 PowerFlex AC Drive Demos 1. Before pulling in power to the PowerFlex 525 demo box, make sure the voltage selector switch is in the correct position for the respective input power voltage. 2. Verify the Safe-Torque-Off input is pulled out on both PowerFlex 525 & PowerFlex 755.
-
Page 11: Pre-Lab Configuration (If Needed)
Pre-Lab Configuration For the Disable Safe Speed Monitoring configuration steps, you will need to modify your network setup to match the following. Disable Safe Speed Monitoring 1. You may need to consult an instructor for help, to complete this step. If the Safe Speed Monitoring module is installed and enabled in the PowerFlex 755 demo, the safety mode needs to be Disabled prior to conducting the lab. - Page 12 c. Navigate to parameter #6 – Operating Mode and change it to Program. Press Enter. d. Navigate to parameter #21 – Safety Mode and change it to Disable. Press Enter. e. Return to parameter #6– Operating Mode and change it to Run. Press Enter. 12 of 17...
-
Page 13: Re-Open Ftviewme Application
Re-Open FTViewME Application If you are using the pre-configured VMWare image, but the FTViewME Application closed, follow these steps to re-open the file. 2. Double-click on the file PowerFelx_Lab.mer in the Lab Files folder. This screen should appear. 3. Click Run Application. You should see the first screen of the HMI. Restore FTViewME Application If you are not using a pre-configured VMWare image, you may need to restore the FTViewME application and then configure local communications prior to conducting the lab. -
Page 14: Configure Ft View Me Local Communications
1. Double-click on file PowerFlex_Lab.apa in the Lab Files folder. The Application Manager window opens. (Replace C:\Application Name.apa in the image above with the location and file you wish to restore.) C:\Users\Labuser\Desktop\Lab Files\Premier Integration\PowerFlex_Lab.apa 2. Click Next. 3. Make sure the Application Name is set to ‘PowerFlex_Lab’. 4. - Page 15 2. Select Machine Edition application type and click Continue. 3. Select the Existing tab… 4. Select the PoweFlex_Lab application file and click Open. The FactoryTalk View Studio - Machine Edition window opens. 5. Expand RSLinx Enterprise in the Explorer window… 15 of 17...
- Page 16 Double-click on Communications Setup. 6. If a dialog box appears, select ‘Create New…’ and click OK. The Communications Setup window opens. 7. Select the Design (Local) tab... (1) Select the Device Shortcut ‘CLX’. (2) Expand the [+] EtherNet driver, navigate to the controller (L18). (3) Click Apply to save your Device Shortcut.
-
Page 17: Additional Information
Additional Information 17 of 17...
Need help?
Do you have a question about the PowerFlex 525 and is the answer not in the manual?
Questions and answers