
Related Manuals for Beko TBV8104BX


Summary of Contents for Beko TBV8104BX
- Page 1 Vacuum Blender User Manual TBV8104BX EN DE TR FR ES RO PL IT 01M-8812093200-1518-02...
- Page 2 Please read this manual first! Dear Valued Customer, Thank you for selecting this Beko appliance. We hope that you get the best results from your appliance which has been manufactured with high quality and state-of-the-art technology. For this reason, please read this user man- ual and all other provided documents carefully before using the appliance and keep it as a reference for future use.
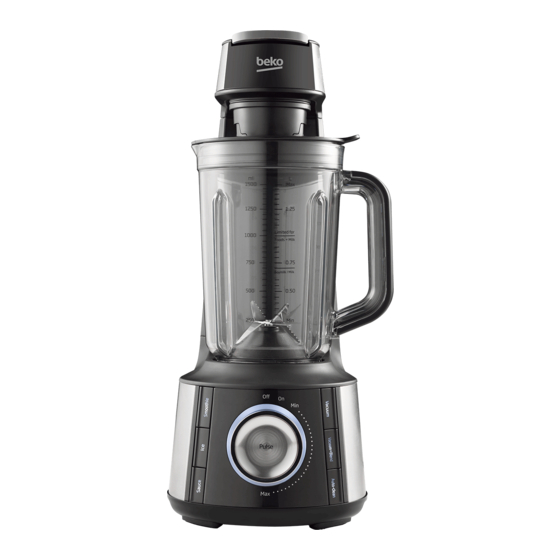
- Page 3 1. Blender lid 9. Motor unit 2. Blender jug 10. Smoothie button 3. Cutter 11. Ice button 4. Silicone ring 12. Sauce button 5. Vacuum lever 13. Vacuum button 6. Vacuum head 14. Vacuum+Blend button 7. Safety device (under the 15.
-
Page 4: Technical Data
18. Cable compartment (under the appliance) 19. Rubber feet 20. Measuring cup / Anti-insect In case of lose, break or need re- placement for the parts below: • Jug with lid and cutter – complete set (1,2,3,4) • Measuring cup (20) • Set of 4 rubber feet (19) Technical data Voltage: 220-240V ~ 50-60 Hz... - Page 5 CONTENTS ENGLISH 06-23 DEUTSCH 24-46 TÜRKÇE 47-65 FRANÇAIS 66-87 ESPAÑOL 88-109 ROMÂNĂ 110-131 POLSKI 132-155 ITALIANO 156-180 04-19 عربى 01M-8812103200-1518-02 5 / EN...
-
Page 6: Important Safety And Environmental Instructions
1 Important safety and environmental instructions This section contains safety instructions that will help protect from risk of personal injury or mate- rial damage. Failure to follow these instructions voids any grant-ed warranty. 1.1 General safety • Read all instructions. • This appliance may be used by people whose physical, perceptive or mental skills are impaired or who are inexperienced or not knowledgeable about the appliance as long as they are... - Page 7 1 Important safety and environmental instructions Contact the manufacturer at their customer service telephone number for information on examination, repair, or adjustment. • The use of attachments, including canning jars, not recommended by the manufacturer may cause a risk of injury to persons. • Do not attempt to dismantle the appliance.
- Page 8 1 Important safety and environmental instructions • Unplug from outlet when not in use, before putting on or taking off parts, and before cleaning. • Hold the blending shaft of the appliance carefully during transportation and cleaning. • Never touch blades while using the appliance. There is the possibility of injury due to incorrect usage.
- Page 9 1 Important safety and environmental instructions • Do not blend hot liquids. • To reduce the risk of electric shock, the plug should only be connected to a proper outlet. If the plug does not fit fully in the outlet, contact a qualified electrician.Do not modify the plug in any way.
- Page 10 1 Important safety and environmental instructions • Switch of the appliance and disconnect from supply before changing accessories or approaching parts that move in use. • • CAUTION: In order to avoid a hazard due to inadvertent resetting of the thermal cut-out, this appliance must not be supplied through an external switching device, such as a timer, or connected to a circuit that is regularly switched on and o_ by the utility.
-
Page 11: Compliance With Rohs Directive
1 Important safety and environmental instructions 1.3 Compliance with RoHS Directive The product you have purchased complies with EU RoHS Directive (2011/65/EU). It does not contain harmful and prohibited materials spec- ified in the Directive. 1.4 Package information Packaging materials of the product are manufactured from recy- clable materials in accordance with our National Environment Regulations. - Page 12 1 Important safety and environmental instructions • Green/yellow cable must be connected to ground (E) line • With the alternative plugs a 13 A fuse must be fitted either in the plug or adaptore or in the main fuse box. If in doubt contact a qualified elec- trician.
-
Page 13: Intended Use
2.1 Intended Use This appliance is intended only for household use; it is not suitable for pro- fessional use. It is designed to chop small amounts of solid foods (onions, potatoes, carrots, etc.) and fruit (strawberries, bananas, etc.). 2.2 Initial Use Clean the parts of the appliance prior to initial use (see 3.1). -
Page 14: Installing The Chopping Blade
2.4 Installing the Chopping Blade Put the silicone ring (4) in its Place it back in the jug (2) by Place the jug onto the motor place on the chopping blade turning anti-clockwise. housing (9). (3) and place the chopping blade under the jug (2). - Page 15 Place your appliance on a solid Put the ingredient you want Place the jug onto the mo- and flat surface. to process into the jug (2) and tor housing (9) so that the place the lid (1) on it. tab on it seats on the slots of the motor housing (9), turn it to the “Lock”...
- Page 16 WARNING: Gradually increase the speed of the appliance. Do not operate it at the highest speed suddenly. Otherwise the motor may overheat. WARNING: Do not run the appliance continuously for more than 2 minutes. Let it cool for 5 minute before operating it again.
- Page 17 2.6 Automatic programs with the jug The appliance is equipped with six automatic programs that you can use: Smoothie (10), Ice (11), Sauce (12), Vacuum (13), Vacuum+Blend (14), and Auto Clean (15). Put the ingredients in the jug Select the desired automat- When the process is com- (2) and close the lid (1).
- Page 18 2.7 “Pulse” position For mixing with high speed short pulses, turn speed adjustment knob (16) to “ON” position and press “pulse” (17). The appliance will stop when you release the button. 2.8 Maximum quantities Maintain the maximum or the minimum volume for each type of material by the scale on the container (3).
-
Page 19: Motor Protection
2.9 Anti-insect prevention for vacuum passage The measuring cup (20) accessory can be used as an anti-insect cap to prevent insects or bacteria breeding in the vaccum passage. Take out the jug (2) from the If you want to operate the motor housing (9) and pull appliance again, remove the down the lever (5). -
Page 20: Cleaning And Care
Cleaning and care 3.1 Cleaning Add 1 or 1 ½ cups of luke Place the jug (2) into the mo- Use Auto Clean program to warm water and some drops tor unit (9). Lock the jug (2) operate it for 26 seconds. of dish-washing liquid into clockwise according to the the jug (2) and close the lid (1). - Page 21 Cleaning and care You can wash the jug (2) and the caps/lids (1, 20) in your dish-washer. It is recommended to clean the appliance immedi- ately after using. WARNING: Do not immerse the motor uni (9) in water. You can wipe it with a damp cloth. WARNING: Chopping blade (3) is sharp.
-
Page 22: Handling And Transportation
Cleaning and care Open Lock Open Lock Turn over the lid (1) and open Take out the backflow pre- Place and secure the back- the backflow prevention cap vention cap to wash or rinse flow prevention cap back by by turning it anti-clockwise to then to dry it. - Page 23 Product Guarantee 12 months breakdown and repair guarantee Guarantor: Beko plc, 1 Greenhill Crescent, Watford, Hertfordshire. WD18 8UF The guarantee does not in any way diminish your statutory or legal rights. Your appliance has the benefit of our manufacturer’s guarantee which covers the product for 12 months from the date of original purchase.
Need help?
Do you have a question about the TBV8104BX and is the answer not in the manual?
Questions and answers
How do you remove the air from the jug to open cover - model tbv8104bx
To remove air from the jug and open the cover on the Beko TBV8104BX, secure the measuring cup (20) onto the vacuum suction head (6) before pulling up the lever (5).
This answer is automatically generated