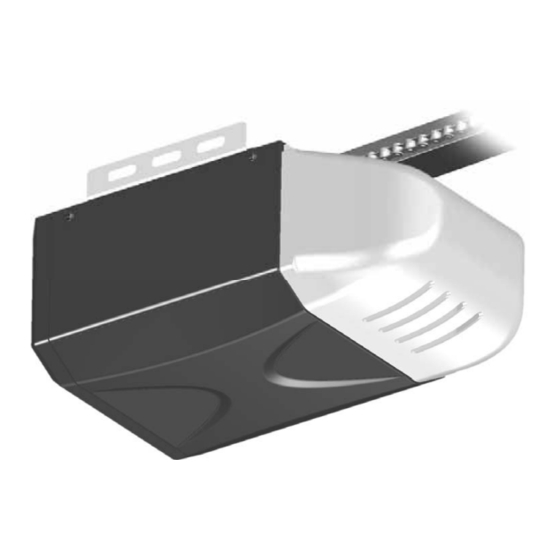
Guardian CORE SERIES Owner's Manual
V2hp
Hide thumbs
Also See for CORE SERIES:
- Owner's manual (54 pages) ,
- Owner's manual (29 pages) ,
- Owner's manual (28 pages)
Advertisement
WARNING:
To reduce the risk of injury to persons - Use this operator only with Residential Sectional Garage doors.
Owner's Manual
●
Please read and understand this manual and safety instructions carefully before installation.
●
The Opener WILL NOT CLOSE until the Photo Eye Safety System is properly installed and aligned.
●
REGULARLY CHECK and TEST the Opener according to the safety label to ENSURE SAFE OPERATION.
●
Retain this manual for future reference.
Serial # __ __ __ __ __ __ __
Located on the bar code label on top of your opener.
The illustrations used in this instruction manual may differ from the actual product you have purchased.
GDO Manual Revised: 03-17
Date Installed __ __ /__ __ /__ __ __ __
GDOMU10A-7
Advertisement

Related Manuals for Guardian CORE SERIES


Summary of Contents for Guardian CORE SERIES
- Page 1 WARNING: To reduce the risk of injury to persons - Use this operator only with Residential Sectional Garage doors. Owner’s Manual ● Please read and understand this manual and safety instructions carefully before installation. ● The Opener WILL NOT CLOSE until the Photo Eye Safety System is properly installed and aligned. ●...
-
Page 2: Table Of Contents
Table of Contents Introduction Symbols and Icons Inventory Read and Follow These Important Safety Instructions Preparation / Door Balance Test Tools Required Assembly T-rail Assembly and Tensioning Mounting Header Bracket Installation Attaching the Opener Assembly to Header Bracket Mounting Door Bracket Mounting Opener to Ceiling Attaching Door Arms Installing Light and Emergency Release Handle... -
Page 3: Inventory
Inventory Opener Unit + Lamp Dome Emergency Release Handle Door Bracket Light bulb are not included ) Photo Eye Safety System + Rope Door Control included in some models Standard Door Control Screw #6 x 1” Drywall Anchor 3-FDCC Remote Control Push Button 1-FDCC Header Bracket... -
Page 6: T-Rail Assembly And Tensioning
T-rail Assembly and Tensioning CAUTION - DO NOT connect power until instructed. - To prevent INJURY, keep hands and fingers away from joints and possible sharp edges. - Wear gloves when installing chain and cable. Screw 1/4” Flange Nut x 4 Spring Washer Washer 10 - 24 x 1/2”... -
Page 14: Wiring Instructions
Connecting Push Button WARNING To prevent SERIOUS INJURY or DEATH from electrocution: - Power MUST NOT be connected until instructed. To prevent SERIOUS INJURY or DEATH from using the Push Button and a closing door: - Install the Push Button within sight of the door at a minimum height of 5 feet (1.5m) above the floor. Make sure it is out of the reach of children and moving parts of door and hardware. - Page 21 Operating the Opener Door Status vs. Activation Activation using Push Button / Remote Con- Door status trol Door at fully open / close position Door will move to fully close / open position Door is closing Door will reverse Door is opening Door will stop Door is stopped as intended in partially open position Close...
-
Page 22: Force Adjustment
Maintenance Schedule Maintenance Door balance test, refer to page 4. Once a month Safety reverse test, refer to page 17. Twice a year Check chain tension ( refer to page 5 for adjustment if necessary). - Limit and Force adjustment may be necessary due to weather conditions. Refer to pages 15-16 for adjustment. -
Page 23: Installation Parts
Repair Parts Installation Parts Item Part No. Name / Description GUAT-027 Header Bracket GUAT-022 Door Bracket Hardware Bag GUAT-023 (Installation hardware shown on P.3) GUAT-024 Curved Door Arm GUAT-025 Straight Door Arm GUAT-026 Emergency Release Handle & Rope Accessories Item Part No. -
Page 25: Maintenance
Your operator has been installed by a professional installation specialist. If service information is required please contact the installing company or your local Guardian dealer. Look for your Guardian dealer online, in the yellow pages or call our service number for a dealer near you. - Page 26 FCC Warning: Any Changes or modifications not expressly approved by the party responsible for compliance could void the user’s authority to operate the equipment. Note: This equipment has been tested and found to comply with the limits for a Class B digital device, pursuant to part 15 of the FCC Rules.
Need help?
Do you have a question about the CORE SERIES and is the answer not in the manual?
Questions and answers