Table of Contents
Advertisement
Advertisement
Table of Contents

Related Manuals for DeDietrich DKC7340X


Summary of Contents for DeDietrich DKC7340X
- Page 1 USER GUIDE MICROWAVE COMBI OVEN...
- Page 3 •...
- Page 4 • •...
- Page 5 •...
- Page 6 •...
-
Page 8: Table Of Contents
CONTENTS 1 / DESCRIPTION OF THE OVEN • Presentation of your oven ..............2 • Description of controls................9 • Description of accessories ..............10 2 / SETTING • Setting the clock ..................11 • Changing the clock ..................11 • Minute Minder ..................11 • Locking the controls ................11 •... -
Page 9: Description Of The Oven
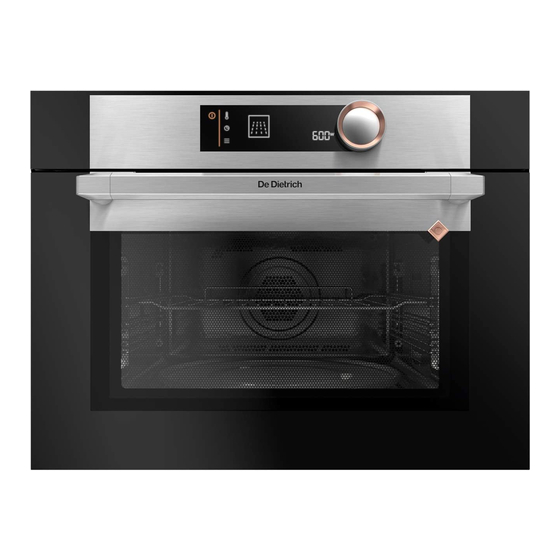
• DESCRIPTION OF THE OVEN CONTROL PANEL • THE DISPLAY 1- Cooking modes display Control locking indicator 2- Oven temperature and clock display “Recipes” function indicator 3- End of cooking time indicator Cooking time indicator 4- Cooking time indicator Minute minder indicator 5-Stopping the turntable Cooking end indicator 6- Power/weight indicator... -
Page 10: Description Of Accessories
• DESCRIPTION OF THE OVEN ACCESSORIES get into the motor spindle orifice. Remember to put back the support, the Anti-tip safety rack (fig. A). support wheels and the glass turntable. This allows you to toast, brown or grill. Do not try to rotate the glass turntable ma- The rack should never be used with other nually, as you could damage the drive sys- metal cookware on the microwave, grill +... -
Page 11: Setting The Clock
• SETTINGS SETTING THE CLOCK (fig. A) You can adjust different settings on your oven: When switching on, the display flashes at 12:00. Default settings Adjust the time by turning the dial then press to validate. Sounds - beeps: If there is a power cut, the clock flashes. Position ON, sounds active. -
Page 12: Use
• COOKING This oven allows you to access 4 different types of cooking mode: - The Microwave function - The combined microwave functions (microwave + Traditional cooking). - The traditional cooking functions. - The Automatic cooking functions. - Page 13 • COMBINED MICROWAVE FUNCTIONS Recommended T°C Position and power mini - maxi 200°C 50°C - 200°C 300W 100W - 300W Medium grill + mi- This function lets you use the grill and the micro-wave simultaneously, which makes crowave cooking very quick. This function lets you cook and brown foods such as gratin dishes and meats.
-
Page 14: Cooking Modes
After setting the cooking time, press IMMEDIATE COOKING (fig.A) The display flashes. Set the cooking end The programmer must only display the time by turning the knob. The cooking end time. It should not be flashing. time is automatically saved after a few se- Turn the control knob until you get to the conds. -
Page 15: º Automatic Defrosting Functions
• Example: 650g. Select a cooking mode, its power or its temperature and then press the knob until - Confirm by pressing the knob once. you get to «MEM 1». Choose one of the 3 -The icon of the cooking mode used and memories by turning the control knob and the time calculated automatically are dis- confirm to memorise it. -
Page 16: Anomalies And Solutions
• ANOMALIES AND SOLUTIONS You may resolve certain little problems yourself: The oven is not heating. Check that the oven is correctly connected and that your installa- tion’s fuse is not out of service. Increase the selected temperature. Check that the oven is not set to DEMOmode. -
Page 17: Function Suitability Tests
• FUNCTION SUITABILITYA TESTS Functional suitability tests in accordance with IEC/EN/NF EN 60705 standards. The International Electrotechnical Commission, SC.59K, has established a standard for comparative performance tests conducted on various micro-wave ovens. We recommend the following for this appliance: Test Load Approx. - Page 19 CZ5703120-01...
Need help?
Do you have a question about the DKC7340X and is the answer not in the manual?
Questions and answers