Table of Contents
Advertisement
Quick Links
Advertisement
Table of Contents

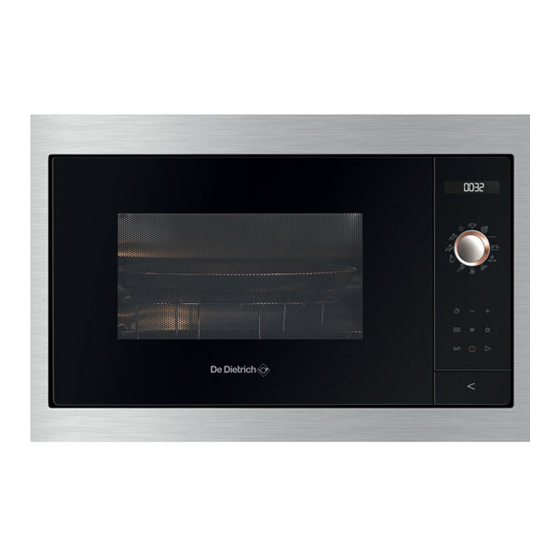
Summary of Contents for DeDietrich DMG7129X
-
Page 2: Table Of Contents
CONTENTS Important safety advice and precautions ........3 Environment..................6 Installation and electrical connection ..........7 Description of the oven..............8 The appliance ..................8 The accessories..................8 The control panel ..................9 The display ..................10 Settings....................11 Setting the time ..................11 Changing the time ................11 Using the timer..................11 Locking the controls ................11 Settings menu ..................11 Cooking ....................12... -
Page 3: Important Safety Advice And Precautions
IMPORTANT SAFETY ADVICE AND PRECAUTIONS IMPORTANT SAFETY INSTRUCTIONS - READ CAREFULLY AND RETAIN FOR FUTURE REFERENCE. This user guide is available for download on the brand’s website. Important: experience or knowledge, if they are supervised or have Before switching your received prior instructions on appliance on, please read this how to use the appliance... - Page 4 IMPORTANT SAFETY ADVICE AND PRECAUTIONS care should be taken when handling containers. WARNING: If the appliance is being used in combination — The contents of baby mode, it is recommended that bottles and baby food pots children only use the oven should be stirred or shaken under adult supervision due to and the temperature should...
- Page 5 IMPORTANT SAFETY ADVICE AND PRECAUTIONS oven is cleaned regularly and the appliance and the surroun- that any food residue is remo- ding unit. The material of the ved. unit supporting the appliance must be heat-resistant (or — If the appliance is not clea- covered with a heat-resistant ned regularly, its surface could material).
-
Page 6: Environment
ENVIRONMENT CARE FOR THE ENVIRONMENT This appliance’s packaging can be conditions, in accordance with European recycled. Recycle and help protect Directive 2002/96/EC on the disposal of waste the environment by disposing of electrical and electronic equipment. packaging in local waste containers Contact your local authority or retailer for designed for this purpose. -
Page 7: Installation And Electrical Connection
UNPACKING installed in its housing. When you receive the appliance, unpack it or Ensure that: have it unpacked immediately. Check its - the electrical installation has sufficient power general appearance. Make a note of any (16 Amps), reservations on the delivery slip and keep a If the electrical installation in your home copy. -
Page 8: Description Of The Oven
THE APPLIANCE Identification label Drive hub Wheel support Turntable Control panel ACCESSORIES • The turntable ensures even cooking of underneath the turntable stopping it from food throughout, with no need to turning. intervene. It rotates in either directions. If it does not •... -
Page 9: The Control Panel
THE CONTROL PANEL... -
Page 10: The Display
THE DISPLAY Micro-wave indicator. Programming time and clock indicator. Displays the microwave power, cooking time, clock time and weight. Micro-wave power indicator. Grill level indicator. Weight indicator. Minute indicator. Saved programs indicator. -
Page 11: Settings
SETTINGS MENU SETTING THE TIME When you switch on or after a power cut, You can adjust different settings on your the display flashes 12:00. oven: sounds and demonstration mode. Set the time using the + and - keys and For this, press and hold the - and + keys to then press the key to confirm. -
Page 12: Cooking
molecules begin moving rapidly, causing it to heat up. The depth of penetration of the waves into the food is about 2.5 cm, if the food is thicker, cooking the centre of it is done by conduction just like traditional cooking. -
Page 13: The Microwave Function
Recommendations for use Power To cook fresh vegetables and soup. To heat up all liquids. 900W To reheat all fresh or frozen pre-cooked dishes and frozen vegetables. To 700W bring to temperature pre-cooked dishes and frozen vegetables. To cook fish and poultry. To finish programs begun with the «fast cook» setting 500W such as beans, lentils or milk-based dishes. -
Page 14: The Pizza Function
-If you open the door before the end of the program, close the door and press Setting a cooking program: resume the program. Select the Grill + Microwave function -At the end of a program, the fan may continue Press the key to select the grill power to run to ensure proper cooling. -
Page 15: Automatic Cooking Functions
The automatic functions select the appropriate defrost parameters for you based on the food being prepared and its weight. Select a pre- programmed food from the following list: : Defrosting ready meals. : Defrosting meat and poultry*. : Defrosting bread, pastries and cakes*. -
Page 16: Memory Functions
The Memory functions allow you to store three frequently used programmes which you can then access by selecting the function using the functions selector. All programs can be saved to memory. Program as for an immediate start: 1. Select any microwave function, e.g. FAST ... -
Page 17: Care
are likely to damage the appliance. We recommend that you clean the oven If the oven smells bad or is dirty, boil a regularly and remove any deposits of cup of water with lemon juice for 2 food inside and outside of the appliance. minutes and clean the walls with a small Use a damp sponge and a little soap. -
Page 18: Performance In Use
• PERFORMANCE IN USE Function performance tests according to IEC/EN/NF EN 60705; The International Electrotechnical Commission, SC.59K, has established a standard for comparative performance tests conducted on various micro-wave ovens. We recommend the following for this appliance: Test Load Approx Power level Containers / Tips temps selector... -
Page 19: After-Sales Service
• AFTER-SALES SERVICE INTERVENTIONS Any repairs to your appliance must be made qualified professional accredited to work on the brand. When calling, please provide the full references of your appliance (commercial reference, service reference, serial number), so that we can handle your call more efficiently. This information appears... - Page 20 CZ5703148_00...


Need help?
Do you have a question about the DMG7129X and is the answer not in the manual?
Questions and answers