Sign In
Upload
Download
Table of Contents
Contents
Add to my manuals
Delete from my manuals
Share
URL of this page:
HTML Link:
Bookmark this page
Add
Manual will be automatically added to "My Manuals"
Print this page
×
Bookmark added
×
Added to my manuals
Manuals
Brands
BE Manuals
Inverter
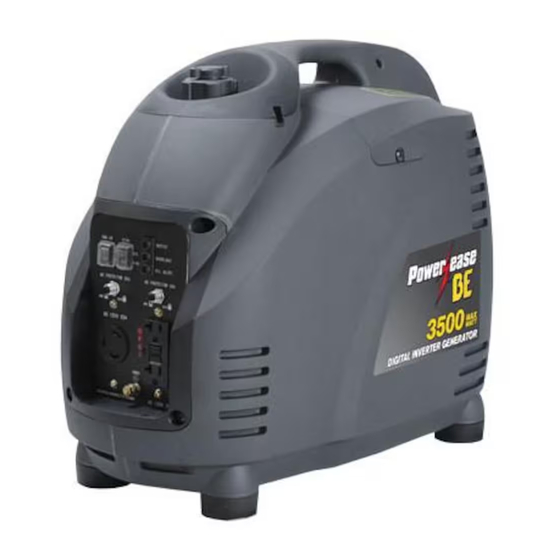
I2500
Operation manual
BE I2500 Operation Manual
Inverter generator
Hide thumbs
1
Table Of Contents
2
3
4
5
6
7
8
9
10
11
12
13
14
15
16
17
18
19
20
21
22
23
24
25
26
27
28
29
30
31
32
33
34
35
36
37
38
39
40
41
42
43
44
page
of
44
Go
/
44
Contents
Table of Contents
Troubleshooting
Bookmarks
Table of Contents
Table of Contents
Introduction
Using the Operators Manual
Product Identification
Safety
Safety Rules
Hazard Symbols and Meanings
Pre-Operation Checklist
Engine Oil
SAE Viscosity Grades
Fuel
Air Cleaner
Starting Your Inverter Generator
Operation
High Altitude Operation
General Operation
AC Application
Output and Overload Indicators
DC Applications
Starting the Engine
Oil Alert System
Stopping the Engine
Maintenance
Maintenance Schedule
Engine Oil Replacement
Air Cleaner Service
Spark Plug Servicing
Transporting and Storage
When Transporting the Generator
Before Storing the Unit for an Extended Period
Spark Arrest Service
Troubleshooting
Engine will Not Start
The Equipment that Connects to the Generator Doesn't Start
There Is no Power in the DC Electric Outlet
Deficient AC Output
Specifications
Size and Weight
Engine
Generator
Wiring Diagram
Exploded Parts View
Parts List
Exploded Parts View
Parts List
Advertisement
Quick Links
1
Engine Oil
2
Starting Your Inverter Generator
3
Engine Oil Replacement
4
Exploded Parts View
5
Parts List
Download this manual
operation manual
Table of
Contents
Previous
Page
Next
Page
1
2
3
4
5
Advertisement
Table of Contents
Need help?
Do you have a question about the I2500 and is the answer not in the manual?
Ask a question
Questions and answers
Related Manuals for BE I2500
Inverter BE I3500 Operation Manual
Inverter generator (44 pages)
Inverter BE GX200GEN User Manual
(20 pages)
This manual is also suitable for:
I3500
Table of Contents
Print
Rename the bookmark
Delete bookmark?
Delete from my manuals?
Login
Sign In
OR
Sign in with Facebook
Sign in with Google
Upload manual
Upload from disk
Upload from URL


Need help?
Do you have a question about the I2500 and is the answer not in the manual?
Questions and answers