Advertisement
Quick Links
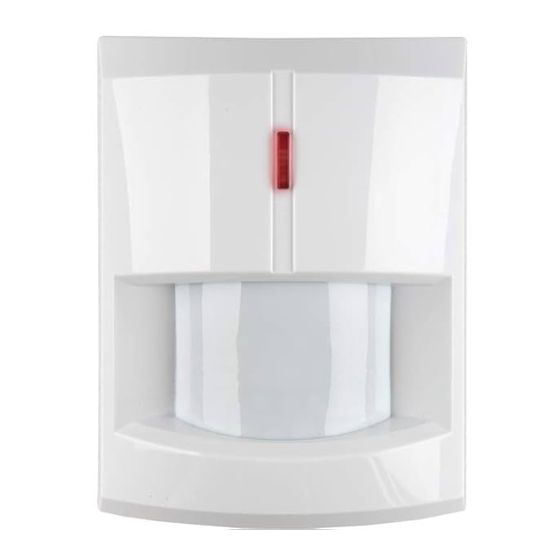
IR-S1
ENGLISH
PIR Movement Detector
Follow instruction in this document to
setup and use the accessory, refer to
illustration on the right for detail. For
further setting or operation information,
please visit Blaupunkt website
http://www.blaupunkt.com
to download
the complete manual.
Getting Started
1. Pull out the battery insulator to
activate battery. (Figure 1) The
LED will flash for 30 seconds to
indicate PIR sensor is warming up.
2. Put the Control Panel into learning
mode.
3. Press Learn Button in front to learn
sensor (Figure 2).
4. Refer to Control Panel manual to
complete learning process.
Mounting Location
Mount the PIR sensor at 1.9-2m
height for best performance.
PIR sensor detection is most
effective when the intruder is
moving across its field of view. Do
not mount PIR sensor in a location
that faces intruder directly.
Do not mount the PIR sensor to
look directly at door protected by
Door Contact.
Do not mount the PIR sensor
exposed to sunlight.
Do not point PIR sensor at
window, or heat source.
Avoid mounting PIR near large
metal objects
Installation
Before installation, put the Control
Panel into Walk Test mode and press
the learn button on the PIR at
mounting location to test signal range.
1. Remove the screw at bottom of PIR
to flip open the cover. (Figure 3)
2. The PIR back cover has 6
knockouts, 4 on the side for corner
mounting and 2 in the middle for
wall mounting. (Figure 4)
3. Choose to mount the PIR on either
flat surface or corner. Break through
knockouts accordingly; mark the
mounting location on wall using the
knockout as template. (Figure 5&6)
4. If required, drill holes into marked
location and insert wall plug.
(Figure 7&8)
5. Screw the PIR back cover onto the
mounting location. (Figure 9&10)
6. Replace the PIR Sensor cover onto
the base.
ESPAÑOL
Detector Movimiento PIR
Siga las instrucciones del documento para
configurar y operar éste accesorio,
consultando las gráficas de la derecha para
ver detalles. Para obtener más información
de configuración y operación, por favor visite
la página web
http://www.blaupunkt.com
para descargar el manual completo.
Pasos iniciales
1. Retirar el aislante de la pila para
activarla. (Figura 1) El LED parpadeará
durante 30 segundos indicando que el
sensor PIR está calentando.
2. Colocar el panel de control en modo de
aprendizaje.
3. Oprimir el botón de prueba ubicado al
frente del sensor para el aprendizaje.
(Figura 2).
4. Consulte el manual del panel de control
para completar el proceso de
aprendizaje.
Ubicación de montaje
Ubicar el sensor con cámara a una
altura de 2 mts para mejor rendimiento.
La detección del sensor es más
efectiva cuando el intruso se mueve
sobre su campo de vista. No ubicar el
sensor en sitios que queden expuestos
a intrusos.
Evitar
que
el
otro
puerta/ventana quede enfrentado a
éste sensor PIR.
No ubicarlo en zonas expuestas a la
luz del sol.
No direccionar el sensor PIR a zonas
con fuentes de calor o ventanas.
Evitar
ubicarlo
metálicos de gran tamaño.
Instalación
Antes de instalarlo, ajustar el panel de
control en modo Prueba de cobertura y
oprimir el botón de prueba del sensor desde
la ubicación deseada para ver la intensidad
de señal.
1. Aflojar el tornillo de la parte inferior para
poder abrir y voltear la tapa posterior.
(Figura 3)
2. La tapa posterior tiene 6 orificios, 4 en
los lados para montaje en esquinas y 2
en el medio para montaje de
pared.(Figura 4)
3. Escoja el montaje del sensor PIR, ya sea
plana o en esquinas. Romper los
orificios ciegos y usarlos como plantilla
para marcar los puntos sobre la pared.
(Figura 5&6)
4. Si es necesario, perforar los orificios
sobre las marcas realizadas e insertar
los tacos de pared.(Figura 7&8)
5. Atornillar la tapa posterior en la
ubicación de montaje. (Figura 9&10)
6. Poner la tapa frontal del PIR sobre la
base.
Figure 1 / Figura 1
Figure 3 / Figura 3
Figure 5 / Figura 5
Flat Surface / Superficie plana
detector
de
Figure 7 / Figura 7
Flat Surface / Superficie plana
cerca
a
objetos
Figure 9 / Figura 9
Flat Surface / Superficie plana
Figure 2 / Figura 2
Figure 4 / Figura 4
Figure 6 / Figura 6
Corner / Esquina
Figure 8 / Figura 8
Corner / Esquina
Figure 10 / Figura 10
Corner / Esquina
Advertisement

Subscribe to Our Youtube Channel
Related Manuals for Blaupunkt IR-S1


Summary of Contents for Blaupunkt IR-S1
- Page 1 For consultando las gráficas de la derecha para further setting or operation information, ver detalles. Para obtener más información please visit Blaupunkt website de configuración y operación, por favor visite http://www.blaupunkt.com to download la página web http://www.blaupunkt.com...
- Page 2 IR-S1 PORTUGUÊS FRANCAIS Figure 2 / Figura 2 Figure 1 / Figura 1 PIR Movimento Detector Détecteur de mouvement Siga as instruções neste documento infrarouge para instalação e uso do acessório. Suivre les instructions de cette notice Para mais configuração e detalhes de pour enregistrer et utiliser le détecteur ;...
Need help?
Do you have a question about the IR-S1 and is the answer not in the manual?
Questions and answers