Advertisement
Quick Links
Advertisement

Related Manuals for TIS Venera Switch


Summary of Contents for TIS Venera Switch
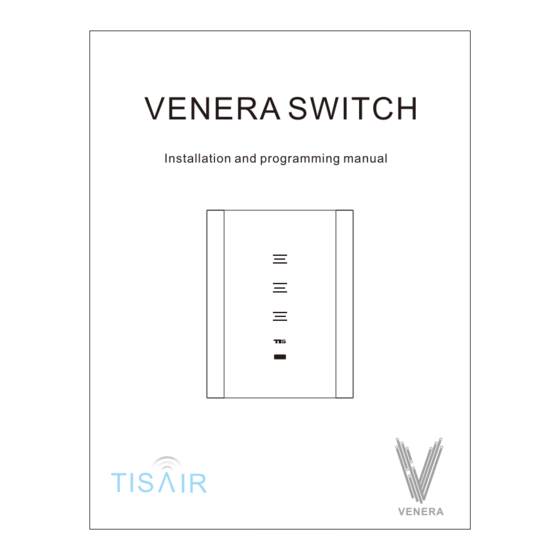
- Page 1 VENERA SWITCH Installation and programming manual TIS IR VENERA...
- Page 2 This device complies with Industry Canada’s licence-exempt RSSs. Operation is subject to the following two conditions: (1)This device may not cause interference; and (2)This device must accept any interference, including interference that may cause undesired operation of the device. Le présent appareil est conforme aux CNR d'Industrie Canada applicables aux appareils radio exempts de licence.
- Page 3 WIFI Switch Wiring Diagram Switch Panel 3G VEN-3S-3R-HC Switch Panel 2G VEN-2S-2R-HC...
- Page 4 Front Touch Key WIFI signal indicator & Programming key IR receiver Inside PC retardant materaial Touch Key WIFI signal TIS-AIR indicator & Module Programming key IR receiver...
-
Page 5: Installation Steps
Installation Steps Remove the glass cover Connect the wires, and install the panel on the junction box by screws Push the glass cover to be installed Warning You should configure the module outputs in application to the correct mode as lighting, motorization or air conditioning before connecting it to load... -
Page 6: Operation Instruction
Operation Instruction Download and install APP Android... - Page 7 Open the APP interface and click the Settings icon TIS Smart control kids Room Master Room Bath Room Living Room kids Room...
- Page 8 Enter the administrator account and password, default username: user default password: tis777...
- Page 9 Enter the settings interface, select "TIS AIR CONFIG".
- Page 10 Power the smart switch, press the Configuration TIS key for 5 second till it starts blinking Configuration key WIFI Signal Indicator...
- Page 11 Enter your WiFi router password then click "SEARCH", the device will be configured within 50 seconds...
- Page 12 Configuration key will be turned to blue once it successfully configured, and the following page will be shown. click on "GO TO MODIFY " SSID: TIS SMART HOME Password: TIS12345 SSID is Hidden: Go to modify Search...
-
Page 13: Mac Address
Enter your panel setting Device comment: any comment like device installed location, it helps programmer in advanced programming and settings in Device Search software. Net id & Device ID: Enter unique Subnet ID and Device ID for your panel. MAC ADDRESS: Each device has its MAC address to use it later in Network Setting to be able to link your mobile to the device and... - Page 14 Select Room: press on the select room icon and select the location of where you had installed your device, if the room is not exist, you can add it from the main setting page. Channel Icons: press on the channel icon and select the icon from the default library or from your own gallery or just take new picture from your phone.
- Page 15 Warning: just enable the nearest device to your router as master device for internet connection Enter your own 4 digit password. Keep the default setting of TIS Server address as 120.24.42.209. or modify it with other TIS server depends on your country location.
- Page 16 Control Section select your room and start control your lights, AC , curtain and others...
-
Page 17: Warranty Card
Warranty Card From the date of purchase, 1 year limited warranty. Damage caused by wrong installation , physical damaged , users dismantle repair and other man-made damage will be out of warranty User name Phone number Address Official Dealer Product SN Purchase date Repairing record www.tissmarthome.com...
Need help?
Do you have a question about the Venera Switch and is the answer not in the manual?
Questions and answers