Table of Contents
Advertisement
Advertisement
Table of Contents

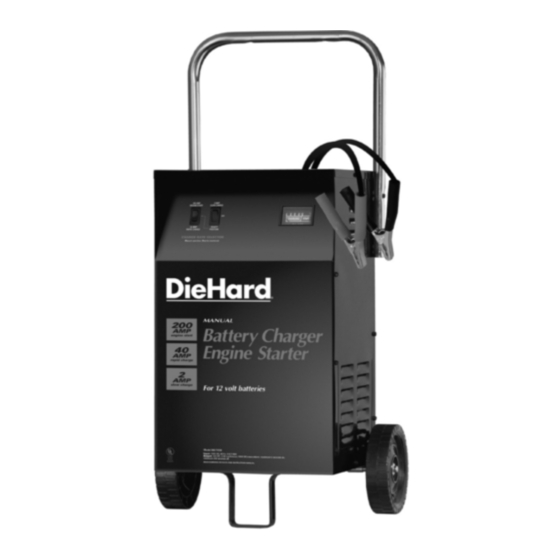
Summary of Contents for DieHard 200.7123
- Page 1 DieHard, BATI'ERY CHARGER 40/2 Amp Manual 200 Amp ENGINE STARTER Model No. 200.71230 CAUTION: Read all Safety Rules and Operating and follow them with each use of this product. Sears, Roebuck Instructions, and Co., Hoffman Estates, IL 60179 U.S.A. 0099000312-402...
-
Page 2: Table Of Contents
If, within three years from the date of purchase this battery charger fails due to a defect in material or workmanship, RETURN IT TO THE NEAREST SEARS STORE IN THE UNITED STATES, and Sears will repair or replace it, free of charge. -
Page 3: Important Safety Instructions
Important • Read all instructions and cautions printed on the battery charger, battery, and vehicle or equipment using battery. • Use charger only on lead-acid type rechargeable batteries, such as those used in cars, trucks, tractors, airplanes, vans, RV's, trolling motors, etc. This charger is not intended to supply power to a low voltage electrical system other than in an automotive application. -
Page 4: Parts
Parts This section shows an illustration of your battery charger. Use it to become familiar with where all the parts are located, and what they look like. ; Item Description Handle Negative (BLK) Cable w/Clamps Positive (RED) Cable w/Clamps Power Cord Circuit Breaker Assembly Rectifier Assembly Transformer... -
Page 5: Before Uslngyour Battery Charger
Before Using Your Battery Charger It is important to prepare your charger for use. This section will tell you how to assemble the charger, ground and connect the power cord, and prepare to charge a battery. Assembling your charger It is important to fully assemble your charger before use. Follow these instructions for easy assembly. -
Page 6: Plugging It In
3. Tap the other axle cap onto the opposite end of the axle and place the axle assembly onto the bottom of the charger. Place one end of the bracket into slot, then place the axle assembly under each bracket. Fasten the other side of the brackets using the two 10-32 screws provided. -
Page 7: Using An Extension Cord
A TEMPORARY adapter may be used to connect the charger to a two-pole outlet if a properly grounded outlet is not available. Use the adapter ONLY until a properly grounded outlet can be installed by a qualified electrician. WARNING: Improper nection can result in electrical Before using an adapter as illustrated, be certain that the center screw of the outlet plate is grounded. -
Page 8: Using Your Battery Charger
Using Your Battery Charger To obtain the best results from your battery charger, you must know how to use it properly. This section tells how to set the controls and how to charge a battery in and out of the vehicle. Setting the controls All the controls for your charger are located on the... -
Page 9: Charging Your Battery
Charging Your Battery Charging your battery in the vehicle: Arrange the power cord and charging leads carefully in order to avoid damage that could be caused by the hood, door, or moving engine pads. Keep clear of the fan blades, belts, pulleys, and other parts that can cause injury. - Page 10 Charging your battery outside the vehicle: Remove the battery from vehicle, making sure to disconnect grounded terminal first with all power turned off to the vehicle. Check the polarity of the battery posts as indicated on the battery case: POSITIVE (POS, P, +) and NEGATIVE (NEG, N, -).
-
Page 11: Calculating Charge Times
Calculating charge The Chart Method Use the following table to more accurately determine the time it will take to bring a battery to full charge. First, identify where your battery fits into the chad. • Small batteries -- motorcycles, garden tractors, etc. -- are usually rated in Ampere Hours (AH). -
Page 12: Using The Engine Start Feature
Using the engine Your battery charger can be used to jump-start your car if the battery is low. Follow these instructions on how to use the engine start feature. Set the right-hand OUTPUT SELECTOR switch to the OFF position. Then follow the instructions for connecting the charger to the battery in the section "Charging your battery in the vehicle"... -
Page 13: Troubleshooting
Circuit breaker cycles when current draw is too high. Separate the clamps. Check for worn cables and replace if needed. Have a Sears technician test the battery. Correct connections, Correct Volt/Amp Selector setting. Crank time varies with the amount of current drawn. If cranking draws more than 200 amps, crank time may be less than 5 seconds. - Page 14 For information about troubleshooting, call toll-free from anywhere in the U.S.A. 7 am to 4:30 pm CT Monday through Friday. 1-800-SEARS-64 (1-800-732-7764). For repair parts or the locationof a Sears Partsand Repair Center call: 1-800-4-MY-HOME= (t400-469-4663),...


Need help?
Do you have a question about the 200.7123 and is the answer not in the manual?
Questions and answers