Schwinn AD6 Airdyne Installation Manual
Wind screen
Hide thumbs
Also See for AD6 Airdyne:
- Service manual (58 pages) ,
- Owner's manual (28 pages) ,
- Assembly manual (28 pages)
Advertisement
Available languages
Available languages
Quick Links
Schwinn
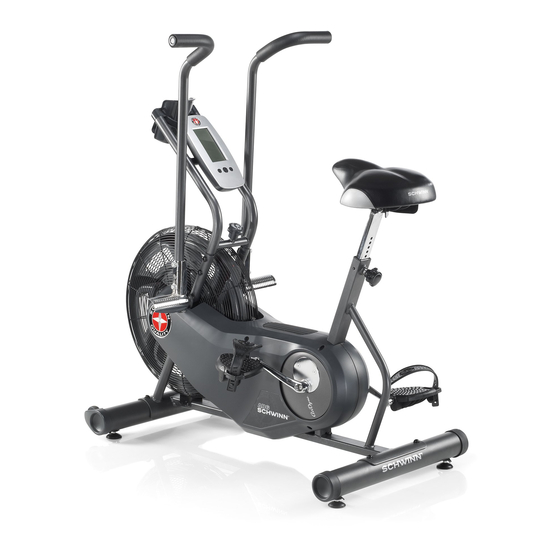
AD6
Airdyne
Wind Screen
Installation Guide
Installation Guide
®
®
004-4775.070118.B
mportant Safety Instructions
I
This icon means a potentially hazardous situation which, if not avoided, could result in death or serious injury.
Obey the following warnings:
Read and understand all warnings on this machine.
• Carefully read and understand the Assembly and Owner's Manual.
• Keep bystanders and children away from the product you are assembling at all times.
• Do not try to change the design or functionality of this machine. This could compromise the safety of this machine and will void the warranty.
•
Before each use, examine this machine for loose parts or signs of wear. Do not use if found in this condition. Monitor the Seat, Pedals, and Crank Arms
closely.
Contact Nautilus Customer Service or your local distributor for repair information.
• Do not try to change the design or functionality of this machine. This could compromise the safety of this machine and will void the warranty.
• If replacement parts are necessary use only genuine Nautilus replacement parts and hardware. Failure to use genuine replacement parts can cause a risk to
users, keep the machine from operating correctly and void the warranty.
• Do not use until the machine has been fully assembled and inspected for correct performance in accordance with the Owner's Manual.
• Do all assembly steps in the sequence given. Incorrect assembly can lead to injury.
If you need assistance:
In the United States— call
Schwinn
Customer Service at 1-800-605-3369.
Outside the United States— contact your local distributor.
Nautilus, Inc., 5415 Centerpoint Parkway, Groveport, OH 43125 USA, www.NautilusInc.com - Customer Service: North America (800) 605-3369,
csnls@nautilus.com | outside U.S. www.nautilusinternational.com | Printed in China | © 2012 Nautilus, Inc. | ® indicates trademarks registered in the United
States. These marks may be registered in other nations or otherwise protected by common law. Schwinn, the Schwinn Quality logo, AirDyne and Nautilus are
trademarks owned by or licensed to Nautilus, Inc.
Refer to the Assembly Manual for complete safety instructions.
1. Route the Securing Straps through the Airdyne
Wind Screen
®
1
Advertisement

Related Manuals for Schwinn AD6 Airdyne


Summary of Contents for Schwinn AD6 Airdyne
- Page 1 | outside U.S. www.nautilusinternational.com | Printed in China | © 2012 Nautilus, Inc. | ® indicates trademarks registered in the United States. These marks may be registered in other nations or otherwise protected by common law. Schwinn, the Schwinn Quality logo, AirDyne and Nautilus are trademarks owned by or licensed to Nautilus, Inc.
- Page 2 2. Place the Airdyne Wind Screen over the Locking Knob and onto the Fan Housing ® 3. Attach the Securing Straps to the Fan Housing 4. Final Inspection Inspect your machine to ensure that all hardware is tight and components are properly assembled.
- Page 3 | à l’extérieur des É.-U. www.nautilusinternational.com | Imprimé en Chine | © 2012 Nautilus, inc. | Le symbole ® indique une marque de commerce enregistrée aux États-Unis. Ces marques peuvent être enregistrées dans d’autres pays ou être autrement protégées par la common law. Schwinn, le logo de qualité...
- Page 4 2. Installez le pare-brise Airdyne par-dessus le bouton de verrouillage et sur le boîtier du ventilateur ® 3. Fixez les sangles de fixation sur le boîtier du ventilateur 4. Inspection finale Inspectez votre appareil pour vous assurer que toute la quincaillerie est res- serrée et que tous les composants sont correctement assemblés.